Wood Paneling: Older Panels, Fire Ratings and Updating
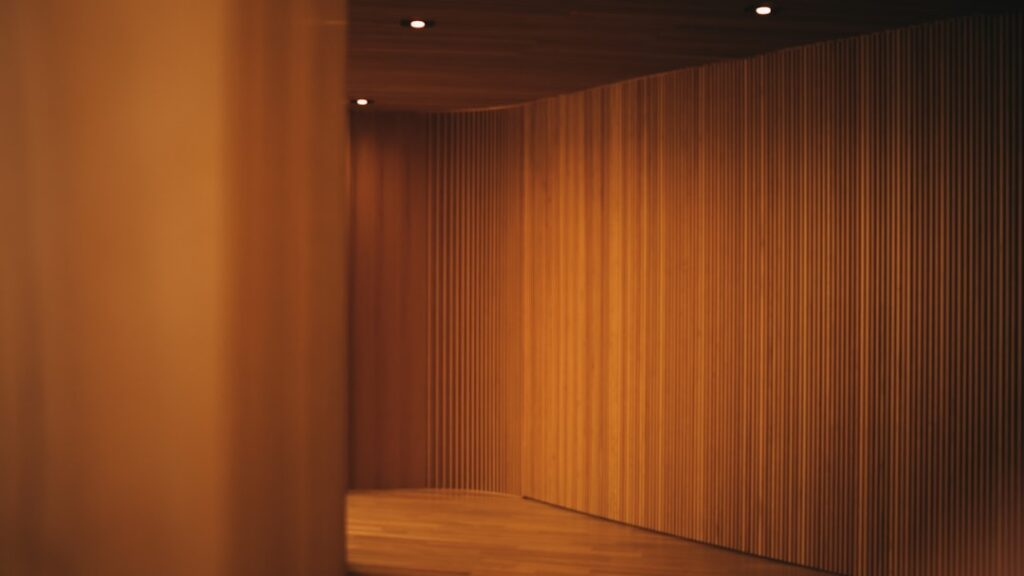
Few interior finishes date a house as quickly as dark sheet paneling in a basement rec room, yet wood is also back in style as shiplap, board-and-batten and slatted accent walls. Buyers touring split-levels in Littleton or Aurora regularly find original 1960s and 1970s paneling, while newer homes may have fresh tongue-and-groove planks. Wood paneling for walls covers everything from solid boards to thin printed hardboard, and those products behave very differently when painted, removed or exposed to water or fire. This guide explains the main types, how to tell them apart, what may be hiding behind older panels, lead paint and fire concerns, how to paint over paneling properly, alternatives, and typical costs. Because older painted paneling can involve lead-based paint, this guide summarizes EPA guidance current as of 2026; consult a certified lead professional for testing decisions.
Part of our Structure & Exterior guide — start there for the full picture →
Types of Wood Paneling and How to Identify Them
Wall paneling falls into a few broad categories. Identifying which one is in a room is the first step before deciding whether to keep, paint or remove it.
Solid wood boards
Individual boards of pine, cedar, oak, fir or other species, usually joined with tongue-and-groove or shiplap edges and nailed to studs or furring strips. Solid boards are typically 3/8 to 3/4 inch thick. Knotty pine is common in mid-century homes and mountain cabins. Look at the ends of boards at outlets or trim: solid wood shows consistent grain through the thickness.
Plywood paneling
Sheets, usually 4 by 8 feet, made of a thin hardwood face veneer over plywood layers, often with vertical grooves cut to imitate boards. Common from the 1950s through the 1970s. Quality varies; thicker panels with real veneer can look good when refinished.
Hardboard and printed panels
Thin sheets of fiberboard or hardboard with a printed wood-grain paper or vinyl face. These were inexpensive and widely used in basements and dens in the 1970s and 1980s. Many are only about 1/8 to 1/4 inch thick and flex when pressed. They do not sand well, since sanding goes through the printed layer.
Modern planks and accent products
Current options include primed MDF shiplap boards, pre-finished tongue-and-groove planks, reclaimed wood and acoustic slat panels. These are usually installed as accent walls rather than whole rooms.
A quick test: remove a switch plate or outlet cover (with power off) and look at the edge of the cutout. The thickness and layering tell a lot about what the panel is and whether there is drywall behind it.
What May Be Behind Older Paneling
Paneling installed decades ago was often nailed or glued directly to studs, to furring strips over masonry, or over existing plaster or drywall. In basements, it frequently went over concrete foundation walls with only thin furring strips in between. That matters for two reasons: what happens when the paneling comes off, and what may have developed in the cavity in the meantime.
Moisture and mold
Basement paneling over foundation walls is a classic location for hidden moisture. Concrete walls can transmit moisture from the soil, and condensation can form where warm indoor air meets the cool wall surface behind the paneling. The U.S. Environmental Protection Agency’s guide to mold and moisture lists the back side of paneling, along with drywall and wallpaper, as a place where mold may be hidden. EPA notes that hidden mold may be suspected when a building smells moldy but the source is not visible, or when there has been known water damage. It also warns that disturbing hidden mold, such as removing wallpaper with mold behind it, can release large numbers of spores, and suggests considering an experienced professional for hidden mold investigations.
The same EPA guidance says the key to mold control is moisture control and recommends keeping indoor relative humidity below 60 percent, ideally between 30 and 50 percent. If paneling is stained along the bottom edge, warped, or smells musty, that is a signal to investigate the wall before simply painting over it.
Other surprises
- Damaged plaster or drywall that the paneling was installed to cover, sometimes with large holes or past fire or water damage.
- Construction adhesive that tears the underlying surface when panels are removed.
- No drywall at all, with paneling fastened directly to studs, which means removal leaves open framing.
- Old wiring or splices without boxes, hidden behind panels in DIY basement finishes.
- Missing insulation on exterior or foundation walls.
- Pest activity in furring strip cavities.
Removing a single panel in an inconspicuous spot, or looking behind an outlet cover, gives a preview before committing to a whole-room plan. If plaster is found behind the panels, our guide to plaster wall repair covers what is typically involved.
Lead Paint on Older Painted Paneling
Original stained paneling is less likely to involve lead-based paint than painted trim, but many older panels were painted at some point, and the trim and moldings around them frequently were. Homes built before 1978 may contain lead-based paint.
The EPA’s Renovation, Repair and Painting (RRP) program notes that the federal government banned lead-based paint for residential use in 1978 and that approximately three-quarters of U.S. homes built before 1978 still contain some lead-based paint. EPA explains that any renovation, repair or painting project in a pre-1978 home with lead-based paint can easily create dangerous lead dust. Its RRP Rule requires that anyone paid to perform work disturbing painted surfaces in pre-1978 homes be certified and use lead-safe work practices. EPA states the rule generally does not apply to homeowners working on their own homes, but does apply if they rent out all or part of the home, operate a childcare center there, or buy, renovate and sell homes for profit.
For do-it-yourself projects, EPA recommends hiring a certified lead inspector or risk assessor to test the surfaces being renovated, and if the age of the home cannot be determined, assuming lead-based paint is present and using lead-safe work practices: containing the work area, protecting yourself, minimizing dust, cleaning carefully and controlling waste. Sanding, scraping or removing painted paneling and trim in an older home is exactly the kind of work those practices are meant for. Our guide to painting over lead paint covers encapsulation and its limits.
Buyers of pre-1978 homes should also know that EPA’s lead disclosure rule requires sellers and agents to provide information about known lead-based paint and hazards before a buyer signs a contract.
Fire Concerns With Thin Paneling
All wood burns, but how quickly a fire spreads across a wall surface depends a great deal on the material and how it is installed. Building codes classify interior finishes by how fast flame spreads across their surface, and they set limits on which classes may be used in different rooms and occupancies. Thin paneling, particularly some older hardboard and plywood products installed directly over studs without a drywall backing, has long raised concern among fire-safety professionals because it can ignite and spread fire across a wall faster than gypsum board.
Some practical points, offered in general terms:
- Paneling installed over gypsum drywall generally performs better in a fire than paneling fastened directly to studs, because the drywall provides a fire-resistant backing.
- Paneling in garages, furnace rooms and around fireplaces deserves extra scrutiny, since those areas often have specific code requirements.
- Some modern paneling products carry flame-spread ratings from the manufacturer; older products usually have no documentation.
- Fire-retardant coatings exist, but their effectiveness depends on the product, application and substrate.
Local code requirements vary, and a building department or fire-protection professional is the right source for specifics in a given room. When paneling is removed, adding drywall behind replacement paneling is a common way to improve fire performance.
Painting Over Wood Paneling
Painting is the most common update for dated paneling, and done well it can transform a room. Done poorly, it peels, shows every groove unevenly, or bleeds tannins and stains through the topcoat.
Preparation steps
- Confirm the age of the home and test for lead if paint is present or the home is pre-1978.
- Check for moisture or mold behind the paneling first, especially in basements.
- Clean the surface thoroughly to remove grease, dust and furniture polish residue.
- Reattach loose panels with finish nails into studs and fill nail holes.
- Lightly scuff glossy finishes for adhesion, using lead-safe practices if needed; avoid sanding through printed hardboard faces.
- Prime with a bonding or stain-blocking primer suited to the surface. Knotty pine and some hardwoods may bleed tannins without a stain-blocking primer.
- Decide whether to fill the grooves. Many owners keep them as a board look; filling them to mimic drywall is labor-intensive and seams may telegraph through.
- Caulk trim joints and apply two finish coats.
Painting paneling usually costs more per square foot than painting flat drywall because of the priming, grooves and prep time. Our guide to interior painting cost explains how painters price prep-heavy rooms.
Alternatives: Remove, Cover or Replace
If painting is not the right answer, there are several options.
- Remove and drywall. The cleanest result. Removing panels may reveal damaged surfaces or open studs, which then need new drywall, taping and finishing. See drywall repair for what patching and finishing involve.
- Skim over. Some contractors install thin drywall over the paneling. This adds thickness, which affects window and door trim, outlets and baseboards.
- Replace with modern paneling. Shiplap or tongue-and-groove planks can keep the wood look with a fresher style. Our guide to shiplap covers installation and moisture concerns.
- Partial-height treatment. Removing the upper portion and installing chair rail with lower paneling gives a traditional look; see wainscoting.
- Refinish. Solid wood and good veneer paneling can sometimes be cleaned, lightly sanded and refinished rather than painted.
Whatever the choice, outlets and switches must be extended or reset to the new wall surface using box extenders where needed, so the device is flush and the box remains enclosed.
Removing Paneling: What the Job Involves
Pulling paneling looks like a weekend demolition task, and sometimes it is. More often, the order of operations makes the difference between a clean wall and a week of patching.
- Turn off power to the room and remove outlet covers, switch plates and any fixtures mounted on the paneling.
- Remove trim first. Baseboards, door and window casings and crown molding usually overlap the paneling. Older trim in pre-1978 homes may have lead-based paint, so prying and breaking it should follow lead-safe practices.
- Find the fastening method. Panels held with finish nails pry off fairly easily. Panels glued with construction adhesive often take chunks of drywall or plaster with them.
- Pry gently at seams with a flat bar, working from a corner and pulling nails as they appear.
- Inspect the exposed wall for moisture staining, mold, damaged framing, loose wiring and missing insulation before deciding on a finish.
- Plan the new surface. Moving from a thin panel to 1/2-inch drywall changes wall thickness, which affects how trim, outlets and window returns fit.
If mold is found, EPA’s guidance generally treats areas up to roughly 10 square feet as manageable by homeowners following cleanup guidance, with larger areas warranting professional help. Most importantly, the moisture source has to be found and fixed, or mold tends to return behind the new finish.
Caring for Solid Wood Paneling Worth Keeping
Not all paneling needs to go. Solid knotty pine, cedar and quality hardwood veneers can be attractive features, especially in mountain-style homes and mid-century houses where they are part of the original character. Keeping them in good condition is mostly a matter of cleaning and protecting the finish.
- Dust regularly and clean with a mild wood cleaner rather than water-heavy methods.
- Avoid silicone-based polishes that can complicate future refinishing or painting.
- Address water stains quickly, and find the source before refinishing.
- Keep relative humidity moderate; very dry Front Range winters can open gaps between boards, which is normal seasonal movement for solid wood.
- Test any refinishing product in a hidden spot first, since older finishes may be shellac, lacquer or varnish.
How Much Updating Paneling May Cost
These are general 2026 ranges for planning; Front Range labor rates and the condition of the wall behind the paneling drive large differences.
- Painting paneling: often priced per square foot of wall, typically somewhat higher than flat drywall because of priming and groove work. A small room may run several hundred to a couple of thousand dollars professionally.
- Removing paneling and installing new drywall: commonly a few dollars to several dollars per square foot of wall, more if framing, insulation or electrical corrections are needed.
- New shiplap or plank paneling: material cost varies from inexpensive MDF to premium hardwood, plus installation labor.
- Lead testing: a certified inspector or risk assessor visit may cost a few hundred dollars or more; lead-safe work practices add time to any renovation.
- Mold assessment or remediation: highly variable, from a modest assessment fee to significant remediation costs if a large area is affected.
Paneling and the Home Inspection
A general home inspection includes walls, ceilings and floors, but under the American Society of Home Inspectors standard of practice, inspectors are not required to inspect paint, wallpaper and other finish treatments, and they do not remove paneling to look behind it. What an inspector may notice is visible staining, warping, musty odors, moisture meter readings at the base of basement paneling, loose panels, or electrical devices that are not flush with the wall surface.
For buyers of older homes, follow-up options include a lead inspection or risk assessment and, where moisture is suspected, a mold or moisture evaluation. The structure and exterior inspection hub collects guides on walls, foundations and moisture, and our overview of how to hire a home inspector explains when to add specialty services.
References
- A Brief Guide to Mold, Moisture and Your Home — U.S. Environmental Protection Agency
- Lead Renovation, Repair and Painting Program — U.S. Environmental Protection Agency
- Lead-Safe Renovations for DIYers — U.S. Environmental Protection Agency
- Real Estate Disclosures About Potential Lead Hazards — U.S. Environmental Protection Agency
- ASHI Standard of Practice for Home Inspections — American Society of Home Inspectors
Frequently asked questions
Can you paint over wood paneling?
Yes. Clean it, fix loose panels, scuff glossy finishes, and use a bonding or stain-blocking primer before two finish coats. In pre-1978 homes, test for lead or use lead-safe practices before sanding painted surfaces.
Is there drywall behind old wood paneling?
Sometimes, but not always. Paneling may be over drywall, over plaster, nailed directly to studs or fastened to furring strips over concrete in basements. Removing an outlet cover or one panel in a hidden spot can show what is behind it.
Can mold grow behind wood paneling?
Yes. EPA lists the back side of paneling as a place hidden mold may grow, especially in basements where foundation walls can be damp. Musty odors, staining or warping at the bottom of panels are warning signs.
Is old paneling a fire hazard?
Thin paneling installed directly over studs without drywall backing can spread flame faster than gypsum board. Paneling over drywall generally performs better. Local building officials can advise on code requirements for specific rooms.
How much does it cost to remove paneling and drywall a room?
Costs depend on room size and what is found behind the paneling. Removal plus new drywall commonly runs a few dollars to several dollars per square foot of wall, more if framing, insulation or electrical work is needed. These are general ranges.
Found a paneled basement in a home you are buying and want to know what is behind it? Contact our team for help finding a Front Range inspector who checks walls, moisture and older finishes.