Shower Wall Panels: Acrylic, Solid Surface and Leak-Free Seams
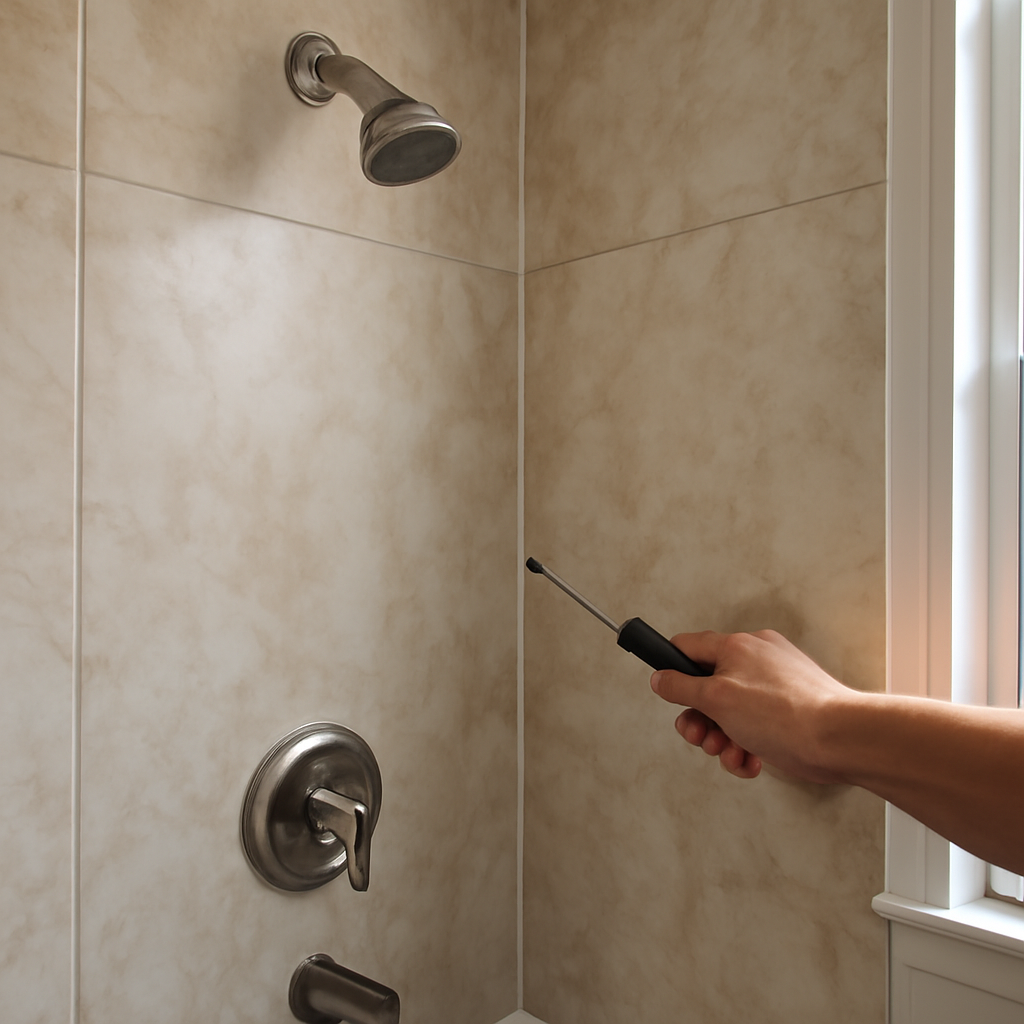
Grout lines that never stay clean, a dated tile pattern, or a tub surround that has started to crack are the usual reasons homeowners start pricing shower wall panels. Large sheets of acrylic, solid surface, PVC or laminate can cover a shower in a day or two, with far fewer joints than tile and a smooth face that wipes down quickly. The trade-off is that a panel system depends heavily on a handful of seams, corners and sealant lines, and on whatever wall is hiding behind it. A panel glued over a damp, soft wall can look perfect while rot spreads underneath. This guide compares the main panel materials with tile, explains how seams and silicone keep water out, covers the debate over installing over existing tile, describes the warning signs of leaks behind panels, and gives general cost ranges for Front Range homeowners and buyers.
Part of our Structure & Exterior guide — start there for the full picture →
What Shower Wall Panels Are and How They Compare With Tile
Shower wall panels are large, prefinished sheets that are glued or mechanically fastened to the wall around a shower or tub, then joined with trim pieces, interlocking edges or sealant. Most kits cover a standard alcove with three to five pieces: a back wall, two side walls and sometimes corner or soap-shelf components.
Tile, by comparison, builds a wall out of hundreds of small units held together by thinset and grout. Tile offers nearly unlimited design options and can last for decades, but grout is porous, it needs periodic sealing or repair, and it gives mildew dozens of linear feet to settle into. Panels reduce that grout to a few vertical seams and a perimeter bead of silicone.
Neither approach is waterproof by default. With tile, a membrane or waterproof backer behind the tile is the real barrier. With panels, the panel face itself sheds water, but the joints, the edges at the tub or pan, and every hole drilled for a valve or shower arm are potential entry points. Both systems fail in the same place: where water gets behind the finished surface and has no way to dry out.
Panel Materials: Acrylic, Solid Surface, PVC and Laminate
Panel products vary widely in thickness, stiffness and price. The material affects how the panel handles impacts, how it looks after years of cleaning, and how forgiving it is of an uneven wall.
Acrylic and fiberglass-reinforced panels
Acrylic is the most familiar option. Many acrylic surrounds are thermoformed sheets backed with fiberglass or resin for stiffness. They are lightweight, warm to the touch and come in white, almond and a growing range of tile-look or stone-look textures. Thin, low-cost acrylic can flex when pressed, which may stress adhesive and seams over time. Abrasive cleaners can dull the glossy finish, though light scratches can often be buffed out.
Solid surface and cultured stone
Solid surface panels are made from acrylic or polyester resin blended with mineral fillers, and cultured marble or engineered stone panels use a similar resin-and-filler approach. They are heavier, stiffer and usually thicker than basic acrylic, so they feel more like stone. Color runs through the material in many products, which means minor scratches can be sanded. They cost more, and their weight may require two installers and solid backing.
PVC panels
Rigid PVC panels, often with tongue-and-groove edges, are popular for budget remodels, basements and rentals. They are light, inexpensive and cut with ordinary tools. Thinner PVC can look and feel less substantial, may show bowing on a wavy wall, and some products are rated for wet areas while others are meant for general wall cladding. Checking the manufacturer’s wet-area rating matters before buying.
Laminate and composite panels
High-pressure laminate panels bond a decorative layer to a waterproof core, frequently with a factory-machined locking joint. They offer realistic stone and concrete looks at a moderate price. Their performance depends heavily on the joint design and on following the maker’s sealant instructions to the letter, since the core edges are the vulnerable part.
Seams, Silicone and Where Panel Showers Leak
A panel shower has fewer joints than tile, but each joint carries more responsibility. Most leaks trace back to a short list of details.
- Vertical seams between panels. Depending on the system, these are closed by H-trim, interlocking edges or a bead of sealant. A gap or a dried-out bead lets water run behind the panel every time the shower is used.
- The bottom edge at the tub or pan. Panels typically sit slightly above the tub flange or base and are sealed with silicone. If the bottom edge is sealed in a way that traps water, or the sealant cracks, water can wick behind.
- Inside corners. Corners move a little as the house settles and seasons change, and a rigid joint there tends to crack.
- Penetrations. Holes for the valve, tub spout and shower arm need escutcheons or trim plates sealed according to the valve and panel instructions.
- The top edge and adjacent drywall. Short panels that stop below the showerhead leave painted drywall exposed to spray.
Sealant choice matters. Most panel makers call for a 100 percent silicone or a specific polymer sealant labeled for kitchen and bath use, and some prohibit certain adhesives that can attack acrylic. Silicone does not last forever. Beads that have pulled away, blackened or split should be removed completely and replaced rather than smeared over. EPA’s guide to mold and moisture specifically advises against painting or caulking over moldy surfaces; the area should be cleaned and dried first. The bathtub caulking guide walks through removal and re-sealing, and the same technique applies to panel perimeters.
Ventilation helps the sealant and the panels. EPA notes that places that stay damp, such as showers, are hard to keep completely mold-free, and that running a bathroom fan or opening a window and cleaning more often usually keeps recurring mold to a minimum. A fan that actually moves air outdoors is cheap insurance for any shower surround.
Installing Over Existing Tile vs New Backer Board
Many panel systems are marketed as able to go directly over existing tile, which saves demolition time, dust and disposal costs. It can be a reasonable shortcut, but only under specific conditions.
When covering old tile may work
Installing over tile is generally discussed for walls where the tile is still firmly bonded, flat and dry. Installers typically sound the wall by tapping for hollow spots, check for soft areas by pressing near the tub line, and confirm the wall is reasonably flat so the panel will bond fully. The manufacturer’s instructions control: some systems allow application over sound tile with a specific adhesive and surface preparation, while others require a smooth backer.
When the wall should come out
Covering tile is a poor choice if the wall shows any sign of water damage. Loose tiles, cracked grout that has been patched repeatedly, a spongy feel low on the wall, staining or swelling on the other side of the wall, or a musty smell all point to moisture already behind the tile. Sealing a panel over that condition locks the problem in. Tear-out also allows the installer to inspect the framing, valve and any insulation in an exterior wall, which is often worth knowing in older Front Range homes where showers were built against cold exterior walls.
Backer and waterproofing choices for new walls
When a wall is opened, panels usually go over cement board, a foam-core board or a moisture-resistant panel board specified by the manufacturer. Ordinary paper-faced drywall is generally not considered appropriate in a shower. Some panel makers require a separate waterproofing layer or vapor control behind the panels and some specifically say not to add one, so the instructions for the exact product should guide that decision rather than habit carried over from tile work. The tile installation guide explains common backer and membrane systems for comparison.
Signs of Leaks Behind Shower Panels
A leak behind a panel tends to stay hidden longer than one behind tile, because the panel face is impervious and does not stain. Clues usually show up somewhere else.
- Peeling paint, bubbling or soft drywall on the wall on the other side of the shower, or on the ceiling below an upstairs bathroom.
- Panels that flex, bulge or sound hollow when pressed, which can indicate failed adhesive or swollen backing.
- Dark mildew lines along seams or the bottom edge that come back quickly after cleaning.
- A persistent musty odor in the bathroom even when visible surfaces look clean.
- Loose trim, valve escutcheons that move, or a gap opening up where the panel meets the tub.
- Damaged flooring, loose toilet-adjacent floor or stains in a basement or crawl space ceiling under the shower.
Not every leak is a wall leak. Water stains below a shower can also come from a cracked shower base, a failed drain connection or a valve or supply line leak inside the wall. The shower pan leak guide covers how to separate those sources before tearing out a wall that may be fine.
If mold is found once the wall is opened, the CDC and EPA both emphasize the same sequence: fix the moisture source and clean up and dry the area. EPA’s homeowner guide says that materials dried within 24 to 48 hours after a leak usually will not grow mold, and it points readers to more detailed professional guidance when mold covers more than about 10 square feet. Panels should not go back up until the framing and backing are dry and sound.
Conversions, Refinishing and Other Alternatives
Panels often enter the conversation as part of a larger change. A homeowner removing an old tub to create a walk-in shower may use a panel kit paired with a new shower base, which can be faster than building a site-tiled shower pan. The tub-to-shower conversion guide covers drain relocation, curb height and base options for that project.
Where the existing tub and tile are structurally sound but tired-looking, refinishing may be another path. Refinishing coats the existing surfaces in place rather than covering them. It can refresh color at a lower cost but tends to have a shorter lifespan and depends on careful preparation; the bathtub refinishing guide describes what to expect. Neither panels nor refinishing fixes a wall that is already wet inside.
Some homeowners compare panels with simply regrouting tile. If tiles are bonded well and the problem is mainly stained or crumbling joints, a thorough grout repair and a sealing routine may buy years of service for a fraction of the cost of new walls.
Cleaning and Maintenance for Panel Showers
Panel showers are low maintenance, not no maintenance. A few habits help them last.
- Use non-abrasive cleaners and soft cloths or sponges; many manufacturers warn against scouring pads and some solvent-based products on acrylic.
- Squeegee or wipe the walls after showers in homes with hard water, which is common along the Front Range, to limit mineral spotting.
- Inspect silicone at seams, corners and the tub line a couple of times a year, and replace any section that has split, lifted or turned black inside the bead.
- Keep shower door tracks and curtain liners from directing water onto the top of the tub ledge for long periods.
- Run the bathroom fan during and after showers long enough for the room to dry.
Small chips in acrylic and solid surface can often be repaired with manufacturer touch-up kits. Cracks that run through a thin panel are harder to fix invisibly, and a crack low on the wall is a leak path that should be addressed promptly.
What a Home Inspection Can and Cannot See
During a typical home inspection, the inspector operates the shower, looks at the surround, checks for loose or damaged surfaces, reviews caulking and looks for stains on surrounding walls and ceilings. Many inspectors carry moisture meters and may scan the drywall around the shower or the ceiling below.
There are limits. Panels hide the backing completely, and an inspector cannot see adhesive coverage, rot or mold behind a sealed wall without invasive testing that is outside a standard inspection. The ASHI Standard of Practice lists plumbing fixtures and faucets among items to inspect, while stating that inspectors are not required to fill shower pans and fixtures to test for leaks. Buyers who see panels in an otherwise original bathroom sometimes ask the seller when and why they were installed, because a quick cover-up over failing tile is a common flip shortcut. The structure and exterior inspection hub and the broader guide to hiring a home inspector explain how to frame questions like this before choosing an inspector.
Shower Wall Panel Costs
Pricing swings with material, shower size, whether old tile comes out and how much repair turns up behind it. The figures below are broad 2026 estimates for planning only, not quotes, and Front Range labor rates may sit above national averages.
- PVC and basic acrylic kits: materials often run a few hundred dollars to roughly $1,000 for a standard alcove.
- Higher-end acrylic, laminate and composite systems: commonly around $1,000 to $3,000 in materials, depending on texture and trim.
- Solid surface and cultured stone: frequently $1,500 to $4,000 or more in materials for a full surround.
- Professional installation: labor may add roughly $800 to $3,000 for a straightforward alcove, and more for custom cutting or niches.
- Demolition and new backer: removing tile and installing new board often adds several hundred to a couple of thousand dollars.
- Hidden damage: rotten studs, a damaged subfloor or a valve replacement can push totals well beyond the panel price.
Some bath-remodel franchises sell panel systems as a package with a new tub or base, and those packages vary considerably in price and in what they include. Comparing at least two or three written bids, each clearly stating whether old tile is removed, is a sensible step. For context on how panels fit into a larger project budget, see the bathroom remodel cost guide.
When to Call a Professional
A homeowner comfortable with careful cutting and sealant work can install some panel kits, especially over new backer in a straightforward alcove. Professional help makes more sense when the wall shows signs of moisture, the valve needs to move or be replaced, the shower is on an upper floor above finished space, or the panel system’s warranty requires certified installation. A plumber is appropriate if a supply or drain leak is suspected, and a qualified remediation contractor is appropriate if significant mold turns up when the wall is opened. Buyers looking at a home with a recently paneled shower can also ask an inspector to pay extra attention to moisture readings around it.
References
- A Brief Guide to Mold, Moisture and Your Home — U.S. Environmental Protection Agency
- Mold: Prevention, Cleanup and Health Basics — Centers for Disease Control and Prevention
- ASHI Standard of Practice for Home Inspections — American Society of Home Inspectors
Frequently asked questions
Are shower wall panels better than tile?
Neither is better in every case. Panels have far fewer grout lines, install faster and are easy to clean, while tile offers more design flexibility and can last for decades. Both rely on sound, dry backing and well-maintained joints to stay leak-free.
Can shower wall panels go over existing tile?
Some panel systems allow installation over tile that is flat, firmly bonded and dry, using the manufacturer's specified adhesive. If the tile is loose, the wall feels soft or there are signs of moisture, the old tile should come out so the wall can be inspected and repaired.
How long do shower wall panels last?
Lifespan depends on the material, installation quality and maintenance. Solid surface and quality acrylic panels can last many years, but sealant at seams and the tub line usually needs periodic replacement long before the panels themselves wear out.
Why do shower panels leak?
Most leaks start at vertical seams, inside corners, the bottom edge at the tub or base, or holes around the valve and shower arm. Cracked or lifted sealant at those points lets water run behind the panel, where it can stay hidden until stains appear nearby.
How much do shower wall panels cost?
General 2026 estimates put materials from a few hundred dollars for basic PVC or acrylic to several thousand for solid surface, with installation often adding roughly $800 to $3,000. Tear-out of old tile and repair of hidden damage can raise the total considerably.
Shopping for a home where the shower walls look brand new but the rest of the bathroom does not? Get in touch with us and we can help connect you with a local inspector who will check the surrounding walls and ceilings for moisture before you commit.