What Is Roof Flashing? Types, Leaks and Repair Costs
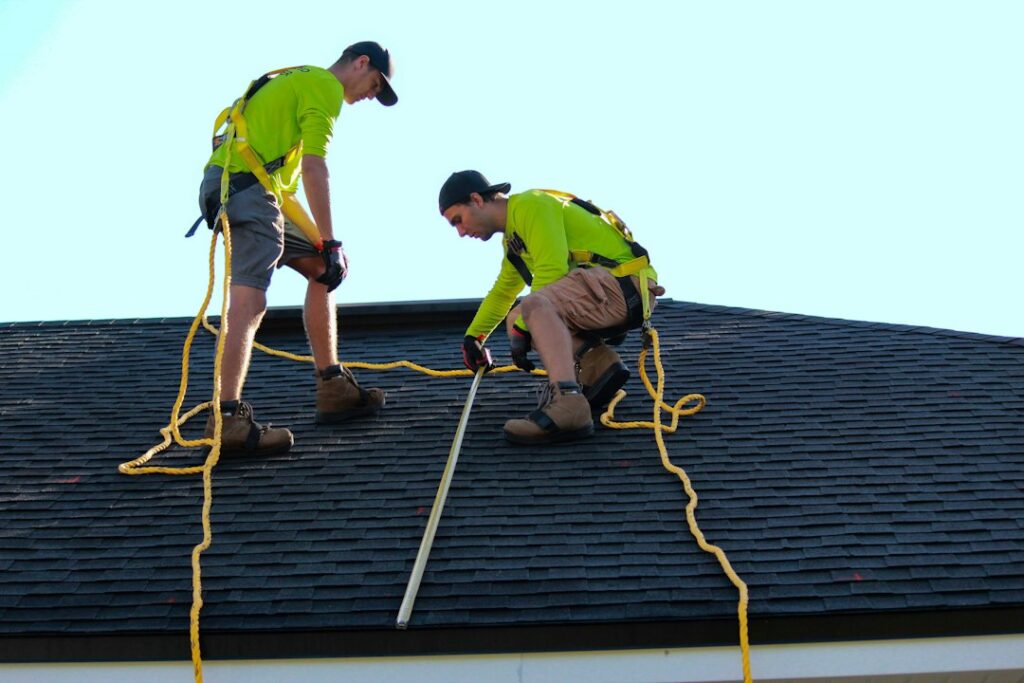
Shingles get most of the attention, but many roof leaks actually start at the flashing: the thin metal or rubber pieces that seal the joints where a roof meets a wall, a chimney, a skylight, a vent pipe or another roof plane. These joints are where water concentrates and where different materials move at different rates, so they are the most likely places for a roof to fail. On the Front Range, intense sun, wide daily temperature swings, hail and ice dams all add stress. This guide explains what roof flashing does, the main types and where each one goes, why flashing fails, how to recognize the warning signs inside and out, and what repair or re-flashing commonly costs. Cost figures are broad industry estimates, not quotes, and local pricing varies.
Part of our Structure & Exterior guide — start there for the full picture →
Roof damage or a roof replacement? Get a local roofer on the phone.
📞 Call (833) 850-2469What Is Roof Flashing and Why Does It Matter?
Roof flashing is a layer of corrosion-resistant metal (usually galvanized or painted steel, aluminum or copper) or a molded rubber boot that directs water away from joints and penetrations in a roof. Shingles shed water well across open fields of roof, but they cannot seal the gap where a roof slope meets a vertical wall or wraps around a pipe. Flashing bridges those gaps by lapping over and under the surrounding materials so that water flowing downhill is always pushed onto the face of the shingles below rather than behind them.
The key principle is overlap, not glue. Properly installed flashing works by gravity and layering, like scales on a fish. Sealant has a supporting role at a few exposed edges, but a flashing detail that depends entirely on caulk is a short-term fix. When flashing fails, water often travels along the deck, rafters or wall framing before showing up as a stain, which is why flashing leaks can be hard to trace.
Flashing is significant enough that the ASHI Standard of Practice lists it among the roofing items a home inspector shall inspect, alongside roofing materials, roof drainage systems, and skylights, chimneys and roof penetrations.
Types of Roof Flashing
Step Flashing
Step flashing is used where a sloped roof meets a sidewall, such as a dormer cheek or the side of a second story. Individual L-shaped pieces are woven into each course of shingles, with one leg on the roof and the other running up the wall behind the siding or housewrap. Each piece overlaps the one below it, so water steps down the roof from piece to piece. A single long strip of metal in place of step flashing is a common shortcut that tends to leak.
Counter Flashing
Counter flashing (also called cap flashing) covers the top edge of base or step flashing, especially on masonry chimneys and walls. On brick, it is typically set into a cut mortar joint (a reglet) and bent down over the step flashing. This two-piece design lets the roof and chimney move independently without tearing the seal.
Headwall (Apron) Flashing
Where the top of a roof slope meets a vertical wall running horizontally, such as the front face of a dormer or the downhill side of a chimney, a continuous apron flashing lies over the top shingle course and turns up the wall. It is usually covered by siding or counter flashing.
Valley Flashing
Valleys, where two roof planes meet, carry more water than any other part of the roof. Open valleys use a metal liner left exposed down the center, while closed or woven valleys cover the joint with shingles over an underlayment. Either approach can work when installed correctly; ice barrier membrane under the valley is common in cold climates.
Drip Edge
Drip edge is the L-shaped metal strip along eaves and rakes. It directs water into the gutter and away from the fascia, supports the edge of the shingles, and discourages water from wicking back under the roof. Many current codes require it on shingle roofs, but older Front Range roofs often lack it.
Pipe Boots and Vent Flashing
Plumbing vent pipes, bath fan ducts and other round penetrations are usually sealed with a flanged boot, often a metal base with a rubber or neoprene collar that grips the pipe. Lead boots and all-metal flashings are also used. The rubber collar is often the first part of a roof to wear out, cracking from UV exposure years before the shingles fail.
Chimney Flashing
Chimney flashing combines several of the pieces above: apron flashing on the downhill side, step and counter flashing along the sides, and a cricket (a small peaked diversion) or back pan on the uphill side of wider chimneys to split water around the masonry. Chimneys are one of the most frequent sources of leaks because they combine masonry movement, multiple flashing pieces and a natural water trap on the uphill side.
Kick-Out Flashing
Kick-out (diverter) flashing is a small but critical piece at the bottom of a roof-to-wall intersection where the roof edge ends partway along a wall. It turns water out into the gutter instead of letting it run down the face of the wall. Without it, water can saturate the siding and sheathing below the roof edge, a classic source of hidden rot and stucco damage.
Skylight Flashing
Most skylight manufacturers sell flashing kits matched to their units. Field-built flashing or sealant-only installs around skylights are common leak points, and older curb-mounted skylights may have flashing that has outlived the unit.
Why Roof Flashing Fails
Flashing failures generally fall into a handful of categories:
- Sealant-only repairs. Roofing cement and caulk dry out, crack and pull away under sun and temperature swings. A flashing detail that relies on a bead of sealant may hold for a season or two and then leak.
- Corrosion. Uncoated or poorly coated steel flashing rusts, especially where debris traps moisture. Mixing incompatible metals, such as copper with aluminum or galvanized steel, can speed corrosion.
- Cracked pipe boots. Rubber collars degrade in high-altitude UV and can split, letting water run straight down the pipe.
- Improper installation. Missing step flashing, reversed laps, too-short legs, missing kick-outs, or flashing that is face-nailed through the water path are frequent defects.
- Building movement. Chimneys, walls and roof framing move differently with temperature and settling. Rigid connections without counter flashing tend to tear.
- Ice dams. When snow melts on a warm roof and refreezes at the cold eaves, water can back up under shingles and flashing that were designed only to shed water. The ice dams guide explains the causes and how insulation and ventilation help prevent them.
- Hail and wind. Hail can dent or crack metal flashing and tear rubber boots, and wind can lift loose pieces. After a major storm, the hail damage roof guide covers what to check.
- Reused old flashing. Some reroofs leave existing flashing in place to save time. That can be fine when the metal is sound, but tired or poorly installed flashing then becomes the weak link of a new roof.
Signs of Flashing Problems
Because water can travel before it appears, flashing leaks often show up some distance from the actual failure. Common warning signs include:
Inside the Home
- Ceiling or wall stains near chimneys, skylights, vent pipes or where a lower roof meets a taller wall. The roof leak guide explains how to trace stains back to a source.
- Dripping or staining around skylight wells, which may be flashing, condensation or a failed unit seal. The skylight leak guide covers how to tell them apart.
- Damp or darkened framing in the attic around chimney chases and vent pipes, or rusted nails directly below a penetration.
- Musty odors or visible mold in an attic or upper closet. Moisture control is the key to mold control, according to the EPA’s brief guide to mold, moisture and your home, which advises fixing the water problem and drying wet areas within 24 to 48 hours.
Outside the Home
- Rusted, loose, bent or missing flashing pieces visible from the ground with binoculars.
- Thick layers of roofing cement around chimneys or vents, a sign of repeated patching.
- Cracked or missing mortar where counter flashing enters a chimney. Deteriorated chimney tops often go hand in hand with flashing problems; the chimney crown repair guide explains that related issue.
- Stained, swollen or rotting siding below roof-to-wall intersections, often caused by missing kick-out flashing.
- Split or shrunken rubber collars on pipe boots.
- Peeling paint or water streaks on fascia boards where drip edge is missing.
Viewing flashing up close requires roof access. Climbing a roof is hazardous, and OSHA’s fall prevention campaign stresses planning, the right equipment and training before working at height. Leave close-up inspection to a roofer or inspector with appropriate safety gear.
Kick-Out Flashing and Siding Damage
Kick-out flashing deserves a separate mention because its absence causes damage far from the roof itself. Where a roof edge dies into a wall, a lot of water runs down the step flashing and off the end of the roof. Without a kick-out, that stream pours onto the siding and behind it. Over several seasons, sheathing and studs can rot, stucco can crack and stain, and interior drywall below may develop mold.
Adding a kick-out to an existing wall usually involves removing a section of siding so the flashing can be integrated properly behind the weather-resistive barrier. If the wall is already damaged, siding and sheathing repair becomes part of the job. The siding replacement cost guide outlines what that work may cost.
Roof Flashing Repair vs Re-Flashing During a Reroof
When a Repair Is Reasonable
Isolated problems on an otherwise healthy roof can often be repaired. Examples include replacing a cracked pipe boot, re-securing a loose piece of counter flashing, re-pointing a chimney reglet, or installing a missing kick-out. A good repair replaces failed components and restores proper laps, rather than adding another layer of cement.
When Re-Flashing Is the Better Choice
When shingles are being replaced, many roofers recommend replacing most or all flashing at the same time. New step flashing can be woven into the new courses, valleys can be rebuilt with fresh membrane, and pipe boots and drip edge can be upgraded. Reusing old flashing can save a little up front but risks leaks under a brand-new roof. Ask bidders to spell out which flashing is new and which is reused. The roof replacement cost guide explains how flashing and other line items affect a full bid.
Questions to Ask a Roofer About Flashing
- Which flashing will be replaced, and which existing pieces will be reused, and why?
- Will step flashing be installed piece by piece at sidewalls, or as a continuous strip?
- How will counter flashing be attached to the chimney: cut into the mortar joint, or surface-mounted with sealant?
- Will kick-out flashing be added where roof edges end against walls?
- What metal and gauge will be used, and is it compatible with existing gutters and fasteners?
- Will ice barrier membrane be installed in valleys, at eaves and around penetrations?
- Does the workmanship warranty specifically cover flashing leaks, and for how long?
Clear answers make bids easier to compare. Two quotes for the same shingle can differ substantially in price simply because one includes full re-flashing and the other reuses everything that is already on the roof.
How Much Does Roof Flashing Repair Cost?
Flashing pricing varies widely with roof pitch, access, material, and how much surrounding roofing and siding must be removed. As very rough industry estimates:
- Pipe boot replacement: often around $150 to $400 per boot, frequently with a minimum service charge.
- Small flashing repair or re-securing: often a few hundred dollars for a simple, accessible location.
- Chimney re-flashing: commonly somewhere around $500 to $2,000 or more, higher for large chimneys, crickets, copper or steep roofs.
- Kick-out flashing installation: often a few hundred dollars per location when siding removal is minimal, more if sheathing repair is needed.
- Skylight re-flashing: often several hundred to well over $1,000, and sometimes replacing an old skylight is more sensible.
- Valley rebuilds and sidewall step flashing: highly variable, often priced by the linear foot plus shingle work.
Copper and custom-fabricated flashing cost more but can last longer. Interior repairs to stained drywall, rotted framing or damaged insulation are separate costs. Get written estimates that describe what will be removed, what new flashing will be installed and whether sealant is used only as a supplement.
Flashing Challenges on Front Range Roofs
Several regional conditions make flashing work harder in Colorado than in milder climates. High-altitude sunlight accelerates the breakdown of rubber boots and sealants. Large swings between afternoon and overnight temperatures, common at Front Range elevations, cause metal flashing and masonry to expand and contract repeatedly. Spring and fall snowstorms followed by quick melts can create short-lived ice dams even on homes that rarely see long, hard winters. Hail can dent valley metal and crack plastic vent caps. And many older homes in Denver, Boulder and Colorado Springs have been reroofed several times, sometimes with layers of patches around chimneys that hide the condition of the original flashing underneath. For these reasons, it is worth paying attention to flashing details even when the shingles themselves still look good.
How Inspectors Evaluate Roof Flashing
During a home inspection, flashing is evaluated as part of the roof. An inspector may walk the roof, view it from a ladder or eaves, or use binoculars or a camera pole, depending on safety and access. Inspectors commonly note missing kick-outs, missing drip edge, excessive sealant, rusted or loose flashing, cracked boots and signs of past leaks in the attic. Some also use thermal imaging to spot moisture patterns on ceilings near penetrations; the thermal camera category shows the kind of tools used.
When a general inspection raises flashing concerns, especially on a complex or older roof, a dedicated roofing evaluation can help. The roof inspector guide explains what a specialist adds, and the home inspector hiring guide covers how to scope an inspection before you buy.
Maintaining Roof Flashing
- Scan chimneys, vents and roof-to-wall joints with binoculars each spring and after major hail or wind events.
- Keep gutters and valleys clear of debris that traps moisture against metal.
- Watch ceilings and attic framing near penetrations for new stains.
- Address ice dam causes, such as attic heat loss and poor ventilation, rather than relying on flashing to hold back standing water.
- Replace pipe boots proactively when other roof work is being done if they show cracking.
References
- ASHI Standard of Practice for Home Inspections — American Society of Home Inspectors
- A Brief Guide to Mold, Moisture and Your Home — U.S. Environmental Protection Agency
- OSHA’s Fall Prevention Campaign — Occupational Safety and Health Administration
Frequently asked questions
What is roof flashing?
Roof flashing is metal or rubber material installed at joints and penetrations, such as chimneys, walls, valleys, skylights and vent pipes, to direct water away from gaps the shingles cannot seal. It works by overlapping surrounding materials so water always flows onto the shingles below.
How do I know if my roof flashing is leaking?
Common signs include ceiling or wall stains near chimneys, skylights or vents, damp framing around penetrations in the attic, rusted or loose flashing visible from the ground, heavy layers of roofing cement, and rotting siding below roof-to-wall joints.
How much does it cost to repair roof flashing?
As rough estimates, replacing a pipe boot often runs about $150 to $400, while chimney re-flashing commonly costs around $500 to $2,000 or more. Prices depend on pitch, access, materials and how much roofing or siding must be removed.
Should flashing be replaced when getting a new roof?
Many roofers recommend replacing most flashing during a reroof, because new step flashing can be woven into the new shingles and worn boots and drip edge can be upgraded. Reusing old flashing can save money but may become the weak point of the new roof.
What is kick-out flashing?
Kick-out flashing is a small diverter installed where a roof edge ends against a wall. It turns roof runoff into the gutter instead of down the wall, helping prevent hidden rot and damage to siding and sheathing.
Seeing a stain near the chimney or a skylight and not sure where it’s coming from? Contact us and we can help you find a Front Range inspector to trace the source before a small flashing leak turns into a larger repair.