Radon Mitigation System DIY: What to Know
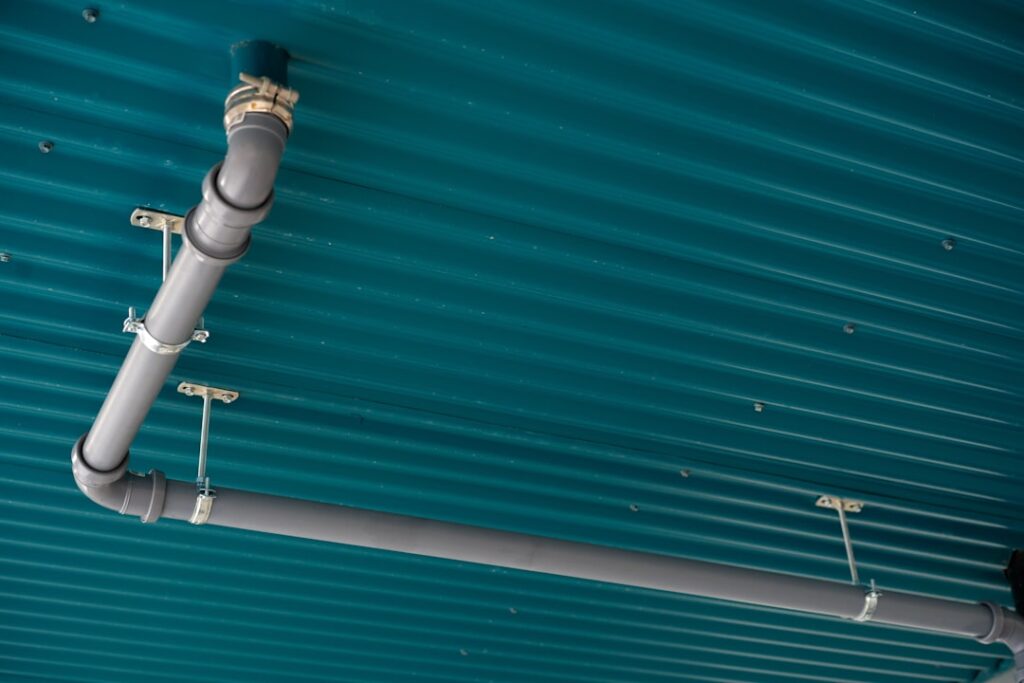
With professional radon systems running $1,000 or more, many handy homeowners ask whether they can install one themselves. A radon mitigation system DIY project is genuinely feasible for an experienced do-it-yourselfer, but it carries real pitfalls: improper fan sizing, code-violating venting, and the risk of finishing a system that does not actually lower radon. This guide summarizes EPA and Colorado Department of Public Health and Environment guidance current as of 2026; always verify results with testing, and consider a certified professional where stakes or complexity are high.
Can You DIY a Radon Mitigation System?
Yes — a competent DIYer can install an active sub-slab depressurization system, the same approach professionals use. The core components are straightforward: a suction point cored through the slab, PVC piping routed to a fan, and a vent terminating above the roofline. Material costs typically run $300 to $700, a substantial saving over a professional installation.
The catch is that the system must actually work. Radon is invisible, so a DIY system that looks finished but pulls insufficient suction or vents incorrectly provides false reassurance while the household stays exposed. The only proof of success is a post-installation test showing levels below the EPA action level of 4.0 pCi/L. Homeowners weighing the choice can review the broader context of radon testing for Front Range homes before starting.
How a DIY System Works
A DIY radon system follows the same principle as a professional one: create suction beneath the slab so radon-laden soil gas is captured and vented outside before it can enter living space. The essential pieces are:
- Suction point: A hole cored through the basement slab into the soil or aggregate below, with a small pit excavated to improve airflow.
- PVC piping: Typically 3- or 4-inch schedule-40 PVC routed from the suction point up and out of the home.
- Inline radon fan: A specialized fan rated for continuous operation that creates the suction. Fan selection must match the home’s sub-slab conditions.
- Vent termination: The pipe must exit above the roofline, away from windows and air intakes, per EPA guidance.
- Manometer: A U-tube gauge that shows the system is drawing suction.
The mechanics mirror professional work, detailed in the guide on how a radon mitigation system works.
Step-by-Step DIY Installation
- Test and plan: Confirm elevated radon, then map a route from the planned suction point to a roofline exit.
- Core the slab: Drill a hole through the slab (a rented core drill works best) and excavate a small pit beneath to improve airflow under the slab.
- Seal entry points: Caulk visible cracks, the sump pit, and penetrations so the fan pulls from the soil, not from house air.
- Run the piping: Connect PVC from the suction point, route it through the home or up the exterior, and support it properly.
- Mount the fan: Install the inline fan in an unconditioned space (attic or exterior), never in the basement, so any leak vents outside the living area.
- Terminate above the roof: Extend the vent above the roofline and away from openings.
- Add the manometer and wiring: Install the gauge and wire the fan to a dedicated circuit per local electrical code.
- Re-test: Run the system and re-test to confirm levels dropped below 4.0 pCi/L.
The sequence parallels the professional approach described in the guide on how to install a radon mitigation system.
Where DIY Goes Wrong
The most common DIY failures are not about effort but about the details that determine whether the system works:
- Wrong fan size: Too weak and the system fails to lower radon; too strong and it wastes energy and conditioned air. Fan selection depends on sub-slab permeability, which is hard to gauge without diagnostics.
- Poor venting: A pipe that ends too low, near a window, or below the roofline can recirculate radon back into the home and may violate code.
- Fan placement inside living space: Code and EPA guidance require the fan in an unconditioned area so any leak in the positive-pressure section vents outside.
- Inadequate sealing: If cracks and the sump are not sealed, the fan pulls house air instead of soil gas, hurting performance.
- No verification: Skipping the post-installation test means never knowing if the work succeeded.
These are exactly the judgment calls a certified installer is trained to make. Homeowners comparing the DIY route against hiring out can read the cost breakdown in the guide on radon mitigation system costs.
Cost: DIY vs. Professional
A DIY system costs roughly $300 to $700 in materials — fan, piping, fittings, sealant, and a manometer — plus the rental of a core drill. A professional installation in Colorado typically runs $1,000 to $1,800. The DIY saving is real, but it assumes the homeowner has the skills to core concrete, run piping, handle basic wiring safely, and interpret a re-test correctly.
Factor in the cost of two radon test kits (before and after) and the value of your time. For a simple basement with an accessible routing path, DIY can be reasonable. For crawl spaces, multiple suction points, or complex layouts, the professional’s diagnostic skill often justifies the cost.
Code, Safety, and Verification
Even on a DIY job, the work should meet local building and electrical codes. The fan wiring must be on an appropriate circuit, the vent must terminate correctly, and some jurisdictions require permits. The non-negotiable final step is verification: a post-installation radon test, ideally followed by a long-term test, to confirm the system holds levels below 4.0 pCi/L year-round. Colorado’s seasonal swings mean a borderline summer result can climb in winter, so re-testing in the cold months is wise.
If a DIY system fails to lower levels adequately, the suction point, fan, or sealing usually needs rework — and at that stage, many homeowners bring in a certified professional to diagnose the problem.
Tools and Materials You’ll Need
A realistic DIY project requires more than a trip to the hardware store. Assembling the right materials up front prevents mid-project stalls:
- Rotary hammer or rented core drill to penetrate the slab cleanly
- Inline radon fan sized to the home’s sub-slab conditions
- 3- or 4-inch schedule-40 PVC pipe, fittings, and couplings
- Rubber couplings to connect the fan, allowing easy future replacement
- Polyurethane caulk and hydraulic cement for sealing cracks and the suction-point collar
- Sump-pit cover if the basement has an open sump
- Manometer (U-tube gauge) to confirm suction
- Electrical supplies for a dedicated, code-compliant fan circuit
- Pre- and post-installation radon test kits
Buying a quality fan matched to the home matters more than any other purchase. A bargain fan that cannot generate enough suction for tight Colorado clay soils will leave the project incomplete no matter how carefully the pipe is run.
Permits and Local Requirements
Many jurisdictions treat radon mitigation as work requiring a permit, particularly for the electrical connection and roof penetration. Before starting, homeowners should check with their local building department. Front Range counties vary in how they handle owner-installed systems, and a permit inspection can actually be useful, catching venting or wiring issues before they become hidden problems.
Even where no permit is required, the work should meet building and electrical codes: the fan on a dedicated circuit, the vent terminating above the roofline and away from openings, and the fan located in an unconditioned space. Selling the home later is smoother when the system is documented and code-compliant, since radon disclosure is standard in Colorado transactions.
How DIY Compares to Hiring a Pro
The decision usually comes down to confidence and complexity. A DIY system can save roughly $700 to $1,000, but it shifts all responsibility for sizing, sealing, venting, and verification onto the homeowner. Professionals bring a diagnostic pressure-field test that reveals exactly how the sub-slab area communicates, which removes the guesswork that derails most DIY attempts.
A reasonable middle path exists: some homeowners run the piping and do the labor themselves, then hire a professional to perform the diagnostic and recommend fan size, or to verify the finished system. For a simple, single-slab basement with an easy routing path, full DIY is defensible. For crawl spaces, multi-slab foundations, or homes with persistently high readings, the professional’s expertise typically pays for itself in a system that works the first time.
Should You DIY It?
A radon mitigation system DIY project rewards homeowners who are genuinely comfortable with concrete coring, plumbing, and electrical basics, and who will commit to verifying the result with testing. For a straightforward basement in a Front Range home, the savings can be worthwhile. For complex foundations, or for homeowners who want a guaranteed outcome and warranty, professional installation remains the safer choice — particularly given that the goal is reducing a genuine cancer risk, not just finishing a project. Whatever the route, the system is only successful when a test confirms the radon is gone, so budget for both a before and an after test and treat that final measurement as the true finish line.
Verifying the System With a Diagnostic Test
Even a confident DIYer benefits from one borrowed professional technique: the sub-slab communication test. Before committing to a single suction point, drilling a small test hole and using a smoke pencil or a vacuum gauge reveals how far the suction reaches under the slab. Good communication means one point will likely depressurize the whole area; poor communication signals that multiple points or a stronger fan will be needed.
Skipping this step is the most common reason DIY systems underperform. A homeowner who cores a single point and installs an average fan, only to find the far corner of the basement still reads high, has effectively guessed wrong about the sub-slab conditions. Spending a little time on a rough communication check — or hiring a pro for just that diagnostic — dramatically improves the odds of a system that works on the first try rather than requiring rework after a disappointing post-installation test.
When a DIY System Fails to Lower Radon
Sometimes a finished DIY system does not bring levels below the action threshold, and the post-installation test comes back high. The usual culprits, in order of likelihood, are inadequate sealing (the fan pulling house air instead of soil gas), an undersized fan for the home’s soil conditions, poor sub-slab communication requiring a second suction point, or a venting problem allowing radon to re-enter.
Troubleshooting starts with the easy fixes: seal any remaining cracks, cover the sump, and confirm the manometer shows strong suction. If suction is good but radon stays high, the issue is usually communication or fan capacity, which may mean adding a suction point or upgrading the fan. At this stage many homeowners bring in a certified professional to run a diagnostic and resolve the problem efficiently. There is no shame in calling for help — the goal is a verified low radon level, however that is achieved, because the health benefit only materializes when the numbers actually drop.
References
- Consumer’s guide to radon reduction — U.S. Environmental Protection Agency
- Radon mitigation guidance for Colorado — Colorado Department of Public Health and Environment
- Radon reduction and lung health — American Lung Association
Front Range homeowners unsure whether to DIY or hire out can reach out through our contact page to connect with a vetted local professional for testing and system verification.
Radon mitigation fans & parts
If a sub-slab depressurization system is the fix, the inline fan is the heart of it. Match the fan to your soil and pipe diameter — or have a certified installer size it.
| Product | Why | Buy |
|---|---|---|
 RadonAway RP145 Inline Fan RadonAway RP145 Inline Fan | Common 4-in. SSD workhorse fan. | Amazon — $152.00 |
 Fantech Rn2 Radon Fan Fantech Rn2 Radon Fan | Quiet operation; energy-efficient. | Amazon — $165.24 |
 Radon U-Tube Manometer Radon U-Tube Manometer | Confirms the system is pulling suction. | Amazon — $13.95 |