How to Install a Radon Mitigation System: The Steps
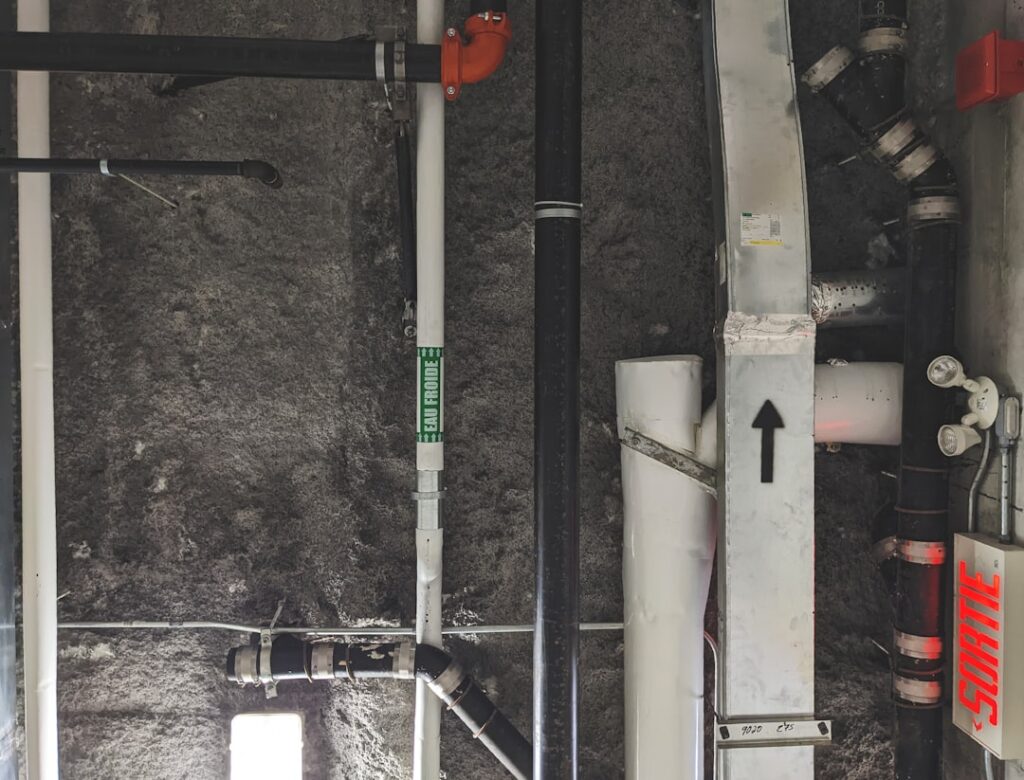
If a radon test puts your home at or above the EPA action level of 4 picocuries per liter (pCi/L), the fix is a mitigation system — and many homeowners want to understand how to install a radon mitigation system before deciding whether to hire out or attempt it. The process follows a logical sequence: diagnose where radon enters, cut a suction point, route a vent pipe above the roof, install a fan, seal the slab, and verify the result with a follow-up test. This guide summarizes EPA and Colorado guidance current as of 2026 and is informational only — it is not a substitute for a certified radon professional, and anyone concerned about radon’s health effects should consult their physician. The sections below explain how to install radon mitigation system components step by step, and where the real difficulty lies.
Part of our Radon Mitigation Systems guide — start there for the full picture →
How to install a radon mitigation system: the overview
Learning how to install a radon mitigation system starts with the standard method: active sub-slab depressurization (ASD). At a high level, the installer determines the best suction point, drills through the foundation slab into the soil or gravel beneath, connects a length of PVC pipe, routes that pipe up and out above the roofline, mounts an in-line fan to draw air continuously from under the slab, seals visible cracks and openings in the floor, installs a manometer to monitor pressure, and finally re-tests the home to confirm radon has dropped below the action level. Each step depends on the one before it, and a mistake early on — a poorly placed suction point, an undersized pipe — undermines the whole system.
The goal throughout is to reverse the slight negative pressure that pulls radon indoors, so that the fan instead draws soil gas out from under the home and vents it harmlessly above the roof. Understanding that principle makes the individual steps easier to follow. For the bigger picture of radon and why this matters in Colorado, see our Front Range radon testing guide.
Step one: diagnostics and suction point placement
Before any drilling, a proper installation begins with diagnostics. The installer assesses the foundation type, locates the sump pit or any existing slab openings, and may perform a pressure-field extension test — drilling a small test hole and measuring how far suction reaches under the slab. This determines how many suction points the home needs and where to place them. A home with poor sub-slab communication (tight, fine soil) may need more than one suction point; a home over loose gravel may need only one.
Getting this step right is what separates a system that hits below 2 pCi/L from one that barely moves. Skipping diagnostics — drilling a hole wherever is convenient — is a common shortcut that leads to underperforming systems. The full diagnostic and design process is detailed in our radon mitigation installation guide.
Step two: cut the suction point and connect the pipe
With the location chosen, the installer cuts a hole in the slab — typically a few inches across — and removes soil or gravel beneath to create a small suction pit that lets the system pull from a wider area. A length of Schedule 40 PVC pipe (3 or 4 inches) is inserted and sealed airtight into the slab penetration with appropriate sealant. If the home has a sump pit, the system can sometimes draw from it using a sealed sump lid instead of cutting a new hole.
The seal at the slab is critical; any air leak there bleeds off the suction the fan creates. From the suction point, the pipe is routed toward its exit path — up through an interior chase or closet, or out and up an exterior wall — with horizontal runs sloped slightly back toward the suction point so condensation drains rather than pools.
Step three: route the pipe and install the fan
The vent pipe must terminate above the roofline, generally at least 12 inches above the roof and a safe distance from and above any window, door, or opening — commonly 10 feet — so discharged radon disperses outdoors and cannot re-enter the home. The in-line radon fan is mounted along the pipe in an unconditioned space such as the attic or outdoors, never in living space, so that the pressurized portion of the pipe stays outside occupied areas. The fan is wired to a dedicated circuit, work that often requires an electrician and a permit.
Fan sizing matters: it must match the sub-slab conditions diagnosed earlier. An undersized fan cannot maintain suction across the slab, while an oversized fan wastes energy and can pull excess conditioned air. The fan and pipe function as a matched pair, as explained in our guide to the radon mitigation fan. In Colorado’s cold winters, interior routing or insulation helps prevent condensation from freezing in the pipe.
Step four: seal the slab and install the manometer
Sealing accessible cracks, control joints, the floor-wall joint, and any open sump or French-drain openings improves system performance by reducing the air the fan has to move from unintended paths. The EPA notes that sealing alone rarely lowers radon enough, but as part of an active system it makes the fan far more effective. A manometer — a U-tube pressure gauge — is mounted on the pipe at eye level so the homeowner can confirm at a glance that the fan is creating suction.
Step five: re-test to confirm it works
Installation is not finished until a follow-up radon test confirms the result. After the system has run for at least 24 hours under closed-house conditions, a new short-term test (or ideally a longer test) verifies radon is below 4 pCi/L — reputable installers aim well under 2. A running fan and a correct manometer reading indicate airflow, but only a radon measurement proves the system actually lowered the gas. If the re-test comes back high, the installer adjusts the system — adding a suction point, upsizing the fan, or sealing additional openings.
What tools and materials does the installation require?
An active system is built from a manageable list of parts, which is part of why some homeowners consider DIY. The core materials are Schedule 40 PVC pipe (3 or 4 inch) and fittings, an in-line radon fan rated for the home, PVC cement and an appropriate sealant for the slab penetration, a manometer, roof flashing or a wall-mount kit for the discharge, and electrical components to power the fan on a dedicated circuit. The tools include a rotary hammer or core drill to cut the slab, a hole saw for the roof or wall penetration, and standard hand tools.
The materials are accessible, but the judgment to use them well is not. Choosing the right fan requires knowing the sub-slab pressure conditions; sizing and routing the pipe requires understanding airflow resistance; and the slab penetration must be cut and sealed without compromising the structure or leaving leaks. The gap between buying the parts and assembling a system that actually lowers radon is where DIY attempts most often fall short — the components are simple, the system design is not.
Permits, code, and electrical work
Radon mitigation work frequently requires a permit, and the fan’s electrical connection must meet code — typically a dedicated circuit installed by a licensed electrician. The discharge point, fan location, and pipe routing are also subject to code and EPA protocol: the fan cannot sit in living space, and the pipe must terminate above the roof clear of openings. Skipping permits or miswiring the fan creates safety and resale problems. A homeowner attempting the work should confirm local permit requirements and hire an electrician for the circuit rather than improvising, since a fan running continuously on an improper connection is a fire risk.
How long does installation take and what should you expect afterward?
A professional installation of a straightforward system is usually completed in a single day, sometimes a few hours, plus the electrical hookup. More complex homes — multiple suction points, crawl-space membranes, difficult routing — can run a day or two. During the work, expect some drilling noise and dust around the suction point, and brief disruption while the fan is wired. The contractor should walk you through the manometer and explain what a normal reading looks like before leaving.
Afterward, the system runs continuously and quietly in the background. Beyond glancing at the manometer occasionally and listening for the fan’s steady hum, there is little maintenance. Re-test radon after installation to confirm the result, then every couple of years and after any fan replacement. Keep the installation paperwork, the system design, and the post-installation test result; these documents reassure future buyers and prove the system works, which matters in a high-radon region where buyers increasingly ask.
Should you DIY or hire a certified professional?
DIY installation is legal in most places and appealing on cost, but it carries real pitfalls. Diagnostics, fan sizing, airtight sealing, code-compliant discharge, and electrical work all require knowledge and tools most homeowners lack, and a poorly installed system can leave radon dangerously high while looking complete. The homeowner who installs without a pressure-field test often discovers, after a high re-test, that the single suction point was never enough. Our overview of DIY radon mitigation lays out where amateurs most often go wrong.
For most homeowners, hiring a contractor certified through the National Radon Proficiency Program (NRPP) or the National Radon Safety Board (NRSB) is the safer choice. Certified installers diagnose properly, size the system correctly, follow code on discharge and electrical, and guarantee the result with a post-installation test. Given that the whole point is to reduce a serious health risk — and that a redone DIY job often costs more than hiring right the first time — professional installation is usually the better value on the Front Range, where high radon is the norm rather than the exception.
References
- Consumer’s guide to radon reduction — U.S. Environmental Protection Agency
- Radon mitigation guidance for Colorado — Colorado Department of Public Health and Environment
- Radon and lung health — American Lung Association
Frequently asked questions
What are the steps to install a radon mitigation system?
Diagnose the foundation and place a suction point, cut and seal the slab penetration, route a PVC pipe above the roof, install and wire an in-line fan, seal slab cracks, add a manometer, and re-test radon to confirm it dropped below 4 pCi/L.
Can I install a radon mitigation system myself?
It is legal in most areas but risky. Diagnostics, fan sizing, airtight sealing, code-compliant discharge, and electrical work are easy to get wrong, and a flawed system can leave radon high while looking finished.
Where does the radon fan go?
In an unconditioned space such as the attic or outdoors, never in living space, so the pressurized part of the pipe stays outside occupied areas. The fan is wired to a dedicated circuit, often requiring a permit.
Do I need to test after installing the system?
Yes. After the system runs at least 24 hours, a follow-up radon test confirms the level is below 4 pCi/L. A running fan alone does not prove the system worked.
If you would rather have a certified professional design and install your system correctly the first time, get in touch through our contact page to connect with a trusted Front Range radon contractor.
Radon mitigation fans & parts
If a sub-slab depressurization system is the fix, the inline fan is the heart of it. Match the fan to your soil and pipe diameter — or have a certified installer size it.
| Product | Why | Buy |
|---|---|---|
 RadonAway RP145 Inline Fan RadonAway RP145 Inline Fan | Common 4-in. SSD workhorse fan. | Amazon — $152.00 |
 Fantech Rn2 Radon Fan Fantech Rn2 Radon Fan | Quiet operation; energy-efficient. | Amazon — $154.03 |
 Radon U-Tube Manometer Radon U-Tube Manometer | Confirms the system is pulling suction. | Amazon — $8.95 |