Install Radon Mitigation System: What to Know
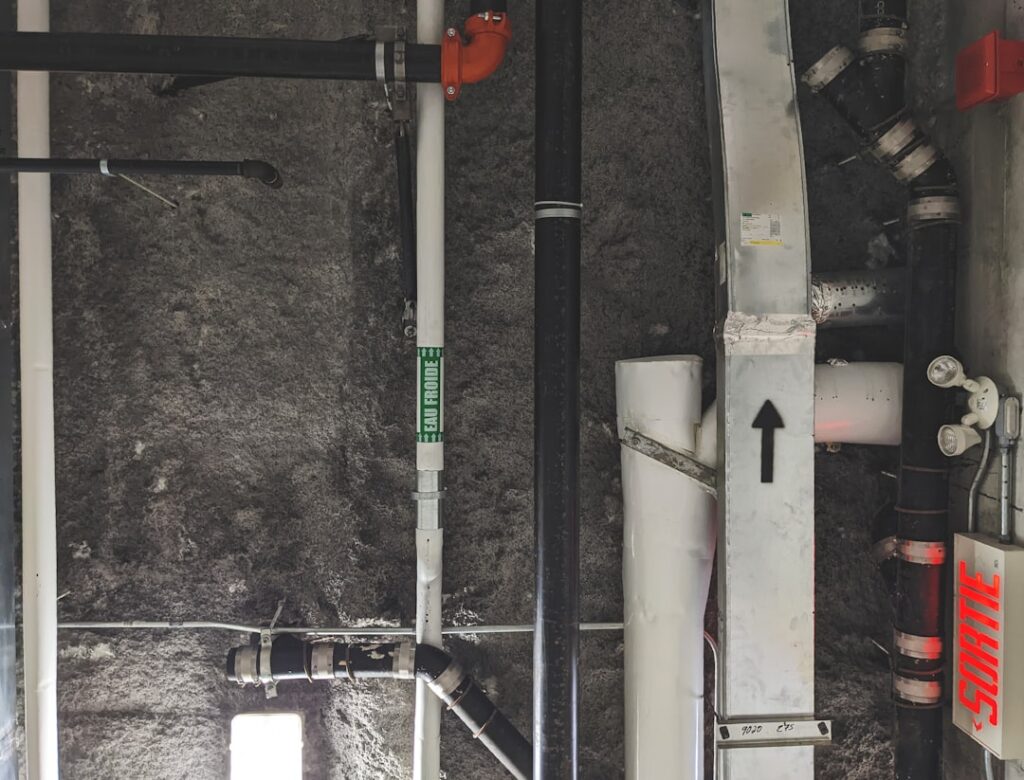
When a radon test comes back at or above the EPA action level, the next step is to install a radon mitigation system — and on the Colorado Front Range, that conversation happens in a lot of households, because the region’s geology produces some of the highest indoor radon in the country. The standard system is straightforward, durable, and remarkably effective, but the details of where the pipe runs, how the fan is sized, and where it discharges determine whether it actually works. This guide summarizes EPA and Colorado Department of Public Health and Environment guidance current as of 2026 — consult a certified mitigation contractor for installation decisions, since system design depends on your specific foundation.
Part of our Radon Mitigation Systems guide — start there for the full picture →
How is a radon mitigation system installed?
The most common installation is active sub-slab depressurization (ASD). A contractor cuts a hole through the basement slab, hollows out a suction pit in the soil or gravel beneath, and seals a PVC pipe into the opening. The pipe runs up through the house or along an exterior wall to a fan, which continuously draws radon-laden soil gas from under the foundation and vents it above the roofline, where it disperses harmlessly. The negative pressure created beneath the slab prevents radon from entering the living space. A typical installation takes a half day to a day and, when done correctly, brings levels well below the 4.0 pCi/L action level.
ASD is the EPA-recommended approach for most homes with a slab or basement. The full menu of methods and how testing leads into them is covered in the guide to radon testing in Colorado.
The installation steps
A professional ASD installation follows a consistent sequence:
- Diagnosis: the contractor evaluates the foundation type, slab condition, and sub-slab material, sometimes performing a communication test to confirm air moves under the slab.
- Suction point: a hole is cut in the slab and a pit excavated beneath to create a plenum the fan can draw from.
- Piping: 3- or 4-inch PVC is sealed into the slab and routed to the fan location — in the attic, garage, or along an exterior wall.
- Fan and discharge: an inline radon fan is mounted in a non-living space, and the vent terminates above the roofline, away from windows and intakes.
- Sealing: visible foundation cracks, sump pits, and floor-wall joints are sealed to maximize the system’s suction.
- Manometer and testing: a U-tube pressure gauge is installed, and a post-installation radon test confirms the system reduced levels.
Each detail matters. An undersized fan, an unsealed sump, or a discharge point too close to a window can leave radon elevated even with a system in place. The component-level breakdown appears in the guide to radon mitigation installation.
Fan sizing and discharge placement
The fan is the heart of the system, and choosing the right one depends on the foundation. Tight, low-permeability soils need a higher-suction fan; loose gravel sub-slabs need higher airflow. An experienced contractor matches the fan to the diagnostic results rather than installing a one-size-fits-all unit. The fan runs continuously and is mounted outside the living space — attic or exterior — so its slight noise and any potential leakage stay out of conditioned air.
Discharge placement is governed by EPA guidance: the vent must terminate above the roof eave, away from windows, doors, and air intakes, so the exhausted radon disperses outdoors and does not re-enter. The fan itself is the most likely component to need eventual replacement, as detailed in the guide to the radon mitigation fan.
The fan should never be installed in the basement or any conditioned living space. The pipe between the suction point and the fan is under positive pressure on the discharge side, so a leak in finished space would push radon-laden air back into the home rather than out of it. Keeping the fan in the attic, garage, or on an exterior wall ensures that any leak vents harmlessly. This is one of the most important design rules and one of the most common mistakes in amateur installations.
What it costs on the Front Range
A professionally installed sub-slab depressurization system in Colorado commonly costs in the range of roughly $800 to $2,500, with most straightforward basement installations landing somewhere in the middle. Price varies with foundation type, the number of suction points required, the routing complexity, and whether the pipe must run through finished space. Homes on multiple slabs, crawlspaces, or with sealed sumps may need more than one suction point, which raises the cost.
That one-time expense buys a system that runs for years on modest electricity. The detailed cost ranges, including by component, are laid out in the guide to the cost of radon mitigation.
How foundation type changes the installation
The home’s foundation drives the design. A full basement with a poured slab is the most straightforward case — a single suction point usually serves the whole footprint. A slab-on-grade home is similar. Crawlspaces are different: rather than drawing from beneath a slab, the contractor often installs a sealed vapor barrier over the soil and draws radon from beneath that membrane, a method called sub-membrane depressurization.
Homes with multiple foundation sections — an addition on its own slab, a split-level with stepped footings, or a finished basement over part of the footprint — may need more than one suction point or interconnected piping. Each added suction point raises cost and complexity. This is why a good contractor performs diagnostics before quoting rather than offering a flat price sight unseen; the right design depends entirely on what lies beneath the floor.
DIY versus professional installation
Some homeowners consider installing the system themselves to save money. It is physically possible, but the diagnostics — fan sizing, suction-point placement, and confirming sub-slab communication — are where DIY projects fail. An improperly designed system can leave radon elevated while giving the household a false sense of safety, and an incorrectly routed discharge can recirculate the gas.
For most homeowners, a certified contractor is the safer choice, particularly because the post-installation test must confirm the system actually reduced levels. The trade-offs are weighed in detail in the guide to DIY radon mitigation. Whoever does the work, the job is not finished until a follow-up test confirms success.
Choosing a qualified installer
The installer’s skill determines whether the system works on the first try. A qualified radon mitigation contractor holds recognized credentials, carries insurance, and performs diagnostics before quoting rather than offering a flat price sight unseen. Ask whether they run a communication test to confirm air moves under the slab, how they size the fan to the foundation, and whether a post-installation radon test is included in the price.
Get itemized written bids from two or three contractors. Each should specify the number of suction points, the fan model, the pipe routing, the sealing work included, and the post-installation test. A bid that is dramatically cheaper than the others often omits diagnostics, uses an undersized fan, or skips the confirming test — corners that can leave radon elevated while the homeowner believes the problem is solved.
References and reviews matter here as much as for any contractor. A firm with a track record of bringing Front Range homes below the action level on the first installation, and of returning to adjust a system if the post-test comes back high, is worth a modest premium over the lowest bidder. The goal is not just a pipe and a fan on the wall; it is a measured, confirmed reduction in radon. A contractor who guarantees the system will achieve a target level, and backs it with a re-test, is offering exactly the accountability a homeowner should expect on a job whose entire purpose is a number that cannot be seen.
After installation: confirm and monitor
A radon system is only proven by a post-installation test showing levels below the action level — ideally as low as reasonably achievable. The manometer provides an ongoing visual check: a pressure difference between the two sides of the U-tube means the fan is working. Homeowners should glance at it periodically and re-test the home every couple of years, since fans wear out and conditions change. If the manometer ever equalizes, the fan has likely failed and needs replacement. For questions about long-term health risk from past exposure, consult a physician; the system manages the gas going forward.
Installing a radon system is, in the end, one of the more satisfying home-improvement projects a Front Range owner can undertake, because the result is both measurable and protective. Unlike a cosmetic upgrade, a properly installed system produces a number — a post-test reading well below the action level — that proves it worked. It runs quietly for years on a few dollars of electricity, asks for little beyond an occasional glance at the manometer and a periodic re-test, and removes a genuine long-term health risk from the home. For a one-time cost that usually lands in four figures, it is among the highest-value investments a homeowner in a high-radon region can make.
The single most important habit after installation is confirmation. Do not assume the system works because a pipe and fan are in place; insist on the post-installation test, keep the documentation, and re-test the home periodically. A system that was never confirmed, or that quietly failed years ago when its fan died, offers a false sense of safety that is arguably worse than no system at all, because the household stops worrying about a problem that may have returned. Pairing the install with confirmation, and confirmation with periodic re-testing, is what makes the investment deliver the protection it promises over the long run.
Sealing and other supporting measures
Sub-slab depressurization does most of the work, but sealing the home’s air pathways improves how efficiently it performs. A good installation seals visible foundation cracks, the floor-wall joint, plumbing penetrations, and especially the sump pit, capping it with an airtight lid that still allows the pump to function. Sealing alone rarely solves a radon problem, but it lets the fan create stronger negative pressure under the slab with less air leakage, which can mean a smaller fan and lower running cost.
Crawlspaces get special attention. Rather than drawing from beneath a slab, a crawlspace system typically lays a sealed polyethylene vapor barrier across the soil and draws radon from beneath that membrane. The barrier must be sealed at the seams and edges to work, and a poorly sealed membrane undermines the whole system. Homes that combine a basement, a slab section, and a crawlspace may need a hybrid approach with more than one suction point.
Drainage and grading outside the home play a supporting role too. Because radon entry is tied to soil moisture and pressure dynamics, keeping water away from the foundation — through proper grading, working gutters, and downspout extensions — supports the overall effort, the same way it helps with the expansive-soil movement common across the Front Range. None of these measures replaces the active fan, but together they help the system reach and hold the lowest practical radon level rather than just clearing the action threshold by a hair.
References
- Consumer’s guide to radon reduction — U.S. Environmental Protection Agency
- Radon mitigation guidance for Colorado — Colorado Department of Public Health and Environment
- Radon and lung health — American Lung Association
Frequently asked questions
How does a radon mitigation system get installed?
The standard method is active sub-slab depressurization: a contractor cuts through the slab, excavates a suction pit, seals in a PVC pipe, and connects it to a continuously running fan that vents radon above the roofline. The negative pressure under the slab stops radon from entering the home.
How long does installation take?
A typical sub-slab depressurization installation takes from a half day to a full day, depending on the foundation, the routing, and the number of suction points required. A post-installation radon test then confirms the system reduced levels below the action level.
What does it cost to install a radon system in Colorado?
Professional installation commonly ranges from roughly $800 to $2,500, with most basement systems landing in the middle. Cost rises with multiple suction points, crawlspaces, or routing through finished space.
Can I install a radon mitigation system myself?
It is possible but risky. The diagnostics — fan sizing, suction-point placement, and confirming airflow under the slab — are where DIY systems fail, potentially leaving radon elevated. A certified contractor and a confirming post-installation test are the safer route.
Front Range homeowners ready to install a radon mitigation system can reach out through our contact page to connect with a certified mitigation contractor.
Radon mitigation fans & parts
If a sub-slab depressurization system is the fix, the inline fan is the heart of it. Match the fan to your soil and pipe diameter — or have a certified installer size it.
| Product | Why | Buy |
|---|---|---|
 RadonAway RP145 Inline Fan RadonAway RP145 Inline Fan | Common 4-in. SSD workhorse fan. | Amazon — $152.00 |
 Fantech Rn2 Radon Fan Fantech Rn2 Radon Fan | Quiet operation; energy-efficient. | Amazon — $153.89 |
 Radon U-Tube Manometer Radon U-Tube Manometer | Confirms the system is pulling suction. | Amazon — $8.95 |