DIY Radon Mitigation: What It Takes to Do It Right
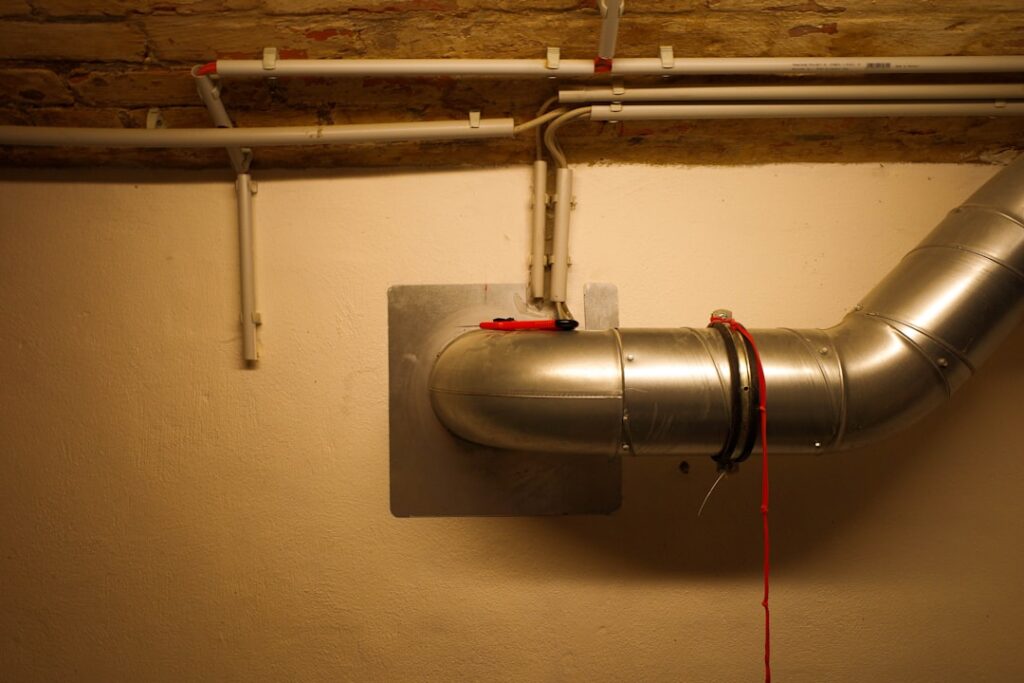
Faced with an elevated radon result and a contractor quote, many handy homeowners ask whether they can install a mitigation system themselves. DIY radon mitigation is possible, and some experienced do-it-yourselfers complete the work successfully, but it is more demanding than it looks. Getting it wrong can leave dangerous levels in place while appearing to function. This guide explains how a do-it-yourself system works, the steps and tools involved, the real risks, and the situations where hiring a certified professional is the wiser call. It reflects EPA guidance current as of 2026; always confirm results with a follow-up test, and consult a professional when in doubt.
What DIY radon mitigation involves
The standard residential fix, whether DIY or professional, is active sub-slab depressurization (ASD). The system creates suction beneath the concrete slab so radon is drawn into a pipe and vented above the roofline instead of seeping into the home. Building it yourself means replicating that engineered approach with care.
At its core, the project requires coring a hole through the basement slab, sealing a PVC pipe into it, routing that pipe up through the home or along the exterior to above the roof, installing a properly sized inline radon fan in an unconditioned space, and sealing slab cracks and penetrations to improve performance. A manometer is added to confirm the system is pulling suction. None of these steps is exotic, but each must be done correctly for the system to actually reduce radon. Our guide to the full basement radon mitigation system describes the same components in a professional context.
It is worth being honest about who DIY suits. The homeowner most likely to succeed is comfortable with power tools, has cut and joined PVC before, understands basic ventilation principles, and is willing to test and retest until the result is verified. The work is more akin to a serious plumbing or HVAC project than to hanging a shelf. If coring concrete or sizing a fan from a performance curve sounds daunting, that is a strong signal to hire out the job. There is no shame in that choice; radon is a health hazard, and the goal is a system that actually works, not the satisfaction of having done it yourself.
The basic DIY steps
A do-it-yourself ASD installation generally follows this sequence. Treat it as an overview, not a substitute for detailed, code-compliant instructions.
- Confirm the problem. Verify elevated radon with a reliable test before starting, and identify the lowest level and slab area to work on.
- Choose a suction point. Select a location, often near a sump or an accessible slab area, where suction can spread effectively beneath the foundation.
- Core the slab. Drill through the concrete and remove material below to create a small suction pit in the aggregate.
- Install and route the pipe. Seal PVC pipe into the slab and route it to above the roofline, keeping discharge away from windows.
- Mount the fan. Install a correctly sized inline radon fan in an attic, garage, or outside, never in living space, and wire it to run continuously.
- Seal entry points. Caulk slab cracks, seal the sump lid, and close gaps around penetrations.
- Add a manometer and retest. Install the gauge, then run a post-mitigation radon test to confirm levels dropped below 4 pCi/L.
Each step depends on the one before it, and skipping or rushing any of them undermines the whole system. The slab sealing, in particular, is easy to underestimate; gaps left around the sump, cracks, or penetrations let air leak in and rob the system of suction. Patience and thoroughness, especially at the sealing and verification stages, are what separate a working DIY system from one that merely looks finished.
That final retest is not optional. It is the only proof the system worked.
Tools, materials, and cost
A DIY system uses fairly standard materials: schedule-40 PVC pipe and fittings, an inline radon fan rated for the job, a U-tube manometer, sealant and caulk, and a rotary hammer or core drill to penetrate the slab. The radon fan is the most important purchase, and it must be sized to the home’s foundation and sub-slab conditions; an undersized or oversized fan undermines performance.
On cost, DIY can save meaningfully on labor. Materials often run a few hundred dollars, versus a professional installation that industry estimates place roughly between $800 and $2,500. The savings are real, but they assume you have the skills and tools and that you size and install the system correctly the first time. For a full cost comparison, see our guide to radon mitigation system cost. Factor in the price of a confirmation test, and remember that a failed DIY attempt may still require hiring a professional afterward.
The fan deserves the most care in your shopping. Radon fans come in different suction and airflow ratings, and the correct choice depends on your foundation type and how tight the sub-slab aggregate is. A fan that is too weak will not pull enough suction to clear the slab; one that is too strong wastes energy and can pull excessive conditioned air. Manufacturers publish performance curves to help match the fan to the job, and getting this right is where DIY installers most often need guidance. Renting or buying a core drill capable of penetrating the slab is the other notable equipment cost, though some homeowners hire out just the coring and handle the rest themselves.
The real risks of doing it yourself
The biggest danger of DIY mitigation is a false sense of safety. A system can look finished, with a fan humming and a pipe venting outside, yet still fail to bring radon below the action level if the suction point is poorly placed, the fan is mismatched, or the slab is not adequately sealed. Without a follow-up test, you would never know your family is still exposed. This is the failure mode that worries professionals most, because the homeowner believes the problem is solved and stops testing, while elevated radon continues silently. A humming fan is not proof of success; only a post-installation test is.
Other risks include improper fan placement, putting the fan inside living space, where any leak recirculates radon indoors, and discharge located too close to windows, allowing the gas to re-enter. Cutting into a slab can also encounter post-tension cables, utilities, or structural concerns in some homes. And the work must meet local building codes and radon mitigation standards. Because there is no safe level of radon and it is a leading cause of lung cancer among nonsmokers per the EPA, errors carry genuine health consequences. The radon testing guide for Front Range homeowners underscores why verification matters at every step.
There is also a subtler risk worth naming: backdrafting. Sub-slab depressurization changes pressures inside the home, and a poorly designed system can, in rare cases, interfere with the proper venting of combustion appliances like furnaces and water heaters. Professionals account for this when sizing and placing a system, but a DIY installer may overlook it. This is one more reason the post-installation work includes not just a radon retest but attention to how the home’s systems interact, an area where professional experience genuinely matters.
When to hire a professional instead
DIY makes the most sense for genuinely experienced homeowners with a simple, accessible slab, the right tools, and the willingness to test and re-test until levels are confirmed low. Even then, sizing the fan and placing the suction point are where amateurs most often go wrong.
Hire a certified mitigation professional when your home has a complicated foundation, multiple slab sections, a crawl space, or finished basement areas that complicate routing; when your radon levels are very high and you need assured results quickly; or when you simply want the work guaranteed to meet the action level. Certified contractors diagnose the foundation, size the system correctly, follow EPA and state standards, and stand behind the result with a post-installation test. In Colorado, where radon potential is high statewide, many homeowners decide the certainty of professional installation is worth the cost. Whichever route you choose, the non-negotiable rule is the same: confirm the finished system with a radon test before you trust it.
If you do go the DIY route
For homeowners who decide to proceed, a few practices separate a successful project from a frustrating one. Start by confirming your radon level with a reliable test, so you have a clear before-number to measure against. Research local building codes and any radon-specific requirements, since some jurisdictions regulate mitigation work and may require permits or inspections even for owner-installed systems.
Plan the suction point and pipe route carefully before cutting anything, scan the slab for post-tension cables or buried utilities, and keep the fan out of any living space so a leak cannot recirculate radon indoors. Discharge the pipe above the roofline and away from windows. After the system is running and has had time to establish suction, run a follow-up radon test under closed-house conditions to verify the level dropped below 4 pCi/L. If it did not, do not assume the system simply needs time; troubleshoot the suction point, the sealing, or the fan size, and bring in a professional if you cannot get the number down. A DIY system that is never verified is not a finished project, and on a hazard this serious, verification is the step that actually protects your household.
Keep records of what you install and the test results before and after, both for your own reference and for any future buyer, who will reasonably want documentation that the system works. Label the fan and manometer so future occupants understand what the equipment is and why it must stay powered. And plan to retest every couple of years, just as you would with a professionally installed system, since a DIY setup is subject to the same fan wear and changing soil conditions over time. Treated as an ongoing responsibility rather than a one-time build, a well-executed DIY system can keep a home’s radon safely in check for years.
Ultimately, the decision is not about pride or thrift but about results. Radon causes real harm over time, and the only acceptable outcome is a verified level below the action threshold. If you can achieve that yourself, with the right tools, careful work, and honest testing, DIY is a legitimate path. If there is any doubt, the modest premium for a certified, guaranteed professional installation buys certainty on something too important to leave to chance. Either way, the finish line is the same: a tested, documented system that holds your home’s radon safely below the action level, year after year.
References
- Consumer’s Guide to Radon Reduction — U.S. EPA
- Health Risk of Radon — U.S. EPA
- Radon Mitigation in Colorado — Colorado Department of Public Health and Environment
- About Radon and Your Health — Centers for Disease Control and Prevention
Front Range homeowners weighing DIY versus professional radon mitigation can connect with a vetted local contractor for a second opinion by getting in touch through our contact page.