How Does a Radon Mitigation System Work?
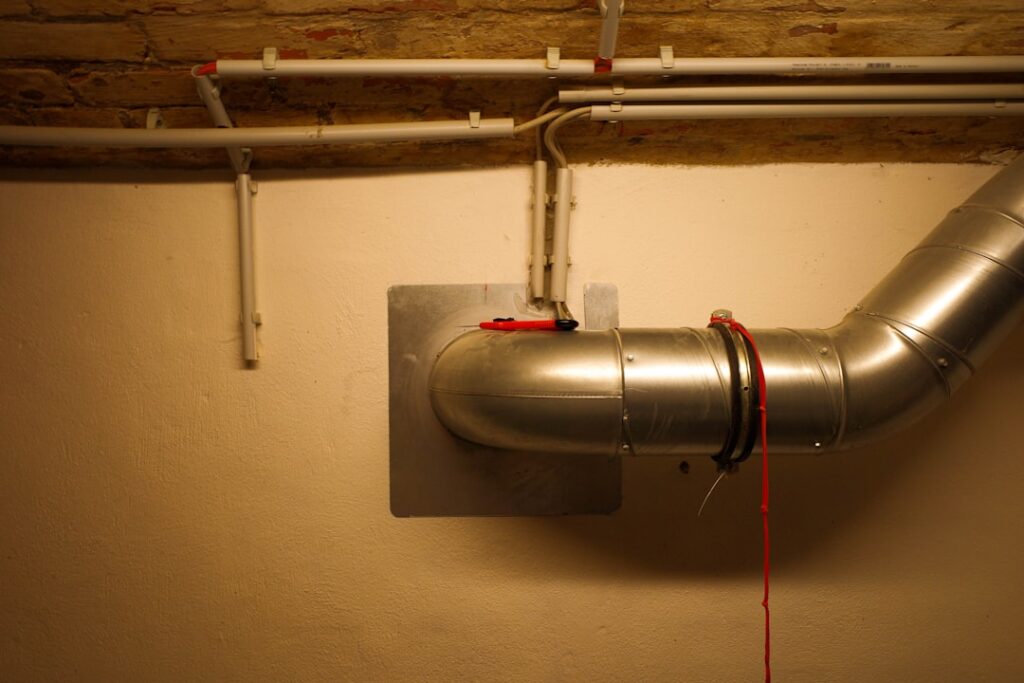
A radon mitigation system looks deceptively simple from the outside — a white PVC pipe running up the side of a house with a small fan tucked along the way. Behind that plain appearance is a carefully engineered piece of building science. Understanding how a radon mitigation system works means following the airflow from beneath the foundation, through the pipe and fan, to the discharge point above the roof, and seeing how each component plays its part. This guide summarizes EPA and Colorado state health guidance current for educational purposes; consult a certified radon professional for decisions about your home.
Part of our Radon Mitigation Systems guide — start there for the full picture →
How a radon mitigation system works, part by part
A radon mitigation system works by creating a low-pressure zone beneath the home’s foundation and continuously drawing soil gas out of that zone before it can enter the living space. The system has four essential parts working together: a suction point through the foundation, a vent pipe, a continuously running fan, and a discharge point above the roof. A pressure gauge confirms the system is operating.
The logic is one of pressure. Soil gas containing radon naturally migrates toward the lower-pressure interior of a house. By installing a fan that pulls air from under the slab, the system makes the space beneath the foundation the lowest-pressure point, so radon flows into the pipe instead of the home. This is the same sub-slab depressurization principle behind most systems, and Colorado’s high-radon geology makes it a common installation, as our Front Range radon testing guide describes.
The suction point: where it begins
Everything starts beneath the floor. The installer cores a hole through the basement slab or foundation floor and scoops out a small amount of the gravel or soil underneath to create a void, sometimes called a suction pit. This cavity lets the system draw air from a wide area beneath the slab rather than from a single point, spreading the suction across the foundation.
The size and placement of this suction point matter enormously. A well-placed pit under a slab with permeable aggregate can depressurize the whole footprint with one suction point; a home with dense soil or a segmented foundation may need more than one. The installer seals the pipe into the slab so air is drawn only through the soil, not through the gap around the pipe. Getting this foundation work right is the difference between a system that performs and one that struggles, which is why the installation steps emphasize evaluating the foundation first.
The pipe and fan: moving the air
From the suction point, a sealed PVC pipe carries the soil gas upward. The routing varies: some systems run the pipe up through the interior of the house and out through the roof, while others exit through the rim joist and climb the exterior wall. Either way, the pipe must reach above the roofline so radon discharges high and disperses.
The radon fan
The fan is the only powered component and the heart of the system. Radon fans are purpose-built to run continuously for years and to move air against the resistance of soil. They are installed in an unconditioned space — an attic, garage, or outdoors — never in living space, so that if the pipe ever leaks on the pressure side, it does not push radon into the home. The fan’s job is to maintain steady suction beneath the slab. Choosing the correctly sized fan for the home’s foundation and soil is critical, a topic our guide to the radon mitigation fan covers in detail.
The manometer
A small U-shaped gauge called a manometer is mounted on the pipe, usually in the basement. It contains colored liquid, and the difference in liquid levels shows the suction the fan is producing. When the levels are uneven, the system is working; when they equalize, the fan has likely stopped. This simple device gives the homeowner an instant status check without any tools. The role of this gauge and the warning signs of failure are explained further in our overview of the radon pipe and its components.
The discharge point: where radon leaves
The pipe terminates above the roofline, typically at least a foot above the roof surface and away from windows, vents, and the soffit. This placement ensures the exhausted radon mixes into the outdoor air and disperses rather than re-entering through an opening. The discharge point is a small but vital design detail — venting too low or near a window can route radon right back inside.
Because the gas is released into open air well above occupied space, the outdoor concentration becomes negligible. Radon is dangerous because it accumulates in enclosed spaces; once dispersed outdoors, it poses no meaningful risk. The system essentially short-circuits the natural path radon would take into the home and redirects it to where it dilutes harmlessly. Sealing foundation cracks, the sump pit, and other openings supports this by ensuring the fan’s suction is not wasted pulling conditioned indoor air.
Active versus passive systems
Systems come in two forms. An active system includes a fan and is what most existing homes receive after an elevated test. A passive system, often built into new construction, installs the same piping but relies on the natural stack effect — warm air rising in the home — to draw soil gas up the pipe without a fan. Passive systems are cheaper to include during construction and can be activated later by adding a fan if testing shows radon is still elevated.
Active systems are more reliable because they do not depend on weather or the home’s natural airflow. In a high-radon area like the Colorado Front Range, many homeowners with passive systems end up adding a fan to guarantee performance. The presence of either system in a home is a sign the radon pathway has been addressed; buyers weighing such a home can read our guide on buying a home with a radon mitigation system for context.
Confirming the system works
Installation is not the end of the story. A radon mitigation system is only proven effective by a follow-up radon test that shows levels have dropped below the EPA action level of 4 pCi/L, ideally toward 2 pCi/L or lower. The manometer confirms the fan is running, but only a measured radon level confirms the system is actually protecting the home.
Over time, the homeowner’s role is light: glance at the manometer occasionally, listen for the fan, and retest every couple of years or after major renovations. Fans eventually wear out and need replacement, but the rest of the system is essentially permanent. Understanding how each part contributes — suction point, pipe, fan, gauge, and discharge — helps homeowners recognize when something is off and appreciate why professional installation, confirmed by testing, is the path to a home with safe radon levels. For the wider picture of why these systems matter in Colorado, our hub on radon in homes ties the science to everyday living.
How the system handles different foundation types
A radon mitigation system adapts to the foundation it serves, and the foundation type largely dictates the design. A home built on a poured concrete slab or with a full basement is the most straightforward case: the installer cores through the slab, creates a suction pit in the aggregate beneath, and the system depressurizes the area under the floor. Homes with good gravel under the slab depressurize easily because the suction spreads readily through the loose material.
Crawlspaces require a different approach. Since there is no slab to draw from, the installer lays a heavy polyethylene membrane over the crawlspace soil, seals it at the edges and seams, and draws soil gas from beneath this barrier — sub-membrane depressurization. Homes with hollow concrete-block foundation walls may need the block walls themselves depressurized, since radon can travel through the hollow cores. A home with multiple foundation types — a slab addition off a crawlspace home, for instance — may need more than one suction point or even more than one system. The contractor’s job is to read the foundation and match the method, which is why no two installations are identical and why a site evaluation precedes any design.
The role of the suction pit
The small cavity the installer scoops out beneath the slab does more work than its size suggests. By removing some aggregate or soil at the suction point, the installer creates a low-resistance pocket from which the fan can pull air across a wide footprint. A well-formed pit in permeable material can depressurize an entire basement floor from a single point. In dense or compacted soil, the pit’s effectiveness drops, and the contractor may need to enlarge it, add a second suction point, or select a stronger fan. The pit is invisible once the pipe is sealed in, but its quality is one of the biggest factors in whether the finished system performs.
Signs a radon system is not working
Because the system runs silently in the background, homeowners need to know the warning signs of a failure. The clearest is the manometer reading even — when the colored liquid sits at the same level on both sides, the fan is no longer creating suction, usually because it has failed. A fan that has stopped may also be silent where it once produced a faint hum, or it may rattle or buzz as it nears the end of its life. Some systems include an alarm or app alert that signals a pressure loss.
A failed fan is not an emergency, but it does mean the home is no longer protected, so the fan should be replaced promptly. Beyond fan failure, a system can underperform if a new foundation crack opens, if the sump lid seal degrades, or if renovations change the home’s airflow. This is why periodic retesting matters even on a home with a working system. The manometer confirms the fan is running, but only a radon measurement confirms the home’s levels are actually low — the two checks together give a complete picture, a point our broader discussion of monitoring with a continuous radon monitor reinforces.
Maintaining a radon mitigation system
A radon system is one of the lowest-maintenance pieces of equipment in a home, but a little attention keeps it reliable. The main routine task is checking the manometer periodically — a glance at the gauge confirms the fan is producing suction. Listening for the fan’s faint hum, where it is audible, offers a second quick check. Many homeowners build the manometer glance into a monthly walk-through of the basement or utility area.
The fan is the one component that wears out, typically after years of continuous operation. When it fails, a replacement of the same specification restores the system. Replacing the fan is straightforward for a qualified contractor and inexpensive relative to the original installation. Beyond the fan, the pipe and seals are essentially permanent, though seals around the sump lid or slab penetrations can degrade over decades and may need refreshing. After any fan replacement or significant home renovation, a follow-up radon test confirms the system still drives levels below the action threshold. This minimal upkeep — a periodic gauge check and an occasional fan replacement — is all it takes to keep an otherwise invisible safeguard working for the life of the home.
Why professional installation matters
The simplicity of a finished radon system can make installation look like a weekend project, but the design decisions behind it require expertise. Locating the suction point, sizing the fan to the soil and foundation, sealing the right openings, and routing the discharge safely all demand judgment that comes from training and experience. An undersized fan or a poorly placed suction point can leave radon levels elevated despite a system that appears complete, and improper venting can route exhausted radon back toward windows or air intakes.
A certified radon mitigation professional evaluates the home, selects the appropriate method for its foundation, and confirms the result with post-installation testing. The contractor also provides documentation that supports a future home sale and stands behind the system’s performance. Given that the hazard is a cancer-causing gas, the modest cost of professional installation is a sound investment in getting the system right the first time. Confirming the work with a radon test remains the final, non-negotiable step that separates a system that looks finished from one that actually protects the household.
References
- Consumer’s Guide to Radon Reduction — U.S. Environmental Protection Agency
- Colorado Radon Program — Colorado Department of Public Health and Environment
- Radon and Lung Health — American Lung Association
Frequently asked questions
What are the main parts of a radon mitigation system?
A typical system has a suction point through the foundation, a vent pipe, a continuously running fan, and a discharge point above the roof, plus a manometer gauge. Together they draw soil gas out before it enters the home.
Why is the fan installed in an attic or outside?
The fan goes in an unconditioned space so that if the pressure side of the pipe ever leaks, it does not push radon into living space. This placement is a safety standard for active systems.
What does the manometer on the pipe tell me?
The manometer's uneven liquid levels show the fan is creating suction. If the levels equalize, the fan has likely stopped working and the system needs service.
What is the difference between an active and passive system?
An active system uses a fan to draw soil gas; a passive system relies on natural air movement and is often built into new construction. A fan can be added to a passive system if testing shows radon is still elevated.
If your Colorado home needs a radon system or you want a current one evaluated, contact us for help connecting with a certified radon professional.
Radon mitigation fans & parts
If a sub-slab depressurization system is the fix, the inline fan is the heart of it. Match the fan to your soil and pipe diameter — or have a certified installer size it.
| Product | Why | Buy |
|---|---|---|
 RadonAway RP145 Inline Fan RadonAway RP145 Inline Fan | Common 4-in. SSD workhorse fan. | Amazon — $152.00 |
 Fantech Rn2 Radon Fan Fantech Rn2 Radon Fan | Quiet operation; energy-efficient. | Amazon — $153.89 |
 Radon U-Tube Manometer Radon U-Tube Manometer | Confirms the system is pulling suction. | Amazon — $8.95 |