Installing a Radon Mitigation System: The Steps
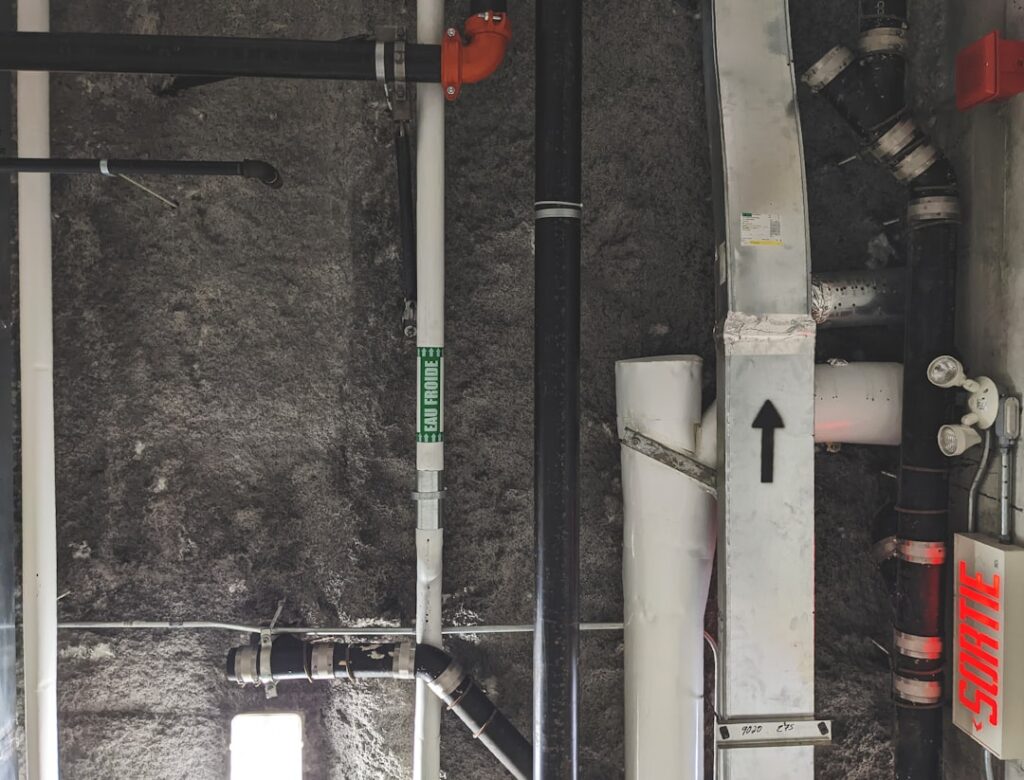
A confirmed high radon result raises an immediate question: what actually happens when a crew installs a mitigation system? Installing a radon mitigation system is a structured process, usually completed in a single day, that turns a home with elevated radon into one venting that gas safely outdoors. The most common method, active sub-slab depressurization, follows the same logical sequence in most homes: assess the foundation, create a suction point, route a sealed pipe to a fan, vent above the roof, and verify the result. This guide walks through that sequence step by step so homeowners know what to expect. It summarizes EPA guidance current as of 2026; rely on a certified radon mitigation professional for your specific home.
What “installing a radon system” actually means
For most homes, installation means building an active sub-slab depressurization system. The principle is simple even if the execution is technical: a fan creates suction beneath the concrete slab, drawing radon-laden soil gas into a pipe before it can seep into the living space, then venting it above the roofline where it disperses.
This guide is about the install process itself, distinct from the hardware sizing covered in our radon mitigation fan guide and the pricing covered in our radon system cost breakdown. The broader context lives in our radon testing guide for Front Range homeowners, where Colorado’s geology makes these installs routine. Here, the focus is the sequence of work from arrival to clearance.
Step 1: Diagnostic assessment
A good install starts before any drilling. The technician evaluates the foundation type, slab condition, and sub-slab material, because these determine the system design. They often perform a sub-slab communication test: drilling a small test hole, applying suction, and measuring how pressure spreads beneath the slab. This reveals how permeable the sub-slab is and how many suction points the system will need.
This diagnostic step is what separates a one-size-fits-all install from one engineered for the home. A home on tight clay may need more suction or multiple pits; a home over loose gravel may achieve coverage from a single point. Skipping this step is how systems end up undersized.
Step 2: Creating the suction point
The technician selects a location for the suction pit, often in a basement corner, utility area, or garage where the pipe can run discreetly. They core a hole through the slab and excavate a cavity beneath it, removing several gallons of soil or gravel to create a pit. This pit acts as a plenum, allowing the fan’s suction to spread across a wide area under the slab rather than pulling on a single point.
The size and number of pits depend on the diagnostic results. Larger homes or those with poor sub-slab communication may require more than one suction point connected to the same system. Getting this right is what lets a single fan depressurize the entire footprint.
Step 3: Routing the vent pipe
From the suction pit, the crew installs PVC pipe, commonly three or four inches in diameter, sealed into the slab opening. The pipe routes from the pit up through the home or along an exterior wall toward its exit point. Interior routing often runs the pipe through a closet, garage, or chase to the attic; exterior routing runs it up the outside of the house.
The pipe path balances function and appearance. Larger-diameter pipe reduces air velocity and noise. Routing avoids the living space’s breathing zone and positions the fan outside conditioned areas. Sealing the connection at the slab is critical, since a leak there pulls house air instead of soil gas.
Step 4: Installing the fan
The fan is installed inline on the vent pipe, always outside the living space, typically in the attic, garage, or on the home’s exterior. This placement matters for safety: if the pressurized section of pipe after the fan ever leaks, it leaks outside rather than into the home. Vibration-isolating couplings connect the fan to the rigid pipe to keep noise down.
Fan selection ties back to the diagnostic results, matching airflow and static pressure to the sub-slab conditions. Our fan sizing guide covers that decision in depth. Electrical connection to the fan is made following code, often requiring a dedicated circuit.
Step 5: Venting above the roofline
The vent pipe terminates above the roofline, away from windows, doors, and other openings, so the discharged radon disperses into the open air rather than re-entering the home. EPA guidance specifies clearances for the discharge point to prevent re-entry. The exterior termination is weather-capped to keep out rain and debris while allowing free airflow.
This is the system’s exhaust, and its placement is not arbitrary. A discharge point too close to a window or too low on the roof risks pulling radon back inside, defeating the purpose of the whole install.
Step 6: Sealing and the manometer
With the system built, the crew seals visible foundation openings, cracks, sump pit lids, and floor-wall joints that would let the fan pull conditioned house air instead of soil gas. Sealing improves system efficiency, though it supplements rather than replaces the active suction. Our overview of radon in the basement explains why these entry points matter.
A manometer, the U-tube pressure gauge, is mounted on the pipe so the homeowner can confirm at a glance that the fan is creating suction. Different liquid levels mean the system is working; level columns mean the fan has stopped.
Step 7: Post-mitigation testing
Installation is not finished when the fan turns on. The decisive step is a post-mitigation radon test, performed after the system has run long enough to stabilize, usually at least 24 hours and often longer per protocol. This retest confirms the system actually brought radon below the EPA action level of 4 picocuries per liter.
A system that runs is not proof of success; only the retest proves it. If the result is still elevated, the professional adjusts the system, adds a suction point, upgrades the fan, or seals additional entry points, then retests. A reputable installer treats the clearance test as the real finish line. Many homeowners also choose to keep a continuous monitor afterward so they can watch levels over time rather than trusting a single number.
How installation differs by foundation type
The step-by-step sequence holds for most homes, but the foundation type changes the details, and knowing this helps homeowners understand their quote. A full basement with a poured slab is the most common and straightforward case: a single suction point through the slab, tied into a basement corner or the sump pit, usually depressurizes the whole footprint. Slab-on-grade homes are similar, with the suction point cored through the main floor slab.
Crawl spaces call for a different method, sub-membrane depressurization. Instead of pulling through a slab, the installer lays a sealed plastic membrane over the dirt floor and draws suction beneath it, capturing soil gas before it enters. This adds material and labor. Homes with mixed foundations, a basement under one section and a crawl space or addition under another, may need multiple suction points connected to one or more fans, since a single point cannot always reach across separate sub-slab areas. The foundation is the single biggest factor in both the design and the cost, as our guide to basement radon mitigation systems details.
Preparing your home for the install
A smooth installation starts with a little preparation, and homeowners can speed the work by readying the space. Clear access to the planned suction location, often a basement corner, utility area, or garage, so the crew can core the slab and excavate the pit without moving belongings mid-job. Provide access to the attic if the pipe will route through it, and clear the path to the planned discharge point.
Talk through the pipe routing in advance, since this is the most visible part of the finished system. Decide whether you prefer interior routing, which hides the pipe inside the home, or exterior routing, which keeps the interior clean but places the pipe on the outside wall. Confirm where the fan will mount and where the manometer will sit so you can monitor it easily. Discuss electrical needs, since the fan often requires a dedicated circuit. A short planning conversation before the crew arrives prevents surprises and ensures the finished system fits both the home and your preferences. It also lets the installer flag any access challenges, like a finished basement that complicates the suction point, before the work begins rather than during it.
Choosing a qualified installer
The quality of the installation rests almost entirely on the installer, so vetting matters as much as any technical detail. Look for a certified radon mitigation professional whose credential reflects training in system design and EPA protocols. Ask whether they perform a diagnostic sub-slab communication test before designing the system, since skipping that step is how systems end up undersized.
Request an itemized quote that spells out the suction points, piping, fan, sealing, electrical work, and, critically, the post-mitigation retest. A quote that omits the retest is incomplete, because verification is the whole point. Confirm they offer a warranty on the fan and workmanship, and ask how they handle a system that fails the first clearance test; a reputable installer corrects and retests at no surprise cost. Reviews and references round out the picture. Our guidance on finding a radon mitigation professional covers the questions that separate a careful installer from a careless one. The installer who insists on a confirming retest is the one to trust.
What happens if the first system does not pass
Not every system clears the action level on the first try, and knowing this in advance keeps a homeowner from panicking if the initial retest comes back high. A first system that does not fully reduce radon is not a failure of the concept; it usually means the sub-slab conditions need a stronger or broader approach than the initial design provided. The professional has several adjustments available.
They can upgrade to a higher-suction fan when tight soil is resisting airflow, add a second suction point to reach a part of the slab the first point could not depressurize, or seal additional entry points that are letting the fan pull house air instead of soil gas. Sometimes a combination is needed. After each adjustment, another radon test confirms whether the change worked. This iterative process is exactly why a reputable installer treats the post-mitigation test as the real finish line and stands behind the work until the home reads below the action level. A homeowner should expect this commitment in the contract, so that correcting an underperforming system does not generate surprise charges. The goal is a verified result, and a good installer keeps working until the number proves it.
References
- Consumer’s Guide to Radon Reduction installation methods — U.S. EPA
- Radon health risk and the 4 pCi/L action level — U.S. EPA
- Colorado radon mitigation guidance — Colorado Department of Public Health and Environment
- Radon reduction and indoor air quality — American Lung Association
Front Range homeowners with a confirmed high radon result can get connected with a vetted local mitigation professional here to install and verify a system correctly.
Radon mitigation fans & parts
If a sub-slab depressurization system is the fix, the inline fan is the heart of it. Match the fan to your soil and pipe diameter — or have a certified installer size it.
| Product | Why | Buy |
|---|---|---|
 RadonAway RP145 Inline Fan RadonAway RP145 Inline Fan | Common 4-in. SSD workhorse fan. | Amazon — $152.00 |
 Fantech Rn2 Radon Fan Fantech Rn2 Radon Fan | Quiet operation; energy-efficient. | Amazon — $165.24 |
 Radon U-Tube Manometer Radon U-Tube Manometer | Confirms the system is pulling suction. | Amazon — $13.95 |