Cost to Install a Radon Mitigation System
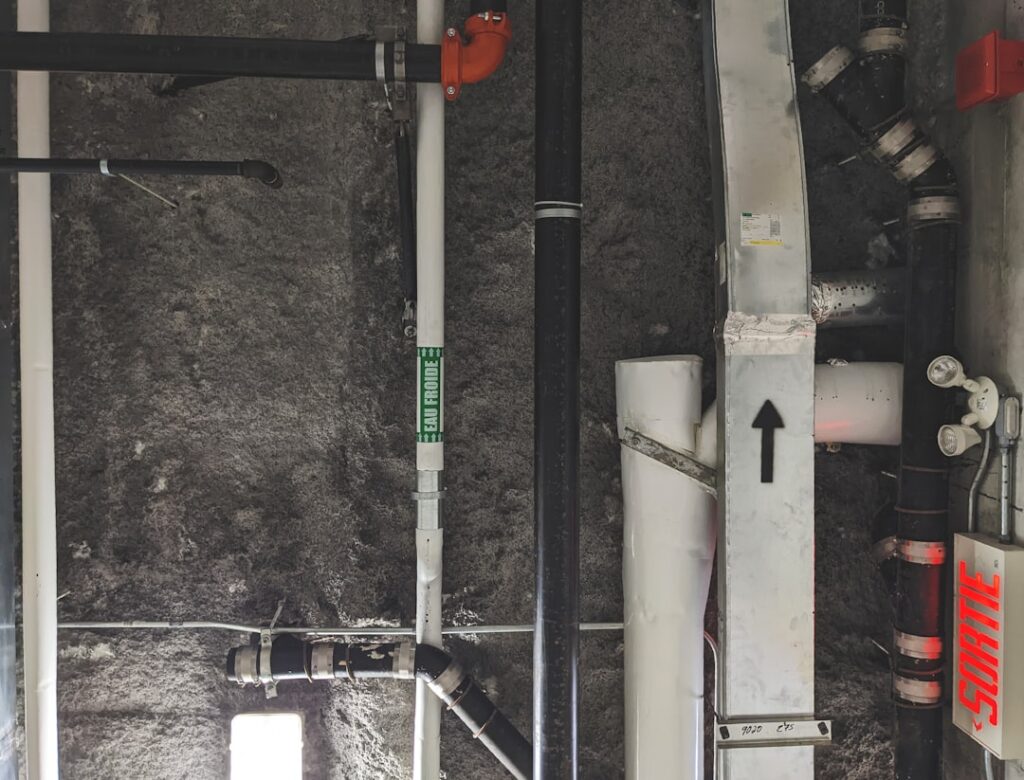
When a radon test comes back high, the next question is what the fix will cost to put in. The cost to install a radon mitigation system is not a single number but a stack of line items: the labor to cut and seal the slab, the method chosen for the foundation type, the fan and electrical work, and any permits. Understanding that breakdown helps homeowners read a quote, compare bids fairly, and spot which jobs justify a higher price. This guide summarizes EPA guidance current as of 2026 to walk through the installation cost piece by piece. For health questions consult your physician; for installation decisions consult a certified radon professional.
The Installation Cost in One Sentence
A professionally installed radon mitigation system for a typical single-family home commonly costs in the range of roughly 800 to 2,500 dollars, with most straightforward installations landing in the middle. That figure is dominated by labor and method rather than materials, which is why two homes can receive very different quotes. The rest of this guide unpacks what drives the number within that range, focusing on the installation process itself rather than the long-run ownership cost.
Before installing anything, confirm the elevated reading through a reliable test, since installation is only warranted when radon reaches or approaches the EPA action level of 4.0 pCi/L. The radon inspection guide explains how testing establishes whether a system is needed in the first place, which is the necessary precursor to any installation spending.
Labor: The Largest Single Driver
Installation labor is the biggest component of the cost, because the work is skilled and physical. A certified installer must assess the foundation, choose a suction point, cut through the concrete slab, run vent piping through the home or up an exterior wall to above the roofline, mount and wire the fan, seal openings, and add a system monitor. A typical install is a one-day job, but the hours involved vary widely with the home’s layout.
Labor rises when the routing is difficult. A finished basement that forces the installer to conceal piping through walls and ceilings costs more than an unfinished basement where the pipe runs exposed. Multi-story routing to reach the roofline, tight crawl spaces, and homes where the best suction point is far from a convenient exit all add labor hours. The installer’s skill and the time required to do the job cleanly, not the cost of pipe and a fan, is what you are mostly paying for. A clean, code-compliant installation by an experienced crew is worth the labor premium over a rushed job.
Method: How the Foundation Shapes the Price
The mitigation method depends on the foundation, and the method drives a meaningful share of the cost. Matching the technique to the home is where an experienced installer earns the fee.
Sub-Slab Depressurization
The most common method, active sub-slab depressurization, suits homes with a concrete slab or basement floor. The installer cores a hole through the slab, runs a pipe into the gravel or soil below, and connects a fan that draws radon out. On an accessible slab with a good suction field, this is the most economical scenario and tends toward the lower end of the range. A diagnostic test of the sub-slab suction field sometimes precedes the install to confirm one suction point will cover the whole area.
Crawl Space and Mixed Foundations
Homes with crawl spaces usually require sub-membrane depressurization, where the installer lays and seals a plastic membrane across the crawl-space floor before drawing radon from beneath it. This adds material and labor for the membrane work. Homes with mixed foundations, part slab and part crawl space, may need multiple suction points, which raises the cost further. The more separate foundation sections a home has, the more the installation effectively becomes several smaller systems combined.
Electrical Work and the Fan
Every active system runs on an inline fan, and powering it adds cost. If a suitable electrical circuit already sits near the fan’s mounting location, wiring is quick and inexpensive. If not, the installer or a licensed electrician must run new wiring to the fan, which adds both labor and, in some cases, an electrician’s separate fee. The fan itself is a modest material cost, but its placement in an unconditioned space such as an attic or outside affects how much wiring is required.
The choice of fan also nudges the price. Higher-capacity fans for homes with strong radon entry or large sub-slab areas cost more than standard models. A quality installation positions the fan and electrical so the system runs reliably for years, and the small premium for proper wiring beats a cut-rate job that creates problems later. Standards from national radon professional programs guide correct fan selection and placement, and a certified installer sizes the fan to the specific home rather than using a one-size-fits-all unit.
Materials and Their Share of the Cost
While labor dominates, the materials in a radon system are worth understanding because they explain why the parts cost is relatively small and stable across jobs. The core components are PVC vent piping, an inline radon fan, fittings and couplings, a system monitor such as a manometer, sealant and backer rod for closing foundation openings, and the membrane material for crawl-space jobs. The fan is the single most expensive component, and higher-capacity or quieter models cost more than basic units.
Because these materials are standardized and modestly priced, the difference between a cheap and an expensive installation rarely comes down to parts. Two installers using nearly identical materials can quote very different prices based almost entirely on labor, routing complexity, and what their bid includes. This is why focusing on the material list alone misleads homeowners; the meaningful comparison is the total scope of work and the skill applied, not the price of pipe and a fan. A bid that looks cheap because it lists fewer materials may simply be planning a less thorough installation.
Permits, Sealing, and Post-Installation Testing
Several smaller line items round out the installation cost. Many jurisdictions require a permit for a radon mitigation system, and the permit fee, plus the installer’s time to handle it, becomes part of the quote. Skipping a required permit is a corner some lowball bids cut, which can cause headaches at resale or with insurance.
Sealing major foundation cracks, the sump pit, and other openings is part of a proper installation because it improves system performance, and it adds modest labor. Finally, a post-installation radon test verifies the system brought levels below the action threshold. A complete quote includes this confirmatory test; a quote that omits it is leaving out the one step that proves the work succeeded. When comparing bids, make sure each covers permits, sealing, and post-install testing so you are comparing equivalent scopes rather than mistaking a thinner job for a better deal.
What Makes One Installation Cost More Than Another
Pulling the pieces together, the installation cost climbs for predictable reasons: a finished basement requiring concealed piping, a crawl-space or mixed foundation needing membrane work or multiple suction points, long routing to reach the roofline, new electrical runs for the fan, required permits, and extensive sealing. A simple slab home with an accessible suction point and nearby power sits at the low end; a complex home with several of these factors lands at the high end or beyond.
This is why a homeowner should never judge a quote by price alone. A 2,200-dollar quote that covers a tricky finished-basement install with permits, proper electrical, sealing, and post-install testing may be a better value than an 1,100-dollar quote that skips the permit and the confirmatory test. Reading the line items reveals whether a higher price reflects a harder job done right or simply a larger markup. The companion guide on the total cost of a radon mitigation system covers the ongoing ownership expenses that follow installation, rounding out the full financial picture.
Aesthetic and Routing Choices That Affect Labor
Homeowners sometimes drive their own installation cost up or down through routing preferences. An interior routing that runs the vent pipe up through the home and out the roof is often tidier in appearance but requires the installer to work through floors and the attic, adding labor. An exterior routing that runs the pipe up an outside wall is frequently faster and cheaper to install, though some homeowners dislike the visible pipe and fan on the side of the house.
Discussing these trade-offs with the installer before the job lets a homeowner balance cost against appearance. A homeowner who prioritizes a concealed, interior installation should expect to pay more in labor, while one who accepts an exterior pipe may save. Neither choice changes how well the system controls radon; both can achieve the same result. The decision is purely about labor effort and aesthetics, and it is worth raising during the quote stage so the bids reflect the chosen approach.
Getting and Comparing Installation Quotes
To control installation cost without sacrificing quality, gather at least two or three quotes from certified mitigation professionals and compare scope side by side. Confirm each installer is certified through a recognized national radon proficiency program, since proper system design directly affects both performance and cost. Ask each to itemize labor, method, electrical, permit, sealing, and post-install testing so the bids are genuinely comparable.
Be cautious of any quote dramatically below the others, since the gap usually comes from skipped permits, omitted sealing, no confirmatory test, or an undersized fan. The goal is the best-scoped installation at a fair price, not the lowest headline number. For Front Range homeowners, a certified local installer who explains each cost line clearly is worth more than a bargain bid that leaves out the steps proving the system works.
Timing can also influence what an installation costs. Mitigation contractors are busiest during peak home-selling seasons, when transaction-driven installs cluster, so scheduling during a slower period may yield a better price or faster availability. For a purchase, however, the inspection timeline usually dictates the schedule, leaving little flexibility. Homeowners installing a system in a house they already own have more room to shop around and time the work. Either way, the most reliable way to control the installation cost is the same: confirm the installer’s certification, insist on a fully itemized quote that includes permits, sealing, and the confirmatory test, and compare equivalent scopes rather than headline numbers. That disciplined approach consistently produces a fair price for a system that actually brings the home’s radon below the action level.
References
- Consumer’s Guide to Radon Reduction — U.S. Environmental Protection Agency
- Health Risk of Radon — U.S. Environmental Protection Agency
- Colorado Radon Mitigation Guidance — Colorado Department of Public Health and Environment
- Reducing Radon in Your Home — Centers for Disease Control and Prevention
Front Range homeowners comparing installation quotes can reach a vetted local inspector through our contact page for testing and a referral to a certified mitigation installer.
Radon mitigation fans & parts
If a sub-slab depressurization system is the fix, the inline fan is the heart of it. Match the fan to your soil and pipe diameter — or have a certified installer size it.
| Product | Why | Buy |
|---|---|---|
 RadonAway RP145 Inline Fan RadonAway RP145 Inline Fan | Common 4-in. SSD workhorse fan. | Amazon — $152.00 |
 Fantech Rn2 Radon Fan Fantech Rn2 Radon Fan | Quiet operation; energy-efficient. | Amazon — $151.37 |
 Radon U-Tube Manometer Radon U-Tube Manometer | Confirms the system is pulling suction. | Amazon — $8.95 |