Engineered Wood Siding: How It Holds Up and What to Inspect
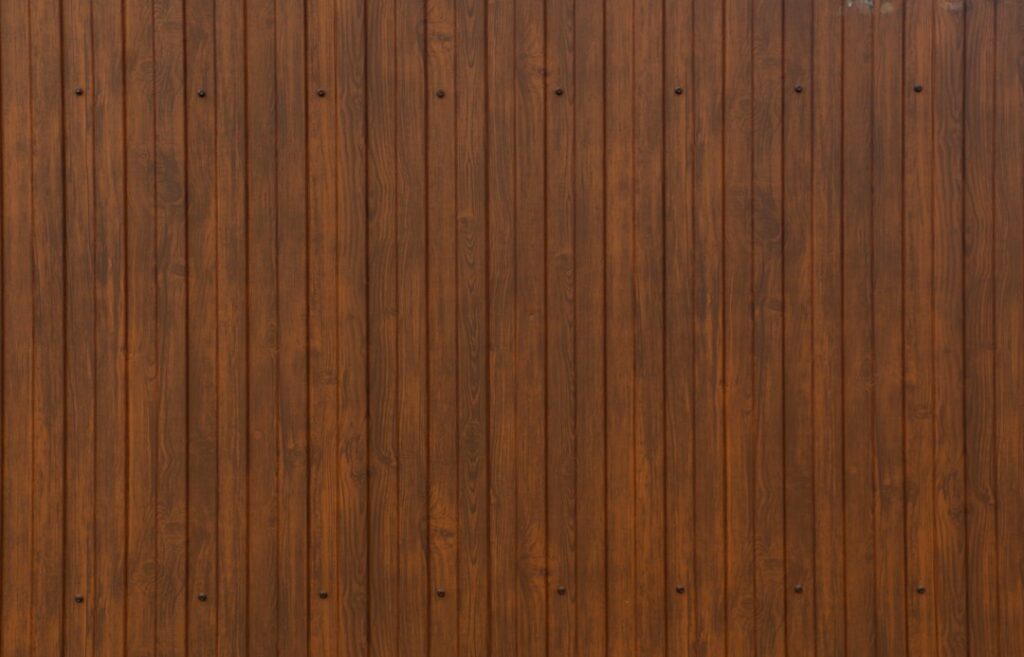
Engineered wood siding has become one of the most common claddings on new construction around Denver, Castle Rock and Colorado Springs. It looks like painted wood lap or panel siding, costs less than many alternatives and is lighter and easier to cut than fiber cement. It is also a product that rewards careful installation and punishes shortcuts. Most of the problems inspectors find with it trace back to water getting into cut edges, siding sitting too close to the ground or roof, or paint that was never maintained. This guide explains what engineered wood siding is, how it handles moisture and hail, how it compares with fiber cement and vinyl, what inspectors typically flag, and what homeowners can expect to pay. Costs are general 2026 estimates and vary by product, home and contractor.
Part of our Structure & Exterior guide — start there for the full picture →
What Engineered Wood Siding Is
Engineered wood siding is a manufactured cladding made from wood strands or fibers bonded together with resins and waxes under heat and pressure. Most modern products are strand-based, similar in concept to oriented strand board, with a textured overlay pressed onto the face to mimic cedar grain or a smooth finish. Manufacturers typically add treatments intended to resist fungal decay and termites; zinc borate is one compound some brands use. The boards and panels usually arrive factory-primed, and some lines come prefinished in color.
Common profiles include:
- Lap siding, horizontal boards in widths similar to traditional clapboard.
- Panel siding, 4-by-8 or longer sheets, sometimes grooved, often paired with battens for a board and batten look.
- Shakes and shingles, molded or cut panels that imitate wood shakes.
- Trim and fascia, matched boards for corners, windows and eaves.
The current generation is not the same material as the composite and hardboard sidings sold in the 1980s and 1990s, several of which developed widespread moisture failures and became the subject of class-action litigation. Older Front Range homes sometimes still have those earlier products, and an inspector may note that original hardboard or early composite siding is present. Identifying the product, by stamps on the back, original paperwork or a sample, helps with repair decisions.
Why Edge Sealing and Paint Matter So Much
The faces of engineered wood siding are sealed by the factory overlay and primer. Cut ends and drilled holes are not. When an installer cuts a board to length at a window or corner, the exposed strands at that edge can absorb water much more readily than the face. Manufacturers generally require cut edges to be primed or sealed during installation, and most also specify that the siding be finish-painted within a set period after installation.
Paint is the main weather barrier on this product. A sound paint film keeps the substrate dry; a cracked, peeling or chalky film lets water work in. On the Front Range, where high-altitude UV and wide temperature swings are hard on finishes, south- and west-facing walls usually need repainting sooner than shaded elevations. Many homeowners find that a repaint cycle somewhere in the range of every 7 to 15 years is typical for engineered wood with a good-quality acrylic finish, though prefinished products may come with their own finish warranty terms.
Signs that edge sealing was skipped or has failed:
- Swelling or “mushrooming” at the bottom drip edge of lap boards.
- Raised or flaking paint at butt joints where two boards meet.
- Fuzzy, rough or darkened strands visible at board ends.
- Swollen edges around holes drilled for hose bibs, lights or vents.
Clearances and Water Management
Most engineered wood siding failures are water problems, and most water problems start at the same few locations. Manufacturers publish specific clearance requirements, and it is worth reading the instructions for the exact product on the house. Typical requirements address:
Clearance to grade
Siding that touches soil, mulch or landscape rock stays wet and is vulnerable to decay, insects and swelling. Installation instructions commonly call for several inches of clearance above finished grade, with a larger gap often specified above soil than above hard surfaces such as concrete. Landscaping changes after construction are a frequent culprit: a new flower bed or a load of mulch can quietly bury the bottom course. Keeping the bottom edge visible and dry is one of the simplest maintenance steps.
Clearance to roofs, decks and patios
Where a wall meets a lower roof, siding typically needs a gap above the shingles so it is not sitting in runoff. Kick-out flashing at the bottom of a roof-to-wall intersection is critical, because without it, water from the roof edge can pour directly into the wall behind the siding. Similar clearances apply above decks, patios and stair landings where snow piles up.
Behind the siding
Siding is the first line of defense, not the only one. A weather-resistive barrier behind it, along with properly lapped window and door flashing, carries incidental water down and out. The house wrap guide explains how that layer works. Some installers add a rainscreen gap to help walls dry, which can be especially helpful on exposed elevations.
The EPA’s Brief Guide to Mold, Moisture and Your Home stresses that the key to mold control is moisture control, and its prevention tips include cleaning and repairing roof gutters regularly and making sure the ground slopes away from the foundation. Both apply directly to siding: overflowing gutters soak the wall below, and negative grading pushes water toward the bottom courses. Lawn sprinklers that spray the wall are another avoidable source of wetting.
Swelling, Rot and Other Common Defects
When moisture gets in, engineered wood tends to show it in predictable ways. Swelling along the bottom edge is usually the first symptom. Over time, swollen strands can lose strength, paint fails faster on the damaged area, and the board can soften and crumble. In advanced cases fungal decay sets in, and the sheathing behind can also be affected. Our wood rot repair guide covers how decay is assessed and repaired.
Other defects inspectors commonly see:
- Overdriven nails. Nail heads driven below the surface break the overlay and create a water entry point. Manufacturers typically require nail heads to sit snug against the face, not countersunk.
- Butt joint gaps. Boards that were butted too tightly can buckle; joints left too open or without proper sealing let water in.
- Missing or failed caulk. Around windows, doors and trim, sealant ages and shrinks.
- Buckling or waviness. Often caused by moisture uptake, inadequate gapping or fastening problems.
- Woodpecker or insect damage. Less common than with solid wood, but possible.
- Impact damage. From hail, lawn equipment, kids’ balls and snow shovels.
Small areas of damage can often be addressed by replacing individual boards and sealing and painting properly. Widespread swelling usually points to a systemic installation or maintenance problem that warrants a closer look. The siding repair guide explains repair options.
Hail and Weather on the Front Range
Hail is a regular concern east of the foothills. Engineered wood siding is generally more impact-resistant than vinyl in cold weather and may resist denting better than some thinner products, but large hail can still dent, crack the paint film or break the overlay. The concern is not the dent itself so much as what happens next: a fractured paint film or crushed surface gives water a way in, and the damaged spot may start to swell after a season or two of freeze-thaw cycles. After a significant storm, homeowners and inspectors often check the west and north walls first, since those usually take the brunt. Insurance claims tend to go more smoothly when damage is documented promptly with photos and dates.
Wind is another factor. Chinook winds along the foothills can push rain sideways into lapped joints, and they put repeated stress on fasteners. Proper nailing per the manufacturer’s schedule matters, especially in exposed locations near Boulder and the foothills.
Engineered Wood vs Fiber Cement vs Vinyl
Most Front Range buyers comparing siding are choosing among engineered wood, fiber cement and vinyl. Each has strengths.
Engineered wood
Lighter and easier to handle than fiber cement, typically installed with standard woodworking tools, available in long lengths that reduce joints, and often priced in the middle of the market. It depends heavily on paint and edge sealing and is combustible.
Fiber cement
Fiber cement is made from cement, sand and cellulose fibers. It is noncombustible, dimensionally stable and resistant to insects and rot. It is heavier and more brittle, requires special cutting practices to control dust, and also needs paint maintenance, though finishes often last longer on it. See our Hardie board siding guide for a closer look.
Vinyl
Vinyl siding is the least expensive option in many markets and never needs paint, but it can crack in cold-weather hail, warp near grills or reflective windows, fade, and does not add to the wall’s structure. Its loose-hanging design lets it move with temperature. Our vinyl siding guide covers its pros and cons.
For an overall comparison of installed prices, the siding replacement cost guide lays out how material, labor, trim and tear-off add up.
Wildfire Considerations
Engineered wood is a combustible material, a point worth considering in wildland-urban interface neighborhoods west of Denver, around Boulder and in the Pikes Peak foothills. Some products carry specific flame-spread or fire-resistance ratings, so the product documentation is the place to check rather than assumptions.
Regardless of siding type, the area right next to the walls matters. The NFPA’s Preparing Homes for Wildfire guidance describes an immediate zone extending 0 to 5 feet from the home and advises moving flammable materials such as mulch, flammable plants, leaves, needles and firewood piles away from exterior walls. The U.S. Fire Administration’s article on wildfire embers notes that embers contribute to a significant percentage of home ignitions and can travel long distances, and it lists caulking or sealing all openings in the structure among the mitigation steps highlighted in NIST research. For engineered wood walls, that means keeping the bottom courses clear of mulch and debris, which also serves the moisture goals above. The defensible space guide covers the broader landscape plan, and the cedar shake siding guide discusses a material with even greater fire concerns.
What Home Inspectors Flag on Engineered Wood Siding
A standard home inspection looks at wall coverings visually and from accessible areas. The ASHI Standard of Practice directs inspectors to inspect wall coverings, flashing and trim, to inspect vegetation, grading and surface drainage likely to affect the building adversely, and to describe the wall coverings. That means a report will usually identify the siding type and call out visible defects, but it will not include destructive testing behind the siding.
Typical items in a report include:
- Swollen, delaminated or soft boards, especially along the bottom courses and below windows.
- Inadequate clearance to grade, roofs, decks or hardscape.
- Missing kick-out flashing at roof-to-wall intersections.
- Peeling or failing paint, unpainted cut ends and exposed edges at penetrations.
- Open or failed caulk joints at trim, windows and doors.
- Overdriven or exposed fasteners and buckled courses.
- Grading or downspouts directing water at the wall.
- Hail or impact damage.
Where widespread swelling or soft spots appear, an inspector may recommend evaluation by a siding contractor, and in some cases moisture readings or selective removal of a board to see the sheathing. Moisture meters can help identify wet areas, but readings on engineered wood can be harder to interpret than on solid lumber because of the resins and treatments.
The hiring process guide explains what to expect from an inspection overall, and the structure and exterior hub groups related guides on walls, roofs and windows.
A Seasonal Maintenance Routine
Engineered wood siding does not need much attention, but the attention it does need is time-sensitive. A short walk around the house twice a year, typically in spring after the snow melts and in fall before the first storms, catches most problems while they are still small.
- Check the bottom courses. Look for swelling, soft spots or paint failure along the lowest boards and pull back mulch or rock that has crept up against the wall.
- Walk the roof-to-wall lines. Confirm kick-out flashing is present and that siding above lower roofs is not sitting in debris or snowmelt.
- Inspect paint on sunny elevations. South and west walls usually show chalking, cracking and fading first. Spot-prime and paint bare areas before winter.
- Re-caulk where needed. Gaps at window and door trim and around penetrations such as dryer vents and hose bibs are common entry points.
- Clean gutters and check downspouts. Make sure water discharges away from the foundation rather than splashing back onto the wall.
- Adjust sprinklers. Heads that spray the siding every morning keep the bottom edge wet for most of the summer.
Photographing each elevation once a year also creates a simple record that helps with insurance claims after hail and with spotting slow changes over time.
Engineered Wood Siding Costs
As a rough 2026 guide, engineered wood siding is often priced in the middle of the market: typically more than basic vinyl and frequently somewhat less than fiber cement for a comparable installed job. Front Range quotes for a full re-side vary considerably with home size, number of stories, the amount of trim, tear-off of existing material, sheathing repairs, water-resistive barrier upgrades and paint. Prefinished boards cost more up front but can save a separate paint job.
For repairs, replacing a handful of swollen boards and repainting the affected wall is usually a modest job, though matching texture and color on older products can be tricky. Budgeting for periodic repainting is part of the true cost of ownership, and it is worth comparing that recurring cost with fiber cement’s longer finish life or vinyl’s no-paint surface when deciding what to install.
When getting quotes, ask whether the contractor will:
- Follow the manufacturer’s clearance, fastening and gapping requirements.
- Prime or seal all field cuts.
- Install kick-out flashing and properly lapped window flashing.
- Specify a paint schedule and product.
- Register the manufacturer warranty, if applicable.
References
- A Brief Guide to Mold, Moisture and Your Home — U.S. Environmental Protection Agency
- Preparing Homes for Wildfire — National Fire Protection Association
- Protecting Structures From Wildfire Embers and Fire Exposures — U.S. Fire Administration
- ASHI Standard of Practice for Home Inspections — American Society of Home Inspectors
Frequently asked questions
How long does engineered wood siding last?
With proper installation and regular paint maintenance, engineered wood siding is generally expected to last for decades, and many manufacturers offer long limited warranties. Lifespan drops sharply when cut edges are unsealed, clearances are ignored or paint is neglected.
Is engineered wood siding better than fiber cement?
Neither is better in every case. Engineered wood is lighter, easier to install and often less expensive, while fiber cement is noncombustible and less sensitive to moisture. In wildfire-prone areas, fiber cement often has the edge.
Why is my engineered wood siding swelling at the bottom?
Bottom-edge swelling usually means water is getting into the board, often from inadequate clearance to grade or roofs, unsealed cut edges, failed paint, sprinklers or gutter overflow. Affected boards usually need replacement and the water source should be fixed.
Does engineered wood siding need to be painted?
Yes. Paint is the primary weather protection. Primed boards typically need finish paint within a time frame set by the manufacturer, and periodic repainting is part of normal maintenance. Prefinished products still need eventual touch-ups and repainting.
Can hail damage engineered wood siding?
Large hail can dent boards, crack the paint or break the surface overlay. Those spots can let water in and swell over time, so prompt documentation and repair after a storm is a good idea.
Seeing swollen edges or peeling paint on the siding of a home you are about to buy? Get in touch here and we can put you in touch with a Front Range inspector who knows what to look for on engineered wood.