Engineered Lumber Beams: LVL, Glulam and I-Joist Basics
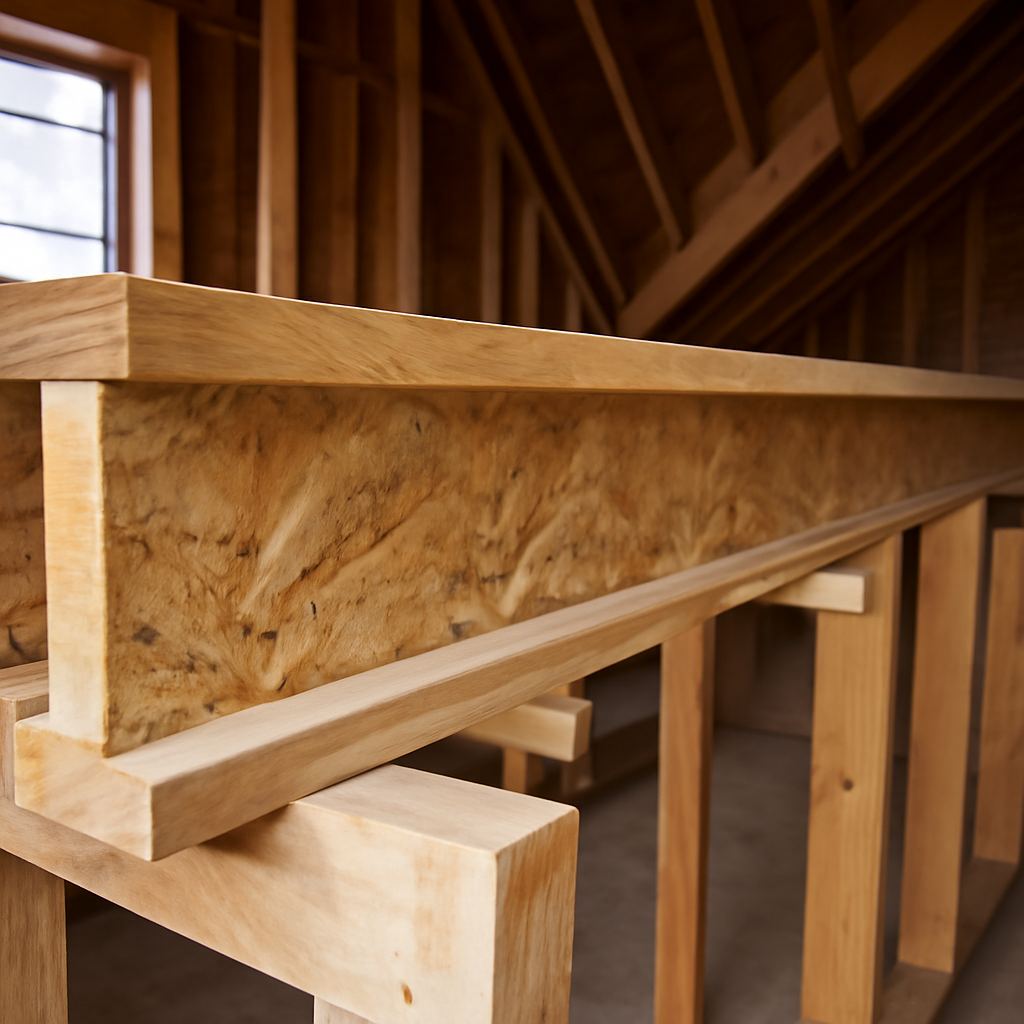
Open up the ceiling of almost any home built or remodeled in the last few decades and there is a good chance the main beams are not solid sawn lumber. They are layered, glued products with names like LVL, PSL, LSL and glulam, often stamped with a manufacturer’s logo and grade. Engineered lumber beams carry the loads that used to rest on interior walls, span the wide openings of modern kitchens and great rooms, and replace sagging or undersized timbers in older houses from Denver’s Park Hill bungalows to 1970s tri-levels in Lakewood. They are predictable and strong, but they come with rules about bearing, posts, cutting and moisture that differ from ordinary lumber. This guide explains the main product types, why builders use them, how they are supported, what can and cannot be cut, how moisture affects them, how they fit into repairs, when an engineer is needed, and typical cost ranges.
Part of our Structure & Exterior guide — start there for the full picture →
What Engineered Lumber Beams Are
Engineered lumber, also called structural composite lumber or engineered wood, is made by breaking wood into veneers, strands or boards and bonding them back together with structural adhesives under heat and pressure. The process spreads natural defects such as knots and grain deviation throughout the piece instead of concentrating them in one weak spot. The result is a member with consistent, published design values that engineers and builders can rely on.
Solid sawn beams vary from piece to piece. Two 4×12 timbers of the same species and grade may differ noticeably in stiffness, and large solid timbers are increasingly hard to source in long, straight lengths. Engineered beams are made to order in long lengths and specific depths, stay straighter as they dry, and come with span tables and installation guides from the manufacturer.
The Main Types: LVL, PSL, LSL, Glulam and I-Joists
LVL (laminated veneer lumber)
LVL is made from thin wood veneers, similar to plywood, but with nearly all of the grain running in the same lengthwise direction. Plies are typically about 1-3/4 inches thick and are often fastened together on site in two, three or four layers to make a thicker beam. LVL is the most common engineered header and beam in residential work, used for door and window headers, flush beams and ridge beams.
PSL (parallel strand lumber)
PSL is made from long, narrow strands of veneer aligned lengthwise and pressed into a large billet. It is very strong and is available in thick, solid sections, so it often serves as a single-piece beam or column where heavy loads or exposed appearance matter. Its surface shows a distinctive striped texture.
LSL (laminated strand lumber)
LSL uses shorter, wider wood strands bonded together. It is less strong than LVL or PSL in long spans but very consistent and resistant to splitting, which makes it popular for rim boards, short headers, wall studs in tall walls and shorter beams.
Glulam (glued laminated timber)
Glulam is built from layers of dimension lumber, such as 2×6 or 2×8 boards, glued face to face. It can be manufactured in large sizes, curved shapes and architectural grades for exposed beams. Glulam beams are common in vaulted ceilings, garage door headers and long-span floor beams, and some are made with a slight upward camber to offset deflection under load.
I-joists
I-joists are used as floor and roof joists rather than as main beams. They have top and bottom flanges of solid sawn lumber or LVL and a thin web of oriented strand board or plywood, giving them an I-shaped cross section. They are light, straight and able to span long distances, and they often sit on LVL or glulam beams. The floor trusses guide compares I-joists with open-web trusses, the other common engineered floor system.
How to Identify Engineered Beams in a House
In unfinished basements, garages and attics, engineered beams are usually easy to recognize. Manufacturers print or stamp product names, grades, sizes and often a mill or plant number along the face of the beam, and those markings make it possible to look up the product’s design values and installation literature later. When markings are hidden by paint or drywall, appearance helps:
- LVL shows thin, parallel layers on its top and bottom edges, like the edge of a thick plywood sheet, and multi-ply beams show visible seams between plies.
- PSL has a striped, stranded surface with dark glue lines running along its length.
- LSL looks like a dense, fine-grained version of oriented strand board.
- Glulam shows stacked boards of dimension lumber with visible glue lines, and sometimes finger joints where boards were spliced end to end.
Photographing labels and noting beam sizes during a purchase inspection or before a remodel saves time if an engineer or contractor needs to evaluate the framing later.
Why Builders and Remodelers Use Engineered Beams
Several practical advantages explain the shift away from solid lumber for beams and headers:
- Long spans: engineered beams can span farther than solid lumber of the same depth, allowing open floor plans with fewer posts.
- Consistency: published design values let engineers size members precisely rather than over-sizing to cover natural variability.
- Straightness and stability: because they are manufactured at controlled moisture levels, engineered beams twist, cup and shrink less than green solid timbers, reducing drywall cracks and nail pops.
- Availability: large, long solid timbers are scarce and expensive, while engineered products come in standard sizes from lumberyards.
- Remodeling flexibility: multi-ply LVL can be carried into a house one ply at a time and assembled in place, which helps in tight basements and finished homes.
Replacing Load-Bearing Walls with Engineered Beams
The most common reason homeowners encounter engineered beams is opening up a kitchen or living area by removing a load-bearing wall. The wall’s load has to be transferred to a new beam, either a dropped beam that hangs below the ceiling or a flush beam set in the ceiling plane with joist hangers. LVL and glulam are the usual choices.
A typical sequence includes:
- Confirming the wall is load-bearing and identifying what it carries, such as floor joists, roof loads or point loads from above.
- Having the beam sized by an engineer or, for simple cases, by the manufacturer’s sizing software through a lumberyard.
- Building temporary shoring walls on both sides to carry the load while the wall is removed.
- Installing the beam on properly sized posts with continuous support down to the foundation.
- Inspecting and closing in the work, typically under a building permit.
The load-bearing wall guide explains how to tell whether a wall carries load and what removal involves.
Bearing, Posts and Load Paths
A beam is only as good as what holds it up. Engineered beams concentrate load at their ends, and that load has to travel through posts, walls and footings to the ground without interruption. Common requirements and problem areas include:
- Minimum bearing length: manufacturers specify how much of the beam end must rest on its support, often several inches, depending on the load and the support material. Too little bearing can crush wood fibers at the end of the beam.
- Posts sized for the load: a multi-ply LVL beam usually needs a post at least as wide as the beam, built up from studs or made from a solid column, and fastened to resist movement.
- Continuous load path: the post has to sit on something capable of carrying the concentrated load, such as a footing in the basement or blocking within the floor below. A heavy post landing on a subfloor between joists is a common error.
- Multi-ply fastening: plies of LVL must be nailed, screwed or bolted together according to the manufacturer’s pattern so they share load, especially when loads come from one side.
- Hangers and connectors: joists framing into a flush beam need hangers rated for the load and installed with the specified fasteners.
When an inspector sees a beam in a basement or crawl space, those load-path details are among the first things checked.
Notching, Drilling and Cutting Rules
Engineered beams are not ordinary lumber, and the cutting rules come from each manufacturer’s literature rather than general carpentry habits. A few general principles apply across most products:
- No notches in beams unless the manufacturer or an engineer specifically allows them. Notching the bottom edge of a beam, where tension is highest, is particularly harmful.
- Holes only where allowed: manufacturers publish charts showing permitted hole sizes and locations, usually small holes near the middle of the depth and away from supports. Many beams allow very limited drilling or none at all without approval.
- I-joist webs: I-joists generally allow round or rectangular holes in the web within published limits, and many have knockout holes for wiring. Flanges should never be cut or notched.
- No tapering or ripping of beams to fit unless approved, since reducing depth reduces capacity disproportionately.
Plumbers, electricians and HVAC installers who are used to solid joists sometimes apply the wrong rules. A large drain line cut through the bottom of an LVL beam can seriously reduce its strength. When an inspection finds a cut engineered beam, the fix normally comes from the manufacturer or a structural engineer.
Moisture Exposure Limits
Most engineered beams are designed for dry, protected interior conditions. Their adhesives are durable, but the wood itself can swell, lose strength and decay if it stays wet. Typical guidance from manufacturers includes keeping beams covered on the jobsite, off the ground and dry until the building is closed in; avoiding direct ground contact; and using only products specifically rated for exterior or treated use in decks, porches and other weather-exposed locations.
Problems inspectors see include:
- LVL or glulam beams used to support exterior decks or porch roofs without protection or treatment.
- Beams in damp crawl spaces showing staining, swelling or soft spots.
- Beam ends embedded in concrete or masonry pockets without moisture separation.
- Water stains around plumbing above a beam in a finished basement.
The U.S. Environmental Protection Agency recommends fixing water problems promptly and drying wet materials within 24 to 48 hours to prevent mold growth. Wet framing also attracts insects; EPA’s termite guidance suggests probing exposed wood for hollow spots with a flathead screwdriver or similar tool. Moisture-damaged engineered beams are generally replaced or reinforced under an engineer’s direction rather than patched.
Sistering Versus Replacement
When an existing beam is cracked, undersized, cut or rotted, the choices are usually to sister it, add a supplemental beam alongside, or replace it outright.
Sistering adds a new member tight against the old one, fastened so both share load. With solid sawn joists it is a common carpentry repair, and engineered lumber, especially LVL, is a popular sistering material because it is straight and strong. The sistering joists guide explains full-length versus partial sisters and fastening methods.
For a main beam, sistering is often an engineered decision. The new member has to bear on adequate supports at both ends, and the fastening schedule matters. Where the original beam is badly damaged or far undersized, removing it and installing a new engineered beam on new posts and footings may be cleaner. Older homes with sagging center beams often get a new LVL or glulam beam with additional posts and footings, combined with slow jacking to remove sag. The floor leveling guide covers how sag is corrected.
Engineered Beams in Pier-and-Beam Foundations
Pier-and-beam and post-and-beam foundations, found under some older Front Range homes and additions, rely on beams spanning between piers or posts with joists above. Original beams may be undersized timbers or built-up 2x members, and decades of moisture from a crawl space can weaken them. Replacing or supplementing these beams with LVL or glulam is common during foundation repair, but crawl space moisture must be controlled first or the new beam faces the same conditions. The pier-and-beam foundation guide covers piers, beams and crawl space concerns.
When an Engineer Should Be Involved
Lumberyards can often size simple headers and beams using manufacturer software, and many building departments accept those calculations for straightforward projects. An engineer is usually warranted for removal of bearing walls carrying multiple floors or roof loads, point loads from posts above, long spans, beams supporting other beams, damaged or modified existing beams, and any situation where the load path is unclear.
A general home inspector looks at visible structural components but is not the right professional to size or approve a beam. The American Society of Home Inspectors Standard of Practice says inspectors inspect structural components and describe the floor structure, but are not required to provide engineering services or offer an opinion about the adequacy of structural systems. The guide on home inspection versus structural engineer explains how the two roles fit together, and the structural home inspection guide describes deeper evaluations.
What Engineered Beam Work Costs
Costs depend heavily on span, load, access, finishes and local labor. As general, hedged ranges:
- Engineered beam material varies from a few hundred dollars for a short LVL header to well over a thousand dollars for long, deep glulam or PSL beams.
- Removing a load-bearing wall and installing a beam commonly falls in the several-thousand-dollar range, and complex projects with flush beams, new footings or multiple loads can cost considerably more.
- Engineering for a beam or wall removal is often several hundred dollars to more than a thousand.
- Sistering or supplementing a sagging basement beam with new posts and footings often runs from a couple thousand dollars upward.
- Permits, drywall, flooring patches and paint add to most projects.
Comparing quotes is easier when each contractor names the product, size, number of plies, post and footing details and who provides engineering.
How to Move Forward
- Identify the beam type from stamps or appearance and note its supports.
- Check for cuts, notches, water staining and posts landing on inadequate support.
- Get engineering for wall removals, damaged beams and unclear load paths.
- Confirm permit requirements before work starts.
Buyers can use the home inspector hiring guide to plan evaluations, and the structure and exterior hub collects related framing and foundation guides.
References
- ASHI Standard of Practice for Home Inspections — American Society of Home Inspectors
- A Brief Guide to Mold, Moisture and Your Home — U.S. Environmental Protection Agency
- Termites: How to Identify and Control Them — U.S. Environmental Protection Agency
Frequently asked questions
What are engineered lumber beams?
They are structural members made by bonding wood veneers, strands or boards together with adhesives under heat and pressure. Common types include LVL, PSL, LSL and glulam, all with consistent, published design values.
Is LVL stronger than regular lumber?
LVL generally has higher and more consistent design values than solid sawn lumber of the same size, so it can span farther or carry more load. Actual capacity depends on the product, size and installation.
Can you drill holes in an LVL beam?
Only within the manufacturer's published limits, which often allow small holes near the middle of the depth away from supports, or none without approval. Notches in beams are generally not allowed.
Can engineered beams be used outdoors?
Most are designed for dry, protected interior use. Exterior applications such as decks need products rated or treated for exposure, and standard LVL or glulam left wet can swell and decay.
Do I need an engineer to install an LVL beam?
Simple headers can often be sized with manufacturer software through a lumberyard. Wall removals carrying significant loads, long spans, point loads and damaged beams usually warrant a structural engineer.
Planning to open a wall or wondering about a sagging beam in a home you are buying? Reach out and we can help connect you with a local inspector and, where needed, a structural engineer.