What Is a Radon Pipe: SSD Pipe Components Guide
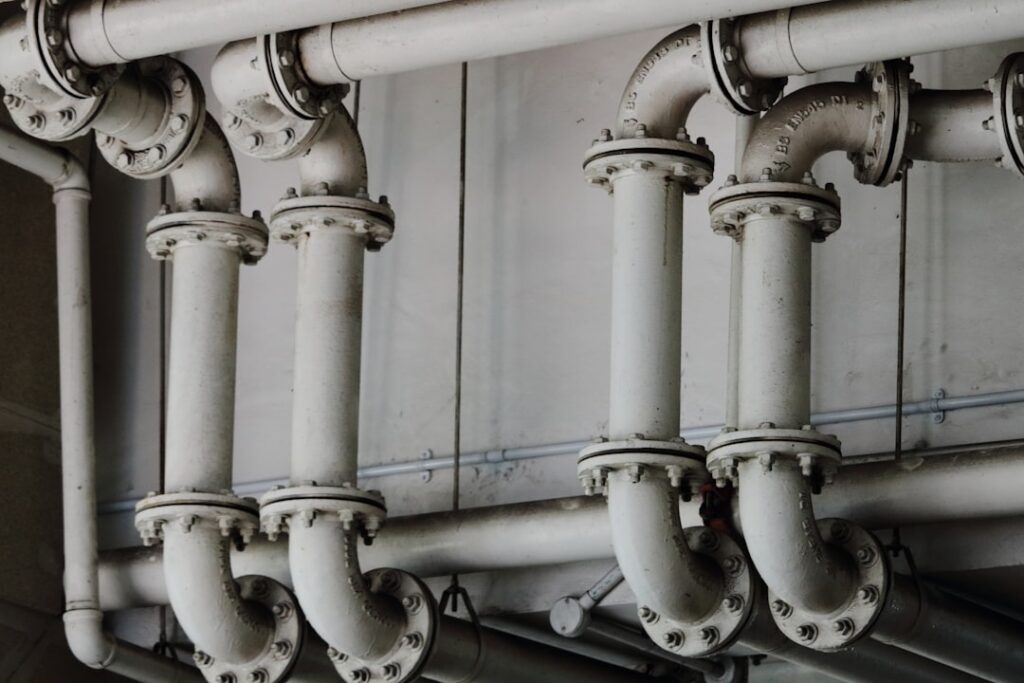
“Radon pipe” is the visible vertical PVC pipe that homeowners see in basements or on the exterior of homes with active radon mitigation. The pipe is the central component of a sub-slab depressurization (SSD) system — it carries radon-laden soil gas from beneath the foundation slab, through a fan, and out above the roof line. Understanding what the pipe does, what its components are, and how it should be installed makes it easier to inspect during a home purchase and to maintain afterward. This guide summarizes EPA and AARST guidance current as of 2026 and walks through every part of the radon pipe system from suction point to roof discharge. Radon is a serious lung-cancer risk — consult your physician for symptoms and a NRPP-certified mitigation contractor for installation decisions.
What is a radon pipe?
A radon pipe is the vertical PVC pipe that carries radon gas extracted from beneath a building foundation up through the home and out above the roof line. The pipe is typically 3-inch or 4-inch schedule 40 PVC, sealed at the slab penetration, connected to an inline radon fan, and discharged at least 10 feet above grade with the outlet at least 10 feet from any window, door, or building intake. The pipe is the visible part of a sub-slab depressurization (SSD) system that homeowners and inspectors can see during a property walkthrough. The components beneath the slab (the suction pit, sub-slab piping network) are buried and not visible.
The radon testing in Colorado pillar covers the broader mitigation context. The pipe is the most visible component of any installed system, and understanding it helps homeowners recognize whether a home they are buying has active radon mitigation.
Components of a radon pipe system
A complete radon pipe assembly consists of seven main components, installed in sequence from beneath the slab up through the roof line.
Suction pit
Beneath the basement slab, the contractor excavates a small cavity (typically 5 gallons of removed gravel) at the pipe penetration point. The cavity creates space for soil gas to collect before being pulled into the pipe. Suction-pit dimensions affect system performance: too small a pit limits flow; too large adds little benefit beyond a certain size.
Slab penetration and seal
A 6 to 8-inch hole is cut through the basement slab. The 3 or 4-inch PVC pipe extends through the hole into the suction pit beneath. The annular space around the pipe is sealed with a high-quality urethane caulk or polyurethane foam to prevent depressurization losses through the seal.
Vertical pipe through the home
The pipe runs vertically through the home. In basements, the pipe typically rises along an interior wall or in a utility chase. The vertical run continues through the first floor, second floor, and into the attic before discharging through the roof. PVC schedule 40 is the standard material — heavy enough to withstand long-term use, light enough for one-person installation. Pipe sections are joined with PVC primer and solvent cement at each fitting.
Inline radon fan
An inline centrifugal fan creates the negative pressure that drives the system. The fan must be located outside the conditioned envelope — typically in the attic above the highest living space or on an exterior wall. EPA and AARST standards prohibit fan placement inside the living envelope to prevent any leak of pressurized radon-laden air back into the home. The fan typically runs at 70 to 150 watts, drawing 90 to 200 CFM. Common brands include RadonAway, Festa, and AMG.
U-tube manometer
A clear U-shaped plastic tube containing colored fluid is mounted on the pipe at a visible location (typically in the basement near the pipe penetration). The two sides of the U-tube show the pressure difference between the fan side and the room side. A healthy system shows about 0.5 to 1.5 inches of water column on the fan side. When both sides drop to the same level, the fan has stopped working. The manometer is the simplest and most reliable way for a homeowner to confirm the system is still operating.
Exhaust pipe to roof
The pipe continues upward from the fan and discharges through the roof. EPA-recommended discharge height is at least 12 inches above the roof surface and at least 10 feet above grade. The discharge point must be at least 10 feet from any window, door, or building intake to prevent re-entry of exhausted radon. The pipe terminates with an upward-facing or angled cap that prevents rain entry but allows free exhaust.
Electrical connection
The fan is wired to a dedicated electrical circuit (typically a 15-amp branch) with a marked switch. Code requires the switch to be labeled for safe shutdown during maintenance. Some installations include an alarm or indicator light that signals fan failure.
Pipe sizing: 3-inch vs 4-inch
Most residential SSD systems use 3-inch PVC. Larger homes, homes with multiple suction points, or homes with high-radon source pressure may require 4-inch pipe to handle the necessary airflow. Larger pipe diameter increases system capacity but also increases material and installation cost. A NRPP-certified contractor sizes the pipe during the pre-installation diagnostic step. Mixing pipe sizes within a single system (3-inch sub-slab piping converging to a 4-inch riser, for example) is acceptable but requires proper transition fittings.
Pipe routing: interior vs exterior
Two main routing approaches exist for the vertical pipe through the home. Each has tradeoffs in cost, aesthetics, and weather performance.
Interior routing
The pipe runs through the home’s interior — typically in a utility chase, closet corner, or alongside an interior wall. The fan sits in the attic above the highest living space, and the discharge penetrates the roof. Interior routing is the more common approach in cold climates because the warm conditioned air in the pipe prevents condensation freezing during winter. The visible pipe in the basement is the only aesthetic compromise.
Exterior routing
The pipe exits the basement near grade and runs up the exterior wall to the roof. The fan can be mounted on the exterior wall in a weatherproof housing. Exterior routing avoids any interior pipe visibility but is more vulnerable to freezing in cold climates — condensation in the pipe can freeze and block flow. Exterior routing is common in warmer climates and acceptable on the Front Range with proper insulation around the exterior pipe run.
Inspecting a radon pipe during a home purchase
Buyers viewing a home with installed radon mitigation should check several pipe-system items. Confirm the U-tube manometer is showing a clear pressure difference (the system is running). Trace the pipe from the basement slab penetration to the fan and on to the roof discharge — confirm continuous routing. Confirm the fan is located outside the conditioned envelope. Check the slab seal for cracks or pulled-apart caulk. Confirm the roof discharge is at least 12 inches above the roof surface and 10 feet from any window. Ask the seller for the original installation documents, fan model number, and post-installation radon test result. Many home inspectors include radon-system inspection as a standard line item on Front Range properties. The cluster guide on what is a radon mitigation system covers system-level inspection in more detail.
Common radon pipe problems
Several pipe-system issues come up in older installations. Pulled-apart pipe joints from settling or impact — a visible gap allows depressurization losses. Cracked U-tube manometer that has lost fluid — the system may still be running but cannot be visually verified. Fan motor failure — both sides of the manometer settle to equal level. Slab seal cracks from foundation settlement — fan still runs but performance drops. Roof discharge too close to a window or door — radon re-enters the building. Exterior pipe freezing during cold snaps — temporary flow blockage. Each problem is correctable by a NRPP-certified contractor at modest cost relative to full reinstallation.
How long a radon pipe lasts
The PVC pipe itself lasts the life of the home — schedule 40 PVC has no practical degradation under interior conditions. The fan is the consumable; typical service life is 8 to 10 years. The U-tube manometer fluid can evaporate over many years and may need topping off after a decade-plus. The slab seal can crack from foundation settlement; resealing is a 30-minute service call. Most well-installed radon pipe systems run for decades with only periodic fan replacements.
Pipe and fan brand considerations
Major radon fan brands include RadonAway (the largest U.S. manufacturer, models like RP145, GP201, GP301), Festa AMG (Performance, Fantech), and Solar Atomic. Each manufacturer publishes specifications for static pressure capability and flow rate. NRPP-certified contractors typically maintain inventory of two or three brands and choose based on the home’s flow requirements. PVC pipe is generic — any schedule 40 PVC from a building supply store works. Fittings (elbows, couplings, transitions) are similarly generic but should be solvent-welded for permanent installations.
Front Range radon pipe considerations
Front Range installations almost always use sub-slab depressurization because most homes have concrete basements or slab-on-grade foundations with gravel beneath. Pipe routing is split roughly evenly between interior and exterior approaches; interior is slightly more common because of winter freeze concerns. Most installations terminate above the highest roof line to ensure adequate discharge clearance from windows. CDPHE maintains a state radon program that funds outreach but does not regulate individual installations — NRPP certification through AARST is the relevant credential.
Identifying a passive vs active radon pipe
Some homes have radon-resistant new construction (RRNC) features that include a passive radon pipe — a 3 or 4-inch PVC pipe routed from beneath the slab up through the home and out above the roof, but with no fan installed. The pipe relies on natural stack-effect ventilation to draw radon out. Passive systems can reduce radon by 30 to 50 percent in favorable conditions but rarely achieve the reductions an active fan-driven system delivers. If post-occupancy testing shows the home is still above 4.0 pCi/L, a NRPP contractor can add an inline fan to convert the passive system to active mitigation — typically a $400 to $800 job because most of the pipe infrastructure is already in place.
Pipe labeling and code-required signage
AARST and most state programs require labels on the radon pipe identifying it as a radon mitigation system, providing the installer’s contact information, and warning against modification. Labels are typically placed near the slab penetration and at the fan. Homeowners should not paint, wrap, or otherwise obscure the pipe in ways that hide these labels. The pipe should remain visible and accessible for inspection. Some homeowners box in the basement portion of the pipe for aesthetic reasons; if done, the U-tube manometer must remain visible through an opening in the enclosure.
References
- EPA Radon Information — U.S. Environmental Protection Agency
- EPA Consumer’s Guide to Radon Reduction — U.S. Environmental Protection Agency
- CDPHE Radon Program — Colorado Department of Public Health and Environment
- CDC Radon Information — Centers for Disease Control and Prevention
Front Range homeowners with questions about an existing radon pipe installation or planning a new one can reach out through our contact page for a referral to a NRPP-certified mitigation contractor.