Testing for Asbestos in Home: What Homeowners Need to Know
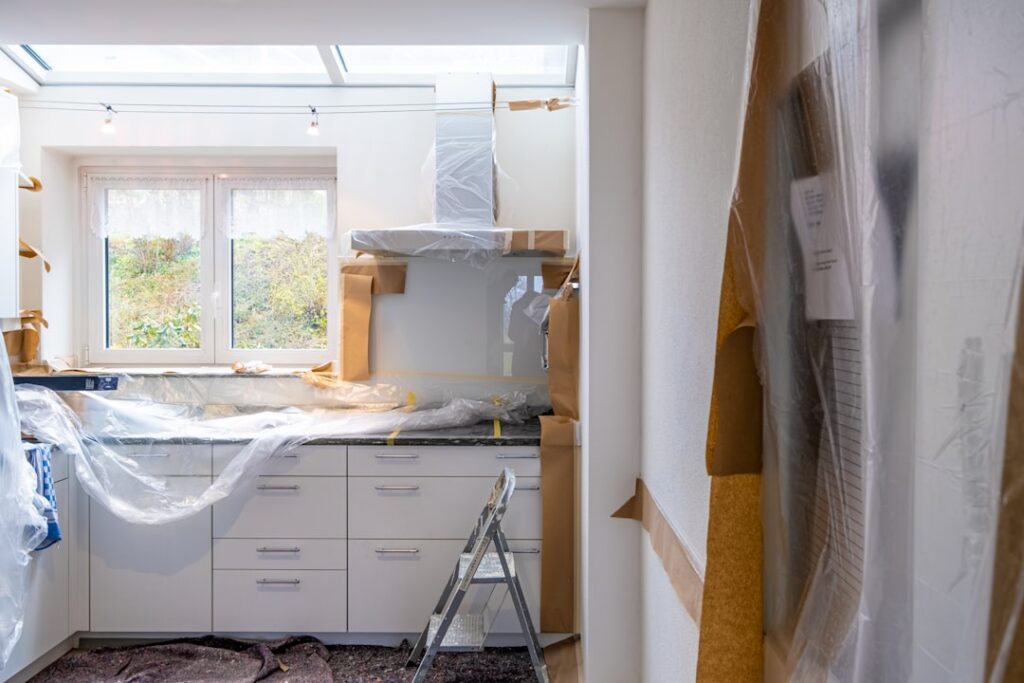
Testing for asbestos in home settings is one of the more accessible DIY environmental procedures, but it carries real consequences when done sloppily. The material is genuinely dangerous when disturbed, and a bad sample technique can release fibers into the very rooms a homeowner was trying to protect. This guide walks the entire process end-to-end from the homeowner’s perspective — when to test, what to test, how to test, and what to do with the result. It summarizes EPA, OSHA, and CDC guidance current as of 2026 — always work with a licensed abatement contractor for any removal beyond simple sampling.
Is this mold, asbestos, or water damage? Get a free instant screen
Upload a clear photo of the suspect area. You'll get an instant AI screening opinion and what to do next. This is screening guidance, not a professional determination.
Screening guidance only. AI can be wrong. Confirm asbestos, mold type, or lead with lab testing or a licensed professional before acting.
Testing for Asbestos in Home: The Full Sequence
The full homeowner sequence runs five steps. First, determine whether testing is warranted given the home’s age and materials. Second, identify the specific suspect materials and prioritize which ones to test. Third, gather a kit, PPE, and sampling supplies. Fourth, collect samples using wet-method protocols. Fifth, ship to an NVLAP-accredited lab and interpret results when they return. Each step has its own pitfalls, but none of them are technically difficult. The whole process can be completed by a careful homeowner in a single afternoon for under $100 in a typical case.
Three constraints frame the entire process. Sampling is legal for owner-occupied single-family dwellings in every U.S. state. Disturbance beyond sampling is regulated under EPA NESHAP and typically requires a licensed abatement contractor. Lab analysis requires an accredited facility because regulators, agents, and contractors will not accept results from non-accredited testing.
Step 1: Is Testing Warranted?
The first filter is the home’s age. Asbestos was used heavily in U.S. residential construction from roughly 1930 through 1980, with peak use in the 1950s through the 1970s. A home built before 1980 should be considered suspect for several asbestos-containing material categories. A home built after 1985 is much less likely to contain regulated asbestos, though some transitional products from 1980 to 1985 occasionally test positive.
The second filter is whether the homeowner plans to disturb suspect material. Intact, undisturbed asbestos-containing material is generally low-risk per EPA guidance. The risk emerges during renovation, demolition, water-damage repair, or any work that breaks, sands, grinds, drills, or pulverizes the material. Homeowners planning a basement finish, a bathroom remodel, an HVAC replacement, or a roof tear-off in a pre-1980 home should test before starting. Homeowners not planning to disturb anything may decide to leave well enough alone with informational documentation.
Step 2: Identify Suspect Materials
Pre-1980 homes commonly contain asbestos in specific material categories. The shortlist includes: pipe insulation (white plaster-like wrap on hot-water or steam pipes); boiler insulation (block, blanket, or cement-asbestos jacketing on furnaces); 9×9 vinyl floor tile and the mastic underneath; sheet vinyl flooring with felt backing; popcorn ceiling texture and troweled-on ceiling skim coats; joint compound on drywall seams; transite siding and roof shingles; vermiculite attic insulation (especially if originally sourced from the Libby, Montana mine); cement-asbestos pipes; and “linoleum” floor coverings from the 1940s through 1970s.
The visual ID and testing guide covers what each of these looks like in detail. A typical pre-1980 home has two to four suspect material categories worth testing; a vintage 1950s home with original installations may have six or seven. The asbestos and lead pillar covers the regulatory baseline before sampling begins.
Step 3: Gather Supplies
A complete homeowner kit needs: an NVLAP-accredited lab’s mail-in kit ($30 to $50, includes sample bags, chain-of-custody form, and prepaid return shipping); a P100 respirator with HEPA cartridges (not a paper dust mask); nitrile gloves; safety glasses; disposable Tyvek coveralls if available; 6-mil plastic sheeting; a spray bottle filled with water plus a few drops of dish soap; a sharp utility knife or small chisel; duct tape; spray encapsulant or clear shellac for patching the sample spot; and paper towels.
The kit retailers worth knowing in 2026 include Pro-Lab, EMSL Analytical, Aerobiology Laboratory Associates, and Schneider Laboratories Global. All four hold NVLAP or AIHA-LAP accreditation and offer mail-in residential kits. Home Depot and Lowe’s stock kits in stores. Direct-from-lab ordering is sometimes cheaper than retail markup.
Step 4: Collect Samples Safely
Turn off HVAC. Close interior doors. Move children and pets out of the room. Open a window on the opposite side of the house if weather permits. Lay 6-mil plastic sheeting directly beneath the sampling spot. Put on PPE — respirator first, then gloves, glasses, and coveralls.
Mist the sample area lightly with the soap-water spray. Let it soak in for 60 seconds. The water weighs down fibers and prevents them from becoming airborne when the sample is removed. Use the utility knife or chisel to remove a piece roughly one square centimeter — enough for the lab to work with, not so much that excess debris is created.
Drop the sample directly into the kit’s sealed sample bag without touching it to any surface first. Wipe the bag exterior with a damp paper towel. Place the sealed bag inside a second bag. Label the outer bag with the sample location, date, material description, and presumed installation era. Mist the sampling spot again, patch with duct tape or encapsulant, roll the plastic sheeting from the outside in, and bag the sheeting, gloves, coveralls, and respirator filters as waste. Wash hands and face thoroughly.
Step 5: Ship to Lab and Interpret Results
Most kits include prepaid return shipping in a padded envelope. Fill out the chain-of-custody form with sample IDs matching the bag labels. Drop the package at the nearest postal facility. Tracking is usually included.
Results return by email 3 to 5 business days after the lab receives the sample. The certificate lists each sample by ID, the analytical method (typically EPA 600/R-93/116 PLM), and the percent of each asbestos mineral detected. A result of “No asbestos detected” or “ND” clears the material. A result above 1 percent for any of the six regulated minerals confirms asbestos-containing material under EPA NESHAP.
The lab will not interpret the result or recommend next steps. That decision rests with the homeowner, often with input from a licensed abatement contractor or a state environmental health agency.
What to Do With a Negative Result
Negative results are the simplest outcome. The homeowner can proceed with the planned renovation, disturbance, or removal using ordinary construction precautions. Keep the lab certificate in the home’s permanent records for future reference and future seller disclosure. One negative on one sample is not a property-wide clearance — if the renovation extends to areas where similar-appearing material was not sampled, additional samples may be warranted.
What to Do With a Positive Result
Positive results split into two paths. If the material can stay in place and remain intact, leave it alone. Document the location and result in permanent records. Plan future maintenance to avoid disturbance. Inform any contractors who work in the area. This management-in-place approach is legal, safe, and standard practice for non-friable Category I materials like floor tile and transite siding.
If the material must be removed because of damage, planned renovation, or sale-related demands, hire a state-licensed asbestos abatement contractor. The contractor will pull a NESHAP notification, set up containment with negative-pressure HEPA filtration, perform the removal under wetted conditions, conduct clearance air testing, and dispose of the waste at a permitted landfill. Costs range from $1,500 for a small pipe-insulation job to $25,000 or more for whole-home siding or vermiculite removal.
Pre-Renovation Testing Required by EPA NESHAP
The federal regulation that most often catches residential renovators by surprise is the EPA National Emission Standards for Hazardous Air Pollutants asbestos rule, commonly called NESHAP. The EPA asbestos regulations resource covers NESHAP as the regulatory framework that governs renovation and demolition activities involving asbestos-containing material. Under NESHAP, any renovation that will disturb regulated asbestos-containing material above defined threshold quantities triggers pre-notification, testing, and abatement requirements. The thresholds are 260 linear feet of pipe insulation, 160 square feet of surfacing or thermal system insulation, or 35 cubic feet of off-facility waste.
The practical implication for homeowners is that planned renovations of substantial scope cannot legally proceed without confirming whether suspect materials contain asbestos. Pulling up 800 square feet of mid-century floor tile without first testing is a NESHAP violation if the tile turns out to contain asbestos and exceeds the threshold quantities. Removing the popcorn ceiling across a 1,500 square foot main level is a similar situation. The regulation predates most modern renovation practices, and many homeowners proceed without awareness that their planned scope crosses the regulatory threshold until a building inspector or neighbor reports the activity.
Consequences of skipping the pre-renovation testing step are substantive. NESHAP violations are enforced by EPA regional offices and state delegated agencies, with civil penalties that can run into tens of thousands of dollars per violation. State-level penalties can stack on top of federal enforcement. Beyond the regulatory exposure, undocumented disturbance of asbestos-containing material creates personal liability for occupant exposure, future-buyer exposure, contractor exposure, and waste-handler exposure. The OSHA asbestos standards apply to any worker present during the disturbance, and a contractor performing demolition on undisclosed asbestos-containing material has a documented exposure claim against the property owner. Pre-renovation testing is inexpensive insurance against all of these outcomes and is the entry-point step that responsible renovators take before any wrecking-bar work begins.
Documentation to Retain Post-Testing
Test results that are well-documented at the time of testing remain useful for years. Results that are poorly documented at the time of testing are difficult to defend during a future disclosure dispute, insurance claim, or warranty assertion. The minimum retention package includes the lab certificate itself, with the lab name, NVLAP accreditation number, sample identifiers, material descriptions, analytical method, and the percentage findings for each asbestos type tested. Most labs deliver this as a PDF that should be saved both digitally and in a physical home-records folder.
Photographs of each sampled material in situ before collection are the second documentation element. Each photograph should include a scale reference (a tape measure or a known-size object), a wide shot showing the material in its room context, and a close shot showing the surface texture and any features used to identify the material type. Naming convention for the photos should match the lab sample identifiers, so a future reviewer can match the certificate row to the corresponding image without ambiguity. A sample-location map is the third element: a simple floor-plan sketch with numbered markers showing where each sample was collected. The map does not need to be drafting quality; it needs to be unambiguous about which room and which wall or floor section each sample represents.
The fourth element is a narrative summary tying findings to recommendations. The summary names the material tested, the result, the recommended action (management in place, abatement, or no action), and the basis for the recommendation. This summary is what future buyers, contractors, and insurance adjusters actually read, because the lab certificate alone does not translate technical findings into property-level decisions. Together, the certificate, photos, map, and narrative form a documentation package that supports the EPA family protection resource guidance to keep records of any asbestos testing performed on the home. Storing the package in the home’s permanent records and providing it during seller disclosure is consistent with standard real-estate practice in most states.
References
- EPA Protect Your Family From Asbestos — U.S. Environmental Protection Agency
- OSHA Asbestos Standards — Occupational Safety and Health Administration
- CDC NIOSH Asbestos Topic — Centers for Disease Control and Prevention
- American Lung Association Asbestos Page — American Lung Association
Front Range homeowners planning a remodel in a pre-1980 home can connect with a vetted local inspector here to coordinate sampling before demolition begins.