How Remove Mold: A Quick-Reference Homeowner Guide
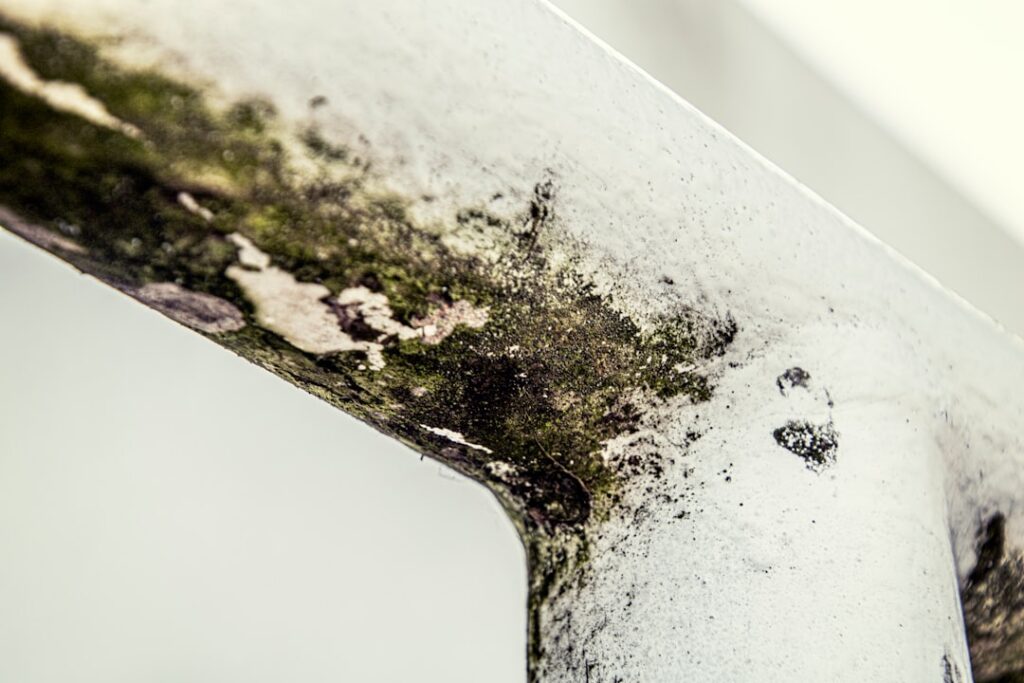
How remove mold is the short-tail version of a question homeowners ask millions of times a year, and the answer condenses to a five-line workflow: scope the patch, suit up, ventilate to the outdoors, clean with the right chemistry for the surface, and dry thoroughly. This guide summarizes EPA and CDC guidance current as of 2026, and consulting a certified mold professional remains the right call when the project crosses the homeowner-scale threshold. Below is the quick-reference framework — fast enough to read before the cleanup, deep enough to keep you out of the common mistakes.
Part of our Mold Removal & Remediation guide — start there for the full picture →
Is this mold, asbestos, or water damage? Get a free instant screen
Upload a clear photo of the suspect area. You'll get an instant AI screening opinion and what to do next. This is screening guidance, not a professional determination.
Screening guidance only. AI can be wrong. Confirm asbestos, mold type, or lead with lab testing or a licensed professional before acting.
Quick-reference summary: the one-page version
If you read nothing else on this page, this section covers the essentials:
- Cleanups under ten square feet on hard surfaces are typically homeowner work
- Wear an N95 respirator, gloves, eye protection, and long sleeves
- Open windows, shut off HVAC, ventilate to the outside
- HEPA-vacuum first, then wipe with detergent and water (or hydrogen peroxide)
- Dry completely and keep indoor relative humidity below 50 percent afterward
- Fix the underlying moisture source or the patch returns
- Escalate to a remediator for anything porous, larger, or recurring
That list covers most homeowner mold encounters. The sections below add the context that makes each line make sense.
Scoping the patch in two minutes
Five observations decide whether the rest of this article applies:
First, the size. A patch under ten square feet — roughly 3 feet by 3 feet — falls within the EPA’s homeowner-scale guidance for hard surfaces. Anything larger needs containment beyond a DIY kit.
Second, the substrate. Glazed tile, glass, sealed metal, and finished wood clean reliably. Drywall paper, carpet pad, ceiling tile, and fiberglass insulation do not — those materials need to come out rather than be cleaned.
Third, the moisture source. If you cannot point to the specific leak or humidity condition that fed the growth, the cleanup is cosmetic and the patch will return.
Fourth, the occupants. Households with infants, elderly residents, asthmatic individuals, or immunocompromised members lean toward professional cleanup even for small patches.
Fifth, recurrence history. A patch that returned after a previous cleanup is telling you the moisture diagnosis or the cleanup scope was wrong.
The PPE floor
The CDC’s mold cleanup guidance treats the following as the minimum:
- NIOSH-approved N95 respirator (fit properly — a beard breaks the seal)
- Nitrile gloves, replaced as they tear
- Eye protection — vented goggles or face shield
- Long sleeves, long pants, closed-toe shoes
A box of 20 N95 respirators costs under $25 at any hardware store. A 100-pack of nitrile gloves is roughly $15. That kit covers a year of small jobs and is the single highest-ROI safety investment a homeowner can make for mold work.
Cleanup sequence in detail
The order matters more than the brand of cleaner. Reversing any step in this sequence is how cross-contamination happens.
Ventilate first
Open windows in the work area. Turn off the central HVAC so the system does not move spores to the rest of the house. Set up a box fan in a window blowing outward. The goal is negative pressure in the work area relative to the rest of the home, even without professional air-scrubbing equipment.
HEPA-vacuum before wet-cleaning
A true HEPA vacuum captures the loose spores you would otherwise smear into wet surfaces. A standard shop vacuum’s exhaust re-aerosolizes the spores and makes the job worse. Vacuum the visible patch and a two-foot perimeter on all sides.
Wipe with the right chemistry
The EPA’s default recommendation is detergent and water on hard surfaces. Specific situations call for adjustments:
- Diluted bleach (one cup per gallon) on glazed tile and sealed grout — not on porous or natural-stone surfaces
- Hydrogen peroxide on painted drywall, fabric, and finished wood
- White vinegar on porous surfaces when chemical sensitivity is a concern
- EPA-registered antimicrobials for confirmed colonization or sensitive occupants
Apply to a damp microfiber cloth rather than spraying directly onto porous surfaces. Wipe from the outside of the patch inward. Discard the cloth into a sealed bag after each pass — reusing a cloth spreads the colony.
Dry thoroughly
The substrate must reach moisture content below what supports re-growth. For most materials, that means complete air-drying with a fan and a dehumidifier targeting 40 to 50 percent indoor relative humidity. The CDC’s residential guidance treats sustained humidity above 60 percent as the threshold at which microbial growth becomes likely.
Verify at one week
Re-inspect the area at 24 hours, 72 hours, and 168 hours. The patch should remain clean, the substrate firm, and no musty smell should return. Failure at any of those checkpoints means the cleanup did not address the actual problem.
Substrate-specific notes
The basic workflow applies everywhere, with small adjustments per material. Our primary how-to-remove-mold walkthrough covers substrate selection in more detail.
Bathroom and kitchen tile
Diluted bleach handles most colonies on glazed surfaces. Caulk that has visibly absorbed pigment cannot be cleaned — replace the bead. Grout that has discolored permanently may need re-sealing or replacement.
Painted walls and ceilings
Hydrogen peroxide first. If staining remains or returns, the substrate has been penetrated and the section needs to come out. Painting over visible mold is a temporary cosmetic fix at best and a deception during a future home sale.
Basement concrete
EPA-registered antimicrobials labeled for masonry work better than household cleaners on alkaline concrete. Distinguish efflorescence (white mineral salts) from white mold first — a spray-water test confirms it, since efflorescence dissolves and mold does not.
Why moisture control is the actual fix
The cleanup buys days; the moisture control buys years. Common homeowner-fixable moisture sources include leaking plumbing under sinks, failed shower caulk, condensation on cold water pipes, bathroom exhaust fans that vent into attic spaces rather than to the exterior, and seasonal humidity above 50 percent in basements.
On the Front Range specifically, the seasonal humidity cycle drives much of the residential mold work. Winter heating dries indoor air to 10 to 20 percent humidity, which suppresses growth but cracks finishes. Summer monsoons push basement humidity into the 60s and 70s, which is when colonies establish. A $200 dehumidifier running June through September is often the single highest-ROI mold prevention purchase a Front Range homeowner makes.
Escalation triggers
Stop the DIY work and call a remediator when any of these apply:
- Patch larger than ten square feet
- Porous substrate with embedded staining
- Recurrent growth after a thorough prior cleanup
- Health-sensitive household members
- Musty smell that persists after surface cleaning
- Insurance claim documentation needed
For escalation, the assessor and remediator should be separate firms. Independent verification is what makes the final clearance meaningful. The structure of a real remediation is documented in our IICRC S520 protocol walkthrough.
Choosing between cleaner options
Four cleaner chemistries cover almost all residential mold removal work. Knowing which to reach for first saves a trip back to the hardware store.
Detergent and water
The EPA’s default first-line recommendation. Plain dish soap or laundry detergent in water on a damp microfiber works on most surfaces. Cheap, safe, and effective for the majority of small jobs.
Hydrogen peroxide
3 percent household hydrogen peroxide is the safer step up from plain detergent. It works on a broader range of substrates than bleach, including painted drywall, fabric, and finished wood. The bottle from a pharmacy costs under $2 and handles a year of routine work.
White vinegar
5 percent distilled white vinegar kills roughly 82 percent of common household mold species per laboratory testing summarized in CDC educational materials. It is the option of choice for chemical-sensitive occupants and works on a wider range of porous surfaces than bleach. The trade-off is residual staining on dark colonies.
Chlorine bleach (sodium hypochlorite)
Diluted at one cup per gallon, bleach handles glazed tile and sealed grout effectively. The EPA does not recommend bleach as a routine treatment because of off-gassing concerns and inability to penetrate porous substrates. Use it where it specifically fits the surface, not as a default.
The verification window in detail
The 24-hour, 72-hour, and 168-hour checks each catch a different failure mode.
24-hour check
Confirms the cleaning chemistry worked initially. Visible patch should be gone, substrate should be dry. Failure at this checkpoint usually means insufficient cleanup or wrong cleaner for the substrate.
72-hour check
Confirms moisture control. Substrate should remain dry, no shadow staining returning. Failure at this checkpoint usually means the underlying moisture source was not fully addressed.
168-hour (one-week) check
Confirms long-term success. No regrowth, no musty smell, area ambient humidity stable below 50 percent. Failure at this checkpoint means deeper investigation is needed — usually either substrate penetration or moisture source still active.
Recurring problem patterns
Some homes have specific recurring mold patterns that signal building-science problems rather than isolated cleanup issues. The patterns to watch for:
- Mold returning to the same spot under a specific window each winter — single-pane window condensation or insufficient interior ventilation
- Mold returning to the same basement corner each summer — exterior grading or foundation water migration
- Mold returning to the same bathroom area despite caulk replacement — exhaust fan not properly ducted to exterior
- Mold returning to the same ceiling spot near a vent — HVAC condensate or supply-air condensation in humid conditions
- Mold returning to the same closet wall — exterior wall lacking insulation or vapor retarder
Each pattern points to a specific building-science fix that prevents future recurrence. The cleanup buys time; the building-science work prevents the next cycle. Our water damage mold timeline guide covers building-science fixes for water-related mold patterns.
The Front Range climate factor
For Colorado Front Range homeowners, the seasonal humidity cycle shapes most mold work. Winter heating dries indoor air to 10 to 20 percent humidity, which suppresses growth but stresses materials. Spring snow melt introduces moisture into basements and crawlspaces. Summer monsoons push basement humidity into the 60s and 70s for weeks at a time, which is when seasonal colonies establish.
A predictable Front Range mold-prevention rhythm includes spring basement and crawlspace inspection as humidity rises, mid-summer humidity verification with a hygrometer (target below 50 percent), and fall checks of attic and bathroom areas before heating-season closure. The mold inspection hub covers seasonal scheduling for Front Range homes.
What to do if you find more than expected
Sometimes the visible patch turns out to be the visible edge of a larger problem. The right response when this happens during the cleanup:
- Stop the work immediately — disturbing a larger colony without containment spreads spores
- Close off the area with sheet plastic across the doorway
- Leave the colony alone — do not continue with the DIY workflow
- Contact a qualified assessor to scope the actual extent
- Wait for the assessment before any further intervention
Pushing forward with a DIY cleanup on a project that should be professional remediation creates a contamination event that is more expensive to remediate than the original colony would have been. Stopping early is the right call.
References
- A Brief Guide to Mold, Moisture, and Your Home — U.S. Environmental Protection Agency
- Mold Cleanup Guidance — Centers for Disease Control and Prevention
- Residential Mold Inspection Reference — InterNACHI
Frequently asked questions
What is the fastest way to remove mold from a small patch?
HEPA-vacuum the visible patch, wipe with detergent and water on a damp microfiber cloth, and dry the area thoroughly with a fan and dehumidifier. For most hard surfaces, that sequence handles colonies under ten square feet with the EPA's recommended chemistry.
Do I need bleach to remove mold?
No. The EPA does not recommend bleach as a routine treatment because it cannot penetrate porous substrates and off-gases in poorly ventilated rooms. Detergent and water is the first-line recommendation; bleach is reserved for glazed tile and sealed grout where the cosmetic stain removal matters.
How long should I wait before confirming the cleanup worked?
Re-inspect at 24 hours, 72 hours, and one week after cleaning. The patch should remain clean, the substrate firm and dry, and no musty smell should return. Failure at any checkpoint usually means the moisture source was not fully addressed.
What if I find mold while I am already cleaning a different area?
Stop and reassess the scope. Combining patches can push the total beyond the ten-square-foot threshold, at which point the work needs containment and engineering controls. Map all visible growth before deciding whether the project still fits a homeowner workflow.
Front Range homeowners who want a fast second opinion on whether a finding fits a DIY workflow can reach out through our contact page for a connection to a vetted local assessor.
Mold removal & cleanup picks
For a small, contained patch (under ~10 sq ft) these EPA-friendly removers handle surface mold. Larger or recurring growth warrants a professional assessment first.
| Product | Why | Buy |
|---|---|---|
 RMR-86 Instant Mold Stain Remover RMR-86 Instant Mold Stain Remover | Fast-acting on stains; ventilate and wear PPE. | Amazon — $29.99 |
 Concrobium Mold Control Concrobium Mold Control | No-bleach formula that also helps prevent regrowth. | Amazon — $34.27 |
 Mold Armor Mold & Mildew Remover Mold Armor Mold & Mildew Remover | Widely stocked bathroom/surface remover. | Amazon — $22.98 |