Getting Rid of House Mold Without Spreading It
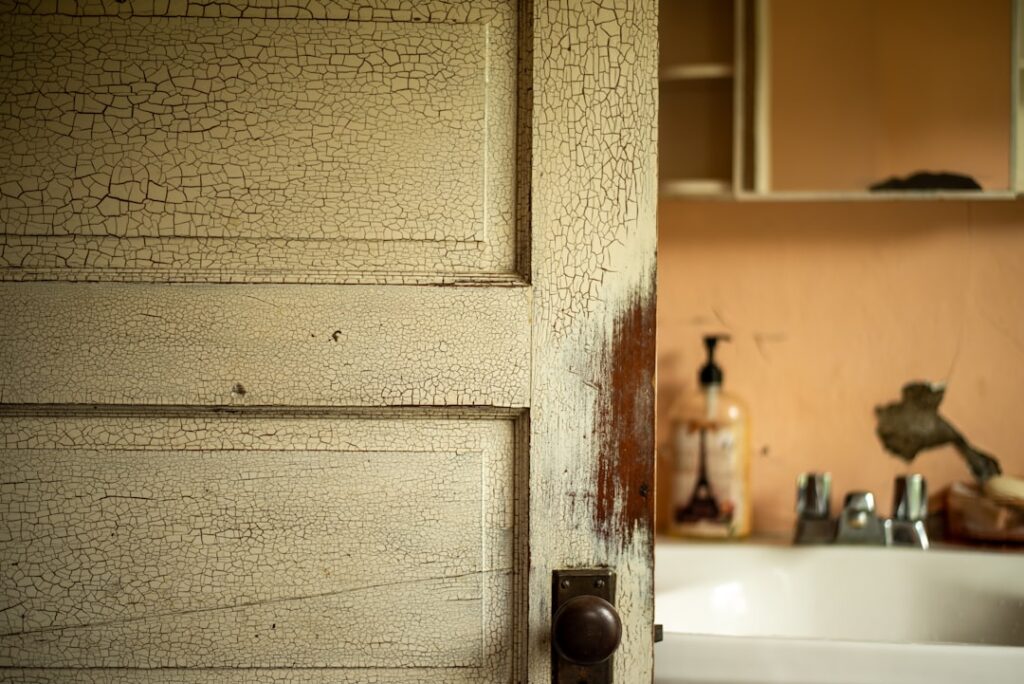
Two things decide whether mold stays gone: killing the water that feeds it, and keeping spores from spreading while you tear it out. Everything else is technique. A homeowner who scrubs a patch off the wall but leaves the leaking supply line behind is back to the same wall by next season. This page walks the actual sequence, and it is honest about the one line where the job stops being a weekend project and becomes a call to a remediator.
Is this mold, asbestos, or water damage? Get a free instant screen
Upload a clear photo of the suspect area. You'll get an instant AI screening opinion and what to do next. This is screening guidance, not a professional determination.
Screening guidance only. AI can be wrong. Confirm asbestos, mold type, or lead with lab testing or a licensed professional before acting.
Find the water before you touch the mold
Mold does not grow on dry material. It needs a food source (drywall paper, wood, dust on a hard surface) plus moisture, and only the moisture is under your control. So the first move is not cleaning; it is finding why that surface is wet. Look for the obvious culprits: a drip under the sink cabinet, a toilet or supply line that sweats, a tub or shower that leaks behind tile, a bathroom fan that dumps humid air into the wall instead of outside, or a basement wall that wicks in groundwater after a storm.
The EPA is blunt about this: fix the moisture problem or the mold comes back. Their home mold cleanup guidance puts moisture control first, and recommends keeping indoor humidity between 30% and 50% so condensation stops forming on cold surfaces in the first place. On the Colorado Front Range that usually means venting bath fans and range hoods to the outdoors and running a basement dehumidifier from roughly May through September, when late-summer storms push outdoor humidity up. If you cannot see where the water is coming from, a moisture meter or an infrared scan finds it behind the surface; the mold inspection and testing hub covers how that diagnosis works.
Measure the area: is this yours to fix?
Before you plan any cleanup, add up how much moldy surface you actually have. The EPA’s dividing line is roughly 10 square feet, about the size of a full sheet of plywood cut in half. Under that, a careful homeowner with the right protection can handle it. Over it, or if the mold is inside your HVAC system, the agency recommends bringing in a professional who follows commercial remediation practice. Sum every patch in the room, not just the biggest one; four scattered two-foot spots put you over the line together.
Surface type matters as much as size. Hard, non-porous materials (glazed tile, glass, metal, sealed countertops) can be cleaned and reused. Porous materials that have grown mold through them (drywall, ceiling tile, carpet and its padding, insulation, bare wood) generally cannot be truly cleaned and should be cut out and replaced. The porous-surface cleanup guide gets into where that judgment call falls.
Seal the room off first
Disturbing mold sends spores airborne, and an open door or a running furnace will carry them to every other room. Before any scrubbing or cutting:
- Turn off the central HVAC system so it does not pull spores into the ductwork and redistribute them.
- Close the door and cover any supply and return vents in the room with plastic and tape.
- For a job near the 10-square-foot line, hang 6-mil plastic sheeting to isolate the work area and run a portable air scrubber with a HEPA filter inside it.
- Move anyone with asthma, allergies, a weak immune system, plus infants and pregnant occupants, out of the house during the messy phase.
This step feels like overkill until you skip it and turn a bathroom problem into a whole-house problem. It is the cheapest insurance in the entire job.
Removing the mold safely
Protect yourself before you disturb anything. At a minimum wear an N95 respirator, safety goggles without vent holes, and long rubber or nitrile gloves. For a larger job step up to a half-face respirator fitted with P100 filters, a disposable coverall, and gloves taped at the wrist. The CDC’s cleanup guidance notes you do not need to identify the mold species first; the response is the same regardless of color or type, so skip the expensive “is it toxic” testing and just remove it.
On hard surfaces, wash the mold off with detergent and water, then dry the surface completely. On porous material with visible growth, cut it out (score the drywall a foot past the visible edge), seal the debris in heavy plastic bags before carrying it through the house, and replace with new material only after the cavity is dry. HEPA-vacuum the area before and after; an ordinary shop vac blows spore-sized particles straight back into the room through its exhaust.
Skip the bleach reflex. The EPA no longer recommends chlorine bleach as a routine mold treatment. On porous surfaces its water carries deeper while the chlorine evaporates at the surface, and it does not reach the roots inside the material. Never mix bleach with ammonia or with vinegar either; the reaction releases toxic gas. Detergent and physical removal, followed by thorough drying, is the method the federal guidance actually endorses.
How to know it actually worked
The finished job should pass three checks. Visually, the surface is clean with no staining and no lingering musty smell. By touch of a moisture meter, the underlying wood or drywall reads dry (below about 16% on a wood-equivalent scale). And if you want confirmation, an accredited lab can run an air or surface sample, usually $35 to $75 each, that should come back comparable to the outdoor air rather than dominated by indoor spores.
The real test is time. Walk the area again at two weeks and at four weeks. Mold that returns inside that window almost always means the water source was never fully fixed, not that you cleaned badly. That is your signal to go back to step one rather than re-scrubbing the same spot.
When to call a professional instead
Hand the job to a certified remediator when any of these are true: the affected area is over roughly 100 square feet, the mold is in your HVAC ducts, it has reached structural framing, a household member is medically vulnerable (severe asthma, immune suppression), or you are filing an insurance claim that needs documented clearance testing. A pro brings negative-air containment and post-remediation verification that protects you at resale and in disputes. If you are not sure whom to call, the rundown of who handles mold sorts out inspectors versus remediators versus your plumber.
OSHA’s mold guidance and the NIEHS overview of mold and health both reinforce the same core: control moisture, protect your lungs during removal, and do not treat a chronic damp problem as a one-time cleaning.
This page follows current EPA and CDC mold guidance and is general information, not medical advice; anyone with mold-related respiratory symptoms should see a physician. Front Range homeowners scoping a project can reach us through the contact page for a connection to vetted local inspectors and remediators.
References
- Mold Cleanup in Your Home — U.S. Environmental Protection Agency
- Mold Cleanup and Remediation — Centers for Disease Control and Prevention
- Mold Hazards and Prevention — Occupational Safety and Health Administration
- Mold and Your Health — National Institute of Environmental Health Sciences
Mold removal & cleanup picks
For a small, contained patch (under ~10 sq ft) these EPA-friendly removers handle surface mold. Larger or recurring growth warrants a professional assessment first.
| Product | Why | Buy |
|---|---|---|
 RMR-86 Instant Mold Stain Remover RMR-86 Instant Mold Stain Remover | Fast-acting on stains; ventilate and wear PPE. | Amazon — $18.38 |
 Concrobium Mold Control Concrobium Mold Control | No-bleach formula that also helps prevent regrowth. | Amazon — $13.48 |
 Mold Armor Mold & Mildew Remover Mold Armor Mold & Mildew Remover | Widely stocked bathroom/surface remover. | Amazon — $22.98 |