How Is Radon Testing Done: A 2026 Methodology Guide
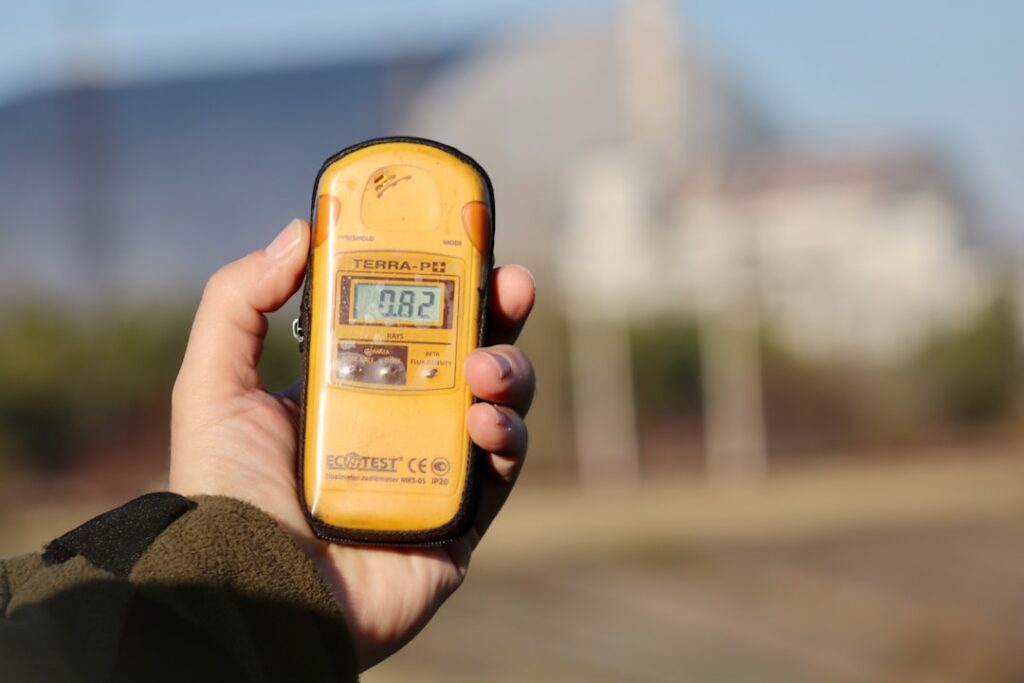
How is radon testing done in 2026? The answer depends on whether the homeowner is screening for general awareness, supporting a real estate transaction, or verifying a mitigation system. Each scenario uses different methods, different device types, and different protocols. This guide summarizes EPA Citizen’s Guide and AARST consumer measurement protocol current as of 2026 to walk through what professional and DIY testing actually look like — from device choice through placement through laboratory analysis to the final report. The health-decision context belongs with EPA and CDC guidance and a licensed professional; this guide describes the methodology.
Part of our Radon Levels guide — start there for the full picture →
The three categories of radon testing
Most testing falls into one of three categories, each with a different methodology:
- Short-term passive — charcoal canister or electret ion chamber, 2 to 7 days, mailed to lab
- Short-term active — continuous radon monitor with electronic detection, 48 hours to a few weeks, on-site readout
- Long-term passive — alpha track detector, 90+ days, mailed to lab
Within each category, professional testing follows AARST protocol with tamper-evident handling and certified equipment. DIY testing uses the same device families but without the chain-of-custody and certification layer. Both methodologies share the same physics; the difference is the level of documentation. Pair this with our radon testing pillar guide for Colorado homeowners for the broader frame.
What a professional AARST test visit looks like
For a typical real estate transaction or post-mitigation verification, a certified measurement provider follows a standard process:
- Schedule the test to fit inside the inspection contingency window with buffer
- Communicate closed-house conditions to the seller through the agents in writing
- Arrive at the property at the scheduled deployment time
- Photograph the test location and document conditions on arrival
- Place the continuous radon monitor at the AARST-specified location and height
- Activate tamper indicators — bump, light, and movement sensors
- Seal the placement zone if applicable
- Record start time, device serial number, and ambient conditions
- Return after the deployment period (typically 48 to 96 hours)
- Verify tamper indicators have not triggered
- Download the device’s hourly log to a laptop
- Generate the report including average concentration, hourly plot, and tamper status
- Deliver the report to the buyer’s agent and the buyer within 24 hours
The whole engagement takes about an hour of on-site time plus 30 minutes of report preparation. Our radon testing services guide covers what to expect from a Front Range provider in more detail.
Continuous radon monitor mechanics
The professional-grade continuous radon monitor counts radon decay events using either an electret ion chamber, scintillation, or alpha particle pulse counting. The device records hourly counts, computes radon concentration in pCi/L, and stores the data internally with a tamper log. Calibration is typically annual, with documentation available on request.
How DIY short-term testing is done
For a homeowner doing their own short-term test, the methodology is simpler but the protocol still matters:
- Purchase a charcoal canister or activated carbon device from a hardware store or online retailer
- Establish closed-house conditions 12 hours before the planned start
- Open the package immediately before deployment to avoid pre-exposure
- Place the device at the AARST-specified location, height, and distances
- Note the start date and time on the device
- Leave the device undisturbed for the manufacturer’s specified deployment period (typically 2 to 7 days)
- Maintain closed-house conditions throughout
- Note the end date and time and seal the device per instructions
- Postmark to the analyzing lab the same day or next day
- Receive the lab result by email or mail within one to two weeks
Our DIY radon test guide covers consumer-side options and the limits of DIY testing in transaction contexts.
How charcoal canisters actually work
A charcoal canister contains activated carbon that adsorbs radon and its decay products during the deployment. After sealing and shipping, the laboratory uses a gamma spectrometer to count the decay-product signature on the carbon, calculates the average radon concentration over the deployment period, and reports the result. The method is well-established, inexpensive, and reliable for short-term screening.
How long-term alpha track testing is done
Alpha track detectors use a thin plastic film that records etched tracks from alpha particles emitted by radon decay. The methodology:
- Order an alpha track kit from a NRPP-listed laboratory
- Open the package and start the deployment
- Place the device at the AARST-specified location
- Leave the device undisturbed for at least 90 days, ideally 6 to 12 months
- Note start and end dates
- Seal the device and return to the lab
- Laboratory etches the film with a chemical bath, counts the tracks under a microscope, and calculates the average concentration
- Receive the result within two to four weeks of lab receipt
Long-term tests do not require closed-house conditions because the long deployment averages out daily and weekly variation. They are the gold standard for ownership-side radon decisions but impractical for transaction contingencies.
How real estate transaction testing differs from screening
Transaction testing carries documentation requirements that DIY screening does not:
- Certified measurement provider rather than self-administered
- Continuous radon monitor with hourly logging
- Tamper-evident handling and on-site documentation
- Closed-house verification at deployment and retrieval
- Chain-of-custody from placement to report
- Sealed report admissible in negotiation
The cost difference is modest — $135 to $250 for inspector add-on testing versus $15 to $50 for a DIY kit. The information value in a transaction context, where the result affects the negotiation and the closing, justifies the additional cost. Our what is a radon inspection guide covers transaction-side testing in more detail.
How post-mitigation verification is done
After a radon mitigation system is installed, verification testing confirms the system is reducing concentrations to acceptable levels. Methodology:
- Wait at least 24 hours after system installation and balancing
- Run a short-term test (48 to 96 hours) with the system operating
- Confirm the result is below 4 pCi/L and ideally below 2 pCi/L
- If the result is borderline, run a long-term test in the following months
- Retest every two years to confirm continued operation
- Retest after any major system maintenance or replacement
Some mitigation contractors include post-installation verification testing in their installation package. Others charge for it separately. Confirm before signing the contract. Our Colorado radon mitigation guide covers the verification step in more detail.
How laboratory analysis works
For passive devices, the laboratory analysis methodology depends on the device type:
- Charcoal canister — gamma spectrometer measures the radon decay product signature on the activated carbon; computes time-weighted average concentration
- Electret ion chamber — pre- and post-deployment voltage difference, corrected for background radiation, gives the average concentration
- Alpha track — chemical etching reveals microscopic tracks; track count and detector area give the time-weighted average
- Continuous radon monitor — internal hourly counts are downloaded directly; no off-site laboratory step
Accredited laboratories participate in proficiency testing and maintain calibration against NIST-traceable radon standards. Lab credentials worth checking include NRPP listing, NRSB listing, and state-specific certification where applicable.
How testing differs for new construction
Recent EPA-aligned residential code provisions include radon-resistant new construction (RRNC) features for homes built in high-radon zones. These features include a passive sub-slab depressurization system roughed in during construction, gas-permeable layer beneath the slab, sealed crawl space if applicable, and labeled discharge stack. Testing after occupancy still applies — RRNC reduces but does not eliminate the need for verification.
What to test in new construction
- Post-occupancy short-term test within the first 30 to 90 days
- Long-term confirmation test in the first year
- Result above 4 pCi/L — activate the passive system by adding a fan to make it active mitigation
- Result below 2 pCi/L — passive system is performing as intended
Buyers of new construction sometimes assume the RRNC features eliminate the testing requirement. They do not. The features reduce typical concentrations but cannot guarantee a specific level without measurement.
How testing fits into mitigation design
When testing identifies a home that warrants mitigation, additional testing is part of the system design process. A typical mitigation engagement includes:
- Diagnostic testing to identify the dominant radon entry points — basement walls, slab cracks, sump pit, slab penetrations
- Pressure field extension testing to determine the area over which a sub-slab depressurization system will draw
- Communication testing across the slab to size the system fan appropriately
- Post-installation verification testing within 30 days to confirm reduction
- Annual or biennial routine testing to confirm continued system performance
The diagnostic and design testing is performed by the mitigation contractor and produces a system design rather than a homeowner-decision result. Our Colorado radon mitigation guide covers the design process in more detail.
How sources of error are managed
Each method has documented sources of error. Professional testing manages them through protocol; DIY testing benefits from awareness of them:
- Open windows or doors during testing — invalidate the closed-house assumption
- HVAC operation outside normal seasonal mode — change air exchange rate
- Device placement violating height or distance requirements
- Tampering — moving, covering, or shielding the device
- Mailing delay for charcoal canisters — gradual loss of signal between deployment end and lab receipt
- Background gamma radiation affecting some lab methods
- Device damage during shipping
- Improper sealing at the end of deployment
AARST protocol includes interference detection partly to identify these scenarios. Buyers who suspect an issue should request a retest rather than accepting a compromised result.
References
- EPA Citizen’s Guide to Radon — U.S. Environmental Protection Agency
- CDPHE Colorado radon program — Colorado Department of Public Health and Environment
- CDC radon health information — Centers for Disease Control and Prevention
- American Lung Association radon overview — American Lung Association
Frequently asked questions
What is the difference between DIY and professional radon testing?
Both use the same device families, but professional testing adds AARST protocol, tamper-evident handling, certified measurement provider credentials, and chain-of-custody documentation. DIY testing is adequate for screening and ownership decisions but typically not for real estate transactions.
How long does professional radon testing take?
The on-site deployment is typically 48 to 96 hours. The measurement provider's time on site is about an hour for placement and retrieval combined. The report is usually delivered within 24 hours of pickup.
Which method is most accurate?
Long-term alpha track testing produces the most representative annual average, since it samples over 90 days or more. Short-term continuous radon monitors are the most precise for transaction-window decisions. Charcoal canisters are reliable for screening but lower precision than continuous monitors.
Does the lab matter when sending DIY tests?
Yes. Use a laboratory listed on NRPP or NRSB and participating in proficiency testing. Most DIY kit prices include the lab fee. Confirm the lab is current on its certifications before shipping the device.
How does the radon test get to a final result?
The device measures radon decay events over the deployment period — directly (continuous monitor) or via lab analysis after shipping (charcoal canister, electret ion chamber, alpha track). The result is reported as average concentration in pCi/L over the deployment window.
Front Range homeowners ready to schedule a certified radon test can get in touch through our contact page.
Test your home for radon
Radon is invisible and odorless, so a test is the only way to know your level. A short-term kit gives a first reading in days; a digital monitor tracks it over time.
| Product | Why | Buy |
|---|---|---|
 AirChek Charcoal Radon Test Kit AirChek Charcoal Radon Test Kit | Lab fee usually included; EPA short-term protocol. | Amazon — $21.95 |
 First Alert RD1 Radon Test Kit First Alert RD1 Radon Test Kit | Widely stocked; 48-hour charcoal test. | Amazon — $16.98 |
 Airthings Corentium Home Airthings Corentium Home | Digital monitor with a long-term average. | Amazon — $142.99 |