Radon Test for Home: When and Why Homeowners Test
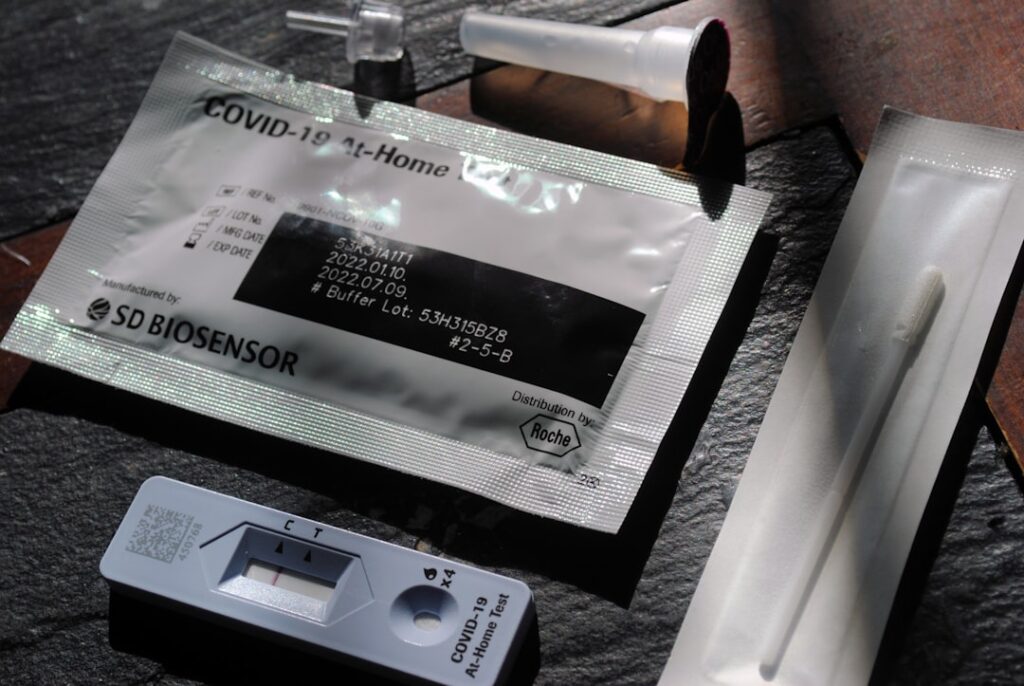
The phrase “radon test for home” sits in a search results page next to a lot of product pages. What homeowners actually want to know first is not which canister to buy — it is when testing makes sense and what the testing accomplishes. A radon test for home serves several distinct purposes: confirming safety before purchase, establishing a baseline for an occupied home, verifying mitigation after installation, and re-checking after major renovation. This guide summarizes EPA and Colorado Department of Public Health and Environment guidance current as of 2026 — consult a certified radon professional for mitigation decisions. The walkthrough below covers the homeowner perspective on radon testing in the Colorado Front Range.
When a Radon Test for Home Makes Sense
Five scenarios drive most home radon testing:
- Pre-purchase testing during a real-estate transaction.
- First-ever baseline testing of an occupied home.
- Post-mitigation verification after a radon system is installed.
- Post-renovation re-testing after major foundation, basement, or HVAC work.
- Periodic re-testing every two to five years per EPA recommendation.
Each scenario has its own appropriate test type, duration, and operator. For broader context on radon in Colorado homes, see the radon testing in Colorado guide.
Scenario 1: Pre-Purchase Testing
The most common radon test for home happens during a real-estate transaction. Colorado contracts typically include a radon contingency alongside the inspection contingency. The buyer’s inspector deploys a continuous radon monitor (CRM) for 48 to 96 hours during the inspection-objection window. Results inform whether mitigation should be a contract condition.
The standard practice:
- CRM placement in lowest occupied level (basement if used as living space).
- Closed-house conditions during the test.
- Tamper-detection sensors active throughout.
- Chain-of-custody documentation from the certified tester.
- Result report included with the inspection deliverable.
If results exceed 4 pCi/L (EPA action level), the buyer typically requests seller-funded mitigation as part of the inspection objection. Mitigation system installation runs $1,200 to $2,500 for a typical Front Range home and is often negotiated as a seller-paid item. For more on the broader inspection process this fits into, see the home inspector hiring guide.
Scenario 2: First-Ever Baseline Testing
For homeowners who have never tested — either because they bought the home before radon awareness became standard, or because the prior owner’s test was decades old — establishing a current baseline is the first step.
The recommended approach:
- Either a $10 to $25 charcoal canister for 2 to 7 days, or a $150 to $250 consumer CRM for ongoing monitoring.
- Place in the most frequently occupied lowest-level room.
- Maintain closed-house conditions for short-term tests.
- Mail the canister within 24 hours of seal, or read the CRM after a week of operation.
For Front Range homes, the baseline result drives the next move. Above 4 pCi/L means mitigation. Between 2 and 4 means follow-up long-term testing. Below 2 means re-test in two to five years.
Scenario 3: Post-Mitigation Verification
After a radon mitigation system is installed — typically a sub-slab depressurization fan, sealed sump cover, and exterior exhaust stack — the system needs to be verified. Most mitigation contractors include a post-installation test in their pricing.
The verification:
- Run a short-term test 30 days after system activation (gives the system time to stabilize).
- Use a CRM if available for hourly data; charcoal canister works too.
- Place in the same location as the pre-mitigation test for direct comparison.
- Expect post-mitigation results below 2 pCi/L — well-designed systems routinely achieve 0.5 to 1.5 pCi/L.
If the post-mitigation test fails to clear 2 pCi/L, the contractor should diagnose and modify the system at no additional cost (typically warrantied work). For the mitigation-system architecture itself, the sub-slab depressurization architecture guide covers the engineering.
Scenario 4: Post-Renovation Re-Testing
Major renovations can change radon levels in unexpected directions. New basement finishing alters airflow. Foundation work disrupts soil-gas pathways. HVAC replacement changes pressure dynamics. Window upgrades tighten the building envelope, which can concentrate radon.
Re-testing after the following triggers makes sense:
- Basement remodel or finishing.
- Foundation crack repair or waterproofing.
- HVAC system replacement, especially with high-efficiency models that reduce air exchange.
- Window or door package replacement that significantly tightens the building.
- Addition that changes the home’s footprint.
The post-renovation test follows the same protocol as a baseline test. Compare results against the pre-renovation baseline to spot meaningful changes.
Scenario 5: Periodic Re-Testing
EPA recommends retesting every two to five years even in homes with prior clear results. The rationale: soil radon emissions fluctuate seasonally and over the years; home airflow patterns shift with aging materials and HVAC changes. A 2020 clear test does not guarantee a 2026 clear test.
For periodic re-testing, the cheapest path is a $15 charcoal canister deployed during heating season. For homeowners who want ongoing visibility, a consumer CRM that has been running continuously provides the same data without scheduled retests.
The Homeowner Walkthrough — Step by Step
For a homeowner doing their own radon test:
- Choose the test type. $10–$25 charcoal canister for one-off; $150+ consumer CRM for ongoing.
- Pick the location. Lowest occupied level, 2–6 feet above floor, away from walls, vents, drafts, and humidity.
- Establish closed-house conditions. Windows closed 12 hours before and during, HVAC running normally.
- Start the test. Open the canister or power on the CRM. Note start date and time.
- Wait. 2–7 days for charcoal; continuous for CRM.
- End the test. Seal canister and mail same day, or read CRM display/app.
- Receive result. 3–7 day lab turnaround for canister; immediate for CRM.
- Decide. Below 2: retest periodically. 2–4: follow up with long-term test. Above 4: contract mitigation.
The methodology side is covered in deeper detail in the how-to-test-radon guide in this batch.
Where to Get Test Kits in Colorado
Front Range homeowners have several options:
- County health departments. CDPHE partners with most Colorado counties to offer subsidized test kits ($5 to $15). Tri-County Health (Adams, Arapahoe, Douglas), Jefferson County Public Health, Denver Public Health, Boulder County, and El Paso County all participate at various times.
- Home-improvement retail. Home Depot, Lowe’s, Ace Hardware carry Pro-Lab and AirChek kits. Retail price $10 to $25.
- Online direct from labs. AccuStar, Air Check, Radalink ship kits direct.
- Consumer CRMs. Airthings Corentium and View, Ecosense RadonEye, RadonFTLab FR-R20 available online for $130 to $350.
- Pro inspectors. $150 to $200 for a CRM test as part of a home inspection.
For more on regional placement and what to expect from a Front Range home’s radon test, see the radon testing house guide.
Front Range Radon Reality
Colorado sits in EPA Radon Zone 1 — the highest-priority zone. CDPHE survey data suggests roughly half of pre-2000 Front Range homes test above the EPA action level of 4 pCi/L without mitigation. Homes built since 2000 in Colorado are required by some local codes to include passive radon control features; newer construction tests above action level less often but still does so meaningfully.
The practical implication: every Front Range home should be tested at least once. The result drives one of three outcomes — mitigation, re-test, or stand-down — but skipping the test means flying blind on a known regional risk.
What Happens If the Result Is Above 4 pCi/L
The recommended path:
- Contract a Colorado-certified radon mitigation contractor.
- System design includes sub-slab depressurization fan, sealed sump and slab penetrations, and exterior exhaust stack.
- Installation cost: $1,200 to $2,500 typical for Front Range single-family.
- Post-mitigation test 30 days after activation to verify.
- Annual system check (fan operating, manometer reading).
The system’s mechanical lifespan is typically 15 to 20 years; the fan itself may need replacement every 10 to 12 years. Operating cost is approximately $5 to $15 per month in electricity.
Interpreting Your Radon Test Result
The test result arrives — for a charcoal canister, as a printed lab report after the kit is mailed in; for a continuous radon monitor, as a real-time average on the device or its companion app. The number is in picocuries per liter (pCi/L), and the interpretation depends not only on the value itself but on the test type, duration, and conditions during the test. Four interpretive bands cover the realistic range of homeowner results, and each band has a specific action recommendation grounded in EPA and state radon-program guidance.
The first band is below 2 pCi/L. This result indicates the home’s radon level is well within the range considered acceptable for long-term occupancy. Per EPA’s Citizen’s Guide to Radon, no mitigation action is required, and the typical follow-up recommendation is retest in two to five years to monitor for changes. Homes with sub-2 pCi/L readings should still avoid behaviors that could elevate radon — adding new basement penetrations, closing off existing soil-gas pathways, sealing a basement to make it more habitable without monitoring radon during the conversion. The reading reflects current conditions, not a permanent ceiling.
The second band is 2 to 4 pCi/L. This intermediate range warrants consideration of mitigation, particularly in Zone 1 high-risk markets like Colorado per CDPHE radon program guidance. The EPA’s stated action threshold is 4 pCi/L, but the agency’s narrative guidance acknowledges that radon-related lung cancer risk exists across the full range above 0 pCi/L — the 4 pCi/L threshold is a regulatory cutoff, not a biological safety boundary. Homeowners in this band should first deploy a 90-day alpha-track detector to confirm the short-term reading reflects the year-round average. If the 90-day average is also 2 to 4 pCi/L, mitigation is reasonable but not urgent. Mitigation in this band typically reduces levels to below 1 pCi/L, which is the most protective outcome.
The third band is 4 to 20 pCi/L. This range carries EPA’s explicit mitigation recommendation. Per the EPA Region 8 radon mitigation standards, results in this range warrant retest confirmation (usually a second short-term test or a 90-day long-term test) and then contracting with a National Radon Proficiency Program (NRPP) or National Radon Safety Board (NRSB) certified mitigation professional. Typical mitigation systems (active soil depressurization with a fan-driven exhaust stack) reduce radon levels in this band to below 2 pCi/L reliably, and often below 1 pCi/L. Installation cost runs $1,200 to $2,500 for typical single-family homes, with annual operating cost around $60 to $180 in electricity.
The fourth band is above 20 pCi/L. This range is considered urgent under EPA Radon Mitigation Standards, and the action recommendation accelerates accordingly. Homeowners with readings above 20 pCi/L should not wait for retesting — the EPA recommends immediate mitigation contractor engagement and minimizing occupancy in the highest-radon areas (typically basement living spaces, basement bedrooms, finished basement home offices) until mitigation is complete. Per American Lung Association guidance, sustained exposure at levels above 20 pCi/L carries lung cancer risk comparable to heavy smoking, and the cumulative-exposure risk accumulates over months of occupancy, not years. Notification of the EPA regional radon office is appropriate at these levels, particularly if the home is in a multi-family building where neighboring units may share the exposure source.
Regardless of which band the result falls into, retest validation is the highest-confidence next step. A single short-term test reflects conditions during the test window. A confirmatory test — either a second short-term test under closed-house conditions or a 90-day long-term test — turns a single data point into a defensible measurement. For results that will trigger mitigation spending, retest validation prevents responding to an outlier reading and grounds the spending decision in a stable measurement of the home’s actual radon exposure.
References
- EPA Citizen’s Guide to Radon — U.S. Environmental Protection Agency
- CDPHE Radon Program — Colorado Department of Public Health and Environment
- CDC Radon — Centers for Disease Control and Prevention
- American Lung Association Radon — American Lung Association
- EPA Find a Radon Professional — U.S. Environmental Protection Agency
Front Range homeowners wanting a referral to a certified radon tester or mitigation contractor can connect through our contact page.