How to Rent a FLIR Camera: Step-by-Step Walkthrough
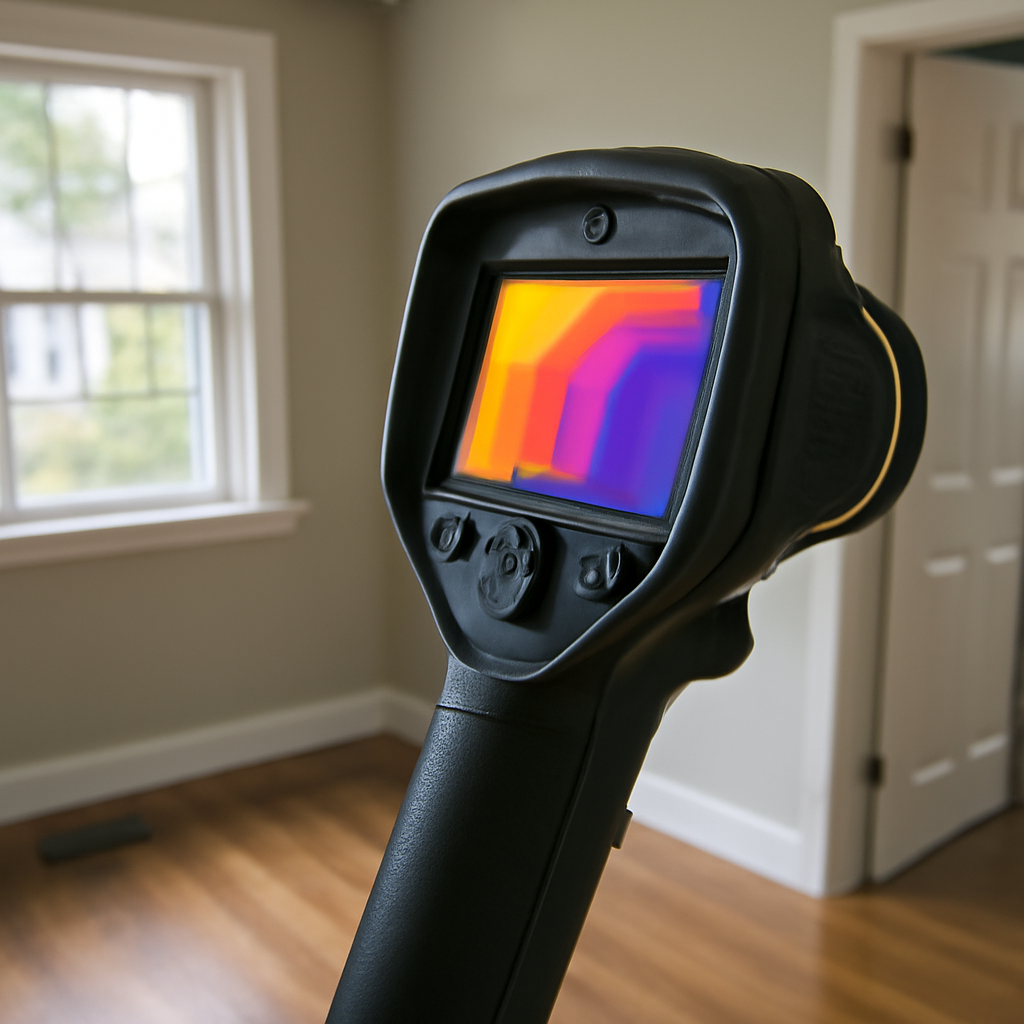
To rent a FLIR camera — or a comparable handheld thermal imager from any manufacturer in the same class — a homeowner walks through six predictable steps. The action of renting is more procedural than technical: most of the work happens before the contract is signed and again at return. This guide breaks the process into a step-by-step sequence so a first-time renter understands what to expect at the counter and how to avoid the two most common pitfalls (damage claims and missed audit windows). Prices reflect the broader handheld thermal rental category, not any one brand.
Part of our Thermal Imaging for Homes guide — start there for the full picture →
Step 1: Identify the need and the scope
Before contacting a rental house, define the inspection scope. The scope determines the sensor resolution, the rental term, and the budget. Three common scopes drive most homeowner rentals:
- Whole-envelope energy audit: One full day of indoor and outdoor scans, ideally during winter heating season. A 320×240 mid-spec handheld is sufficient. One-day rental.
- Leak or moisture investigation: A targeted scan of one room or one ceiling area to find the source of a stain or active leak. A 320×240 handheld works. Half-day or one-day rental.
- Electrical hot-spot survey: Scan panels and high-load circuits under operating load. Same handheld category. One-day rental, usually paired with a licensed electrician on site.
Thermal scans for energy audits work best with a meaningful indoor-outdoor temperature difference; auditors commonly aim for roughly 18 to 20 degrees Fahrenheit or more. Plan the rental term around the weather forecast, not the calendar week.
Step 2: Find a rental house
Four channels make up the bulk of handheld thermal rentals: specialty pro-tool rental shops, regional inspection-equipment rental services, dedicated tool-rental counters at home improvement specialty centers, and manufacturer demo-loan programs. Search “thermal camera rental near me” plus the city or county to surface in-stock units. Always call ahead — published online inventory often lags actual counter stock by days or weeks.
Ask three questions on the call. First, what specific model is in stock and what is the sensor resolution. Second, what daily and weekly rates apply, including the deposit hold. Third, whether the kit includes a charged battery and a memory card. The answers determine whether the unit fits the scope defined in step one.
Step 3: Bring ID and deposit at pickup
Every U.S. rental house requires a government-issued ID — driver’s license or passport — and a credit card for the deposit hold. Refundable deposits typically run $200 to $500 on a handheld rental. The deposit releases at return as long as the unit comes back undamaged and complete. A second form of ID is sometimes requested for first-time customers.
Read the contract before signing. The two clauses worth reading carefully cover damage liability (who pays for a scratched lens or a cracked LCD) and late return fees (some shops charge a full day for any return more than an hour past the contract time). A homeowner renting on a Friday for a Monday return should clarify whether the weekend counts as one day or three.
Step 4: Sit through the instruction walkthrough
Most rental counters offer a five-minute walkthrough of the camera. Take it. Even a thermal camera operator familiar with one model will encounter different menu layouts on a different manufacturer’s unit. The walkthrough should cover four points:
- Power and battery: How to turn the unit on, check battery level, and swap to the spare battery.
- Palette selection: How to switch between rainbow, ironbow, and grayscale palettes. Ironbow is the workhorse for residential moisture and air-leak work.
- Emissivity adjustment: Why emissivity matters and how to set it for common materials (drywall, wood, painted metal).
- Image capture and storage: Which button captures a radiometric snapshot, where files save, and how to transfer them off the unit at the end of the audit.
InterNACHI training notes that radiometric images preserve per-pixel temperature data inside the file, where JPEG exports do not. A homeowner who wants to share the audit with a contractor or building-science consultant should save radiometric files, not JPEGs.
Step 5: Inspect the unit at pickup
Before signing the final paperwork, perform a counter-side inspection. Photograph the case, body, lens, LCD, and accessory tray with a phone. Power the camera on, verify the battery charges to at least 80 percent, and capture a test image of any nearby warm object — a coffee mug, the staffer’s hand. Confirm the test image saves and is retrievable. Check the lens for fingerprints, scratches, or coating damage; the lens is the highest-cost component on the unit, and a scratched lens is the most common return-time damage claim.
Note any existing damage on the contract. If the rental counter records “lens scratched, customer aware” before the camera leaves the shop, the homeowner is not liable for that pre-existing damage at return.
Step 6: Inspect again at return
The return mirrors the pickup. Bring the case back with every accessory — body, two batteries, AC charger, USB cable, memory card, lanyard. Clean the case. Wipe the lens with the included microfiber if one shipped with the kit, or skip the lens entirely if no cleaning cloth was provided (a dry shop towel will scratch a germanium lens). Confirm the battery is charged to at least the level it was at pickup.
Pull the memory card if the rental shop returns a fresh one between rentals. Save the captured radiometric snapshots to a personal drive. Some shops wipe the card between rentals; others leave the customer’s images on the card and pass them to the next renter, which is a privacy concern worth raising at the counter if the audit captured images of occupied spaces.
Common pitfalls and how to avoid them
Two issues account for most failed rentals. The first is renting outside the audit window — picking up a camera on a warm winter day when the indoor-outdoor temperature differential is too small to resolve missing insulation. The fix is to schedule the rental around a forecast cold snap rather than around a free weekend.
The second is damage liability on the lens. A pant-pocket microfiber will scratch a germanium element. Even routine cleaning practices for camera lenses are too aggressive for thermal optics. The fix is to leave the lens alone unless the rental kit shipped with a manufacturer-supplied cleaning cloth and solution.
For pricing context across handheld rental tiers, the home inspection tools buyer’s guide covers daily-rate ranges by spec class. A companion piece, thermal camera rental pricing and process, walks through the broader market.
When the buy decision overtakes the rent decision
A single short-term rental works well for one-off audits. A homeowner planning to scan the building envelope across multiple seasons, or to monitor a slow moisture event over months, hits the break-even with purchase at roughly four to six rental events. Below that count, renting is cheaper. Above it, a $400 phone-attached thermal accessory or a $1,200 handheld pays for itself within the year.
How to plan the audit timing
Thermal contrast is the single biggest factor in audit success. A homeowner should monitor the seven-day weather forecast and aim the rental window at the coldest interval predicted. Front Range Colorado audits work best from late November through mid-February, when overnight lows hit the teens and early morning indoor temperatures climb to the mid-60s. The 40-plus-degree differential makes missing insulation almost unmissable on the thermal frame.
Run the indoor audit first, with all interior doors closed and the HVAC running normally. The closed-door condition creates the strongest pressure boundary between conditioned and unconditioned spaces, which exaggerates air-leak signatures. After the indoor sweep, switch to the exterior and scan the building from outside — this catches different defect patterns, especially missing wall sheathing insulation and crawl-space air leaks.
What to scan and in what order
A methodical room-by-room sweep takes 60 to 90 minutes for a typical 2,000 square foot home. Start in the room with the highest exterior-wall ratio (corner bedrooms, sunrooms with multiple exterior exposures) and work inward to interior rooms with shared walls. Scan each wall from floor to ceiling. Pause on every window for at least 10 seconds. Pause on every switch and outlet box. Pause on every ceiling penetration — recessed lighting cans, attic-hatch perimeters, ceiling fan boxes.
The attic deserves its own pass. Open the hatch and scan upward into the attic with the camera positioned at the hatch edge. A well-insulated attic shows a uniform cool surface (in winter) across the entire ceiling. A missed area shows as a warm patch where heat is leaking from the conditioned space into the attic. Pull-down attic stairs are a particularly common air-leak source.
What the report should include
A written audit summary captures the value of the rental. For each finding, record the location (room, wall, ceiling), the observed temperature differential, the suspected cause, and the recommended follow-up. Pair each finding with at least two saved images — one radiometric thermal frame and one visible-light photograph of the same area. The pairing makes the finding actionable weeks later when a contractor reviews the work.
The summary does not need to be a formal report. A two-page document with images, location notes, and follow-up recommendations is enough for most homeowner-driven audits. The radiometric files themselves are the data; the summary is the navigation aid.
Common pitfalls during the audit window
Two issues account for most failed homeowner thermal audits. The first is running the scan during the wrong weather window. A camera used on a warm winter afternoon, when the indoor-outdoor temperature differential is too small, produces thermal frames that look uniformly mid-temperature with no clear defects visible. The fix is to schedule the audit window around the forecast rather than around personal availability — pick up the camera the day before a forecast cold snap and run the scan the morning after.
The second pitfall is interpreting cosmetic thermal patterns as defects. Drywall seams, joint compound transitions, and tape mud differences sometimes appear as faint thermal banding even when no underlying defect exists. The differences are normal artifacts of how drywall finishing affects local emissivity and thermal mass. A pattern that follows the drywall finishing seams is usually not a defect; a pattern that crosses seams or appears in shapes inconsistent with finishing artifacts often is.
Cost framing across rental versus pro hire
A one-day handheld rental at $80 to $200 plus a deposit hold compares to hiring a credentialed thermographer for $200 to $400 per visit. The rental is cheaper if the homeowner has time and willingness to learn the equipment. The pro visit is faster, produces an interpreted report, and is more defensible if the findings need to be cited in a contractor scope or warranty claim. Either path delivers value; the right choice depends on the homeowner’s comfort with technical equipment.
References
- ENERGY STAR: Seal and Insulate — U.S. Environmental Protection Agency (ENERGY STAR)
- InterNACHI Infrared Thermography Inspector Program — InterNACHI
- ASHRAE Standards and Guidelines — American Society of Heating, Refrigerating and Air-Conditioning Engineers
Frequently asked questions
What ID is needed to rent a FLIR camera?
A government-issued ID such as a driver's license or passport plus a credit card for the deposit hold. Refundable deposits run $200 to $500 on a handheld rental. Some shops request a second form of ID for first-time customers.
How long does a typical thermal camera rental last?
Most homeowner rentals run one day to one week. A whole-envelope energy audit fits in a single day if the audit window has the right temperature differential. Weekly rates discount to roughly four times the daily rate.
What happens if the camera is returned damaged?
The rental house assesses damage at return and charges the credit card on file. A scratched lens is the most common damage claim. Documenting the unit's condition with phone photos at pickup protects against false damage assertions.
Can a renter pick up Friday and return Monday for one day's charge?
Many independent rental shops offer weekend specials that count Friday afternoon to Monday morning as a single rental day. National chains usually charge for each day. Always clarify weekend billing on the call before pickup.
Thermal imaging cameras
Infrared cameras reveal hidden moisture, missing insulation, and air leaks. Phone-attachment models are the budget entry point; standalone units have higher resolution.
| Product | Why | Buy |
|---|---|---|
 FLIR ONE Pro (phone) FLIR ONE Pro (phone) | Plugs into iPhone/Android; inspector favorite. | Amazon — $349.00 |
 Topdon TC001 Topdon TC001 | High-res phone module at a low price. | Amazon — $199.99 |
 FLIR C5 Compact FLIR C5 Compact | Standalone pocket camera with Wi-Fi. | Amazon — $611.50 |