Kill Mold in Walls: Substrate-by-Substrate Wall Protocol
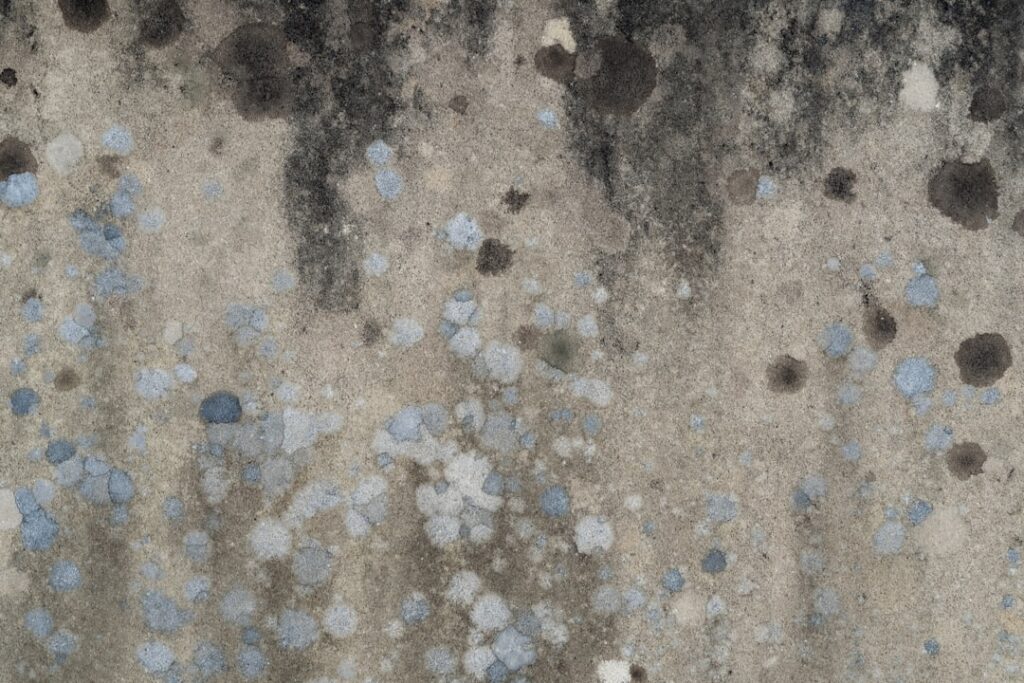
Walls present the trickiest mold cleanup problem in a typical home because the visible staining is rarely an honest report of the actual colony. A dark patch on painted drywall can mean a surface bloom that wipes off in two minutes or a deep colony in the gypsum core and framing that has been chewing on the wall for months. The cleanup that works for one fails completely for the other. This guide breaks down the wall protocol by substrate so the cleanup matches what is actually in the wall, not what shows on the face. This guide summarizes EPA and CDC guidance current as of 2026 — consult a certified mold inspector for testing decisions and your physician for symptom evaluation.
Part of our Mold Removal & Remediation guide — start there for the full picture →
Is this mold, asbestos, or water damage? Get a free instant screen
Upload a clear photo of the suspect area. You'll get an instant AI screening opinion and what to do next. This is screening guidance, not a professional determination.
Screening guidance only. AI can be wrong. Confirm asbestos, mold type, or lead with lab testing or a licensed professional before acting.
How to Kill Mold in Walls Without Trapping It Behind Paint
The most common homeowner failure with wall mold is to clean the surface, paint over it, and assume the problem is gone. If the colony has penetrated past the paint film into the paper or gypsum, the paint traps the killed and unkilled material together and creates a visible bleed-through within a season. Worse, the moisture that allowed the colony in the first place often remains; the new paint layer becomes the new substrate for the next bloom.
The protocol has to start with an honest substrate assessment. A flashlight held at an oblique angle to the wall reveals surface texture differences — lifted paper, soft spots, bubbling, or staining bleeding through from behind. A moisture meter pressed against the suspect area tells whether the wall is actively wet (above roughly 17 percent moisture content for drywall, indicating recent or ongoing water contact) or has dried out. A small inspection cut from the back side, if accessible, shows what the framing and the cavity face look like. The substrate decides the protocol; the cleaner is the last variable to choose.
Surface Paint Layer Only
When the colony is limited to the paint surface — typically a fuzzy or powdery growth that wipes off with light pressure, with no staining bleeding through from below and no soft spots in the substrate — the cleanup is the simplest version of the protocol. Three percent hydrogen peroxide, sprayed on, left ten minutes, scrubbed lightly with a soft brush, and wiped dry. The painted surface is non-porous from the standpoint of the cleaner, so peroxide or vinegar both work. The cleanup is often less than fifteen minutes for a small patch.
The follow-up matters more than the cleaning. The moisture source needs to be identified and corrected — usually condensation from a temperature differential, humidity from an adjacent room, or a minor leak that has dried out. The cleaned area needs to be observed for a few weeks to confirm no return. If the staining comes back, the colony was never just on the surface and the substrate-cleanup tier needs to escalate.
Paper-Faced Drywall: The Hard Case
Paper-faced drywall is the substrate that defeats most homeowner cleanup attempts. The paper face is highly cellulose-rich and absorbs moisture readily; mold colonies that have been on a wet wall for more than a few days have usually penetrated the paper and entered the gypsum core. Surface cleaners that work fine on tile do not reach growth embedded in paper, and bleach in particular gives a false sense of success by lightening the visible pigment while leaving the colony intact.
The honest threshold on drywall is whether the paper is intact, undamaged, and free of staining visible from the back of the panel. If yes, surface cleaning with peroxide is appropriate, followed by drying and a stain-blocking primer before any repaint. If no — paper lifted, soft, stained through, or visibly wet — the drywall needs to come out. The EPA recommends removing water-damaged drywall to roughly a foot above the visibly affected area, then patching with new board after the framing has dried. This is rarely a job homeowners enjoy, but it is the only durable cleanup for compromised drywall.
Gypsum Core With Penetration
Mold that has penetrated past the paper into the gypsum core itself is essentially uncleanable on the panel. Gypsum is mildly porous and the colony’s hyphae have spread through the substrate; surface treatment cannot reach them, and the gypsum’s mild alkalinity provides only modest inhibition under wet conditions. When a small inspection cut reveals dark staining inside the gypsum or on the back of the board, the panel needs to come out. There is no chemical that reliably penetrates the gypsum enough to kill embedded growth and leave the panel intact.
The removal cut should follow standard remediation practice: full-height removal of any compromised panel section, with the cut extending at least one foot beyond visible damage in every direction. New paper-faced drywall, paperless gypsum board (sometimes specified for damp locations), or cementitious board in chronically wet areas like behind tile becomes the replacement. Before installing new board, the framing and cavity need to be inspected, cleaned if necessary, and verified dry with a moisture meter.
Framing: Studs, Plates, and Sheathing
Wood framing exposed during a drywall removal sometimes shows visible staining. The question is whether the wood is structurally intact or whether rot has set in. The probe test is straightforward — push a screwdriver into the suspect area. Sound wood resists the probe; rotted wood gives way and can be torn loose with fingers. Stained but sound framing is usually cleanable and reusable; rotted framing needs to be sistered or replaced.
The cleanup for sound stained framing combines mechanical removal with chemical treatment. A HEPA vacuum pulls settled spores and dust from the cavity. A wire brush or sanding block on the staining itself removes the visible biomass; the dust generated needs to be vacuumed up rather than left to settle. A wipe-down with three percent hydrogen peroxide kills residual organisms on the surface. Once the framing reads under 16 percent moisture content with a meter, an encapsulating sealer designed for mold-affected lumber locks down any remaining pigment and provides a hostile surface for regrowth. The EPA endorses this sequence for salvageable framing during structural drying after a water loss. The broader removal-on-walls framework is laid out in mold removal on walls substrate-by-substrate, which mirrors the substrate logic above.
Insulation and the Cavity Itself
Wet fiberglass batt insulation and any cellulose loose-fill insulation that has been damp typically cannot be salvaged. The fibrous structure traps moisture, the cellulose feeds the colony, and the cleanup cost vastly exceeds the replacement cost. The EPA recommends discarding heavily contaminated absorbent materials, and insulation almost always qualifies. Rigid foam board insulation that has been wet but not contaminated can sometimes be wiped down and reused; the judgment call usually comes down to how long the cavity was wet and what was in the water.
The cavity itself — the back of the opposite drywall, the framing, and any subfloor or sole plate — needs to be inspected during the cleanup. Hidden growth on the back of opposite drywall is sometimes the only sign that the moisture has been present long enough to have penetrated the whole wall assembly. When opposite drywall is also compromised, the project escalates from a single-side repair to a wall-cavity reopening from both sides, which usually pushes the job beyond DIY scope.
The Moisture Source Is the Whole Game
Wall mold without a moisture source does not exist. Liquid water from a leak, capillary moisture from grade contact, condensation on cool surfaces in humid weather, or vapor diffusion through inadequate vapor barriers — one of these is feeding any wall colony, and the cleanup fails if the source remains. The diagnosis often takes longer than the cleanup itself. A moisture meter pattern across the wall identifies the wet zone; an infrared camera, where available, reveals temperature differences that correlate with moisture; an investigative cut reveals what the cavity actually looks like.
Common wall moisture sources include plumbing leaks at supply or drain lines (kitchen, bathroom, laundry walls), shower or tub leaks at the surround joint, roof leaks tracking down a wall cavity, foundation moisture at below-grade walls, condensation on inadequately insulated walls in humid weather, and HVAC condensation lines that have failed inside a wall cavity. Each diagnosis points to a different trade for the repair — and the cleanup should not be attempted until the source has been verified fixed. Homeowners working through the broader question of wall versus whole-house cleanup can reference the mold inspection hub for plain-language homeowner guidance.
What to Do When You Reopen the Wall
When a wall needs to be opened for cleanup, the process has its own protocol that protects the rest of the house from cross-contamination. Containment goes up before any cut is made — plastic sheeting across the doorway, return-air grilles taped over, HVAC off at the thermostat, drop cloths under the work area. The cut itself is made carefully to minimize dust release; a utility knife scoring the drywall and snapping it along the cut line releases less dust than a reciprocating saw, though for larger sections the saw becomes practical. PPE is on before the cut, not after.
Once the wall is open, the cavity inspection drives the next decisions. A flashlight reveals the back of the opposite drywall, the framing condition, the insulation state, and any standing water or staining patterns. Photos at this stage document the finding for insurance and for later reference. The cleanup proper begins after the inspection — HEPA vacuum the cavity, evaluate insulation for replacement, treat the framing if salvageable, dry the cavity to verified moisture content before any new substrate goes back in. Skipping the inspection step and proceeding directly to demolition can miss conditions on the back of the opposite wall that change the project scope.
When to Stop and Call a Remediator
Wall mold pushes into professional territory quickly. The triggers include any visible growth larger than ten square feet of wall surface, any compromised drywall or framing on both sides of the wall, any wall cavity that has been wet for more than 48 hours, any HVAC ducting passing through the affected wall, and any sensitized occupants in the household. The remediator brings containment, negative-air machines, controlled demolition, and post-remediation verification — all of which become important when the work involves opening wall cavities and releasing whatever has been growing inside.
The cost calculation is also worth doing. A homeowner job on a small wall colony might run twenty to fifty dollars in supplies and a Saturday afternoon. A remediator job on a wall with framing-level contamination might run several thousand dollars depending on the area, the substrate, and the regional market. Insurance coverage depends on the cause of the water loss; sudden covered losses are often paid up to defined sublimits, while gradual or maintenance-related causes typically are not.
References
- Mold Cleanup in Your Home — U.S. Environmental Protection Agency
- Mold Cleanup Guidance — Centers for Disease Control and Prevention
- A Brief Guide to Mold, Moisture, and Your Home — U.S. Environmental Protection Agency
- Mold Control and Prevention — Occupational Safety and Health Administration
Frequently asked questions
Can you kill mold inside the wall without removing the drywall?
Sometimes for very limited cavity growth, but reliably only for surface staining on the face. Mold that has penetrated paper-faced drywall into the gypsum core or onto the back of the panel cannot be reached by surface cleaners and the panel needs to come out.
How far should you remove water-damaged drywall around a mold spot?
EPA guidance suggests removing affected drywall to at least one foot beyond visibly damaged areas in every direction. Cuts typically follow stud lines for easier patching, and a full-height removal is often simpler than a window cut.
Is the framing behind the drywall always ruined when there is mold?
No. Stained but sound framing — the wood still resists a screwdriver probe — can usually be cleaned with a HEPA vacuum, wire brush, peroxide wipe, and an encapsulating sealer once the cavity has dried below 16 percent moisture content.
What about insulation that has been wet?
Wet fiberglass batts and damp cellulose loose-fill almost always need to be replaced. The EPA recommends discarding heavily contaminated absorbent materials, and most wet insulation qualifies. Rigid foam board that was wet but not contaminated can sometimes be wiped down and reused.
If you have opened a wall and want a vetted Front Range inspector to scope the cavity before deciding on DIY versus a remediator, get in touch through our contact page for a referral.
Mold removal & cleanup picks
For a small, contained patch (under ~10 sq ft) these EPA-friendly removers handle surface mold. Larger or recurring growth warrants a professional assessment first.
| Product | Why | Buy |
|---|---|---|
 RMR-86 Instant Mold Stain Remover RMR-86 Instant Mold Stain Remover | Fast-acting on stains; ventilate and wear PPE. | Amazon — $29.99 |
 Concrobium Mold Control Concrobium Mold Control | No-bleach formula that also helps prevent regrowth. | Amazon — $11.26 |
 Mold Armor Mold & Mildew Remover Mold Armor Mold & Mildew Remover | Widely stocked bathroom/surface remover. | Amazon — $22.98 |