How Do You Kill Mold On Walls: A Plain-Language Guide
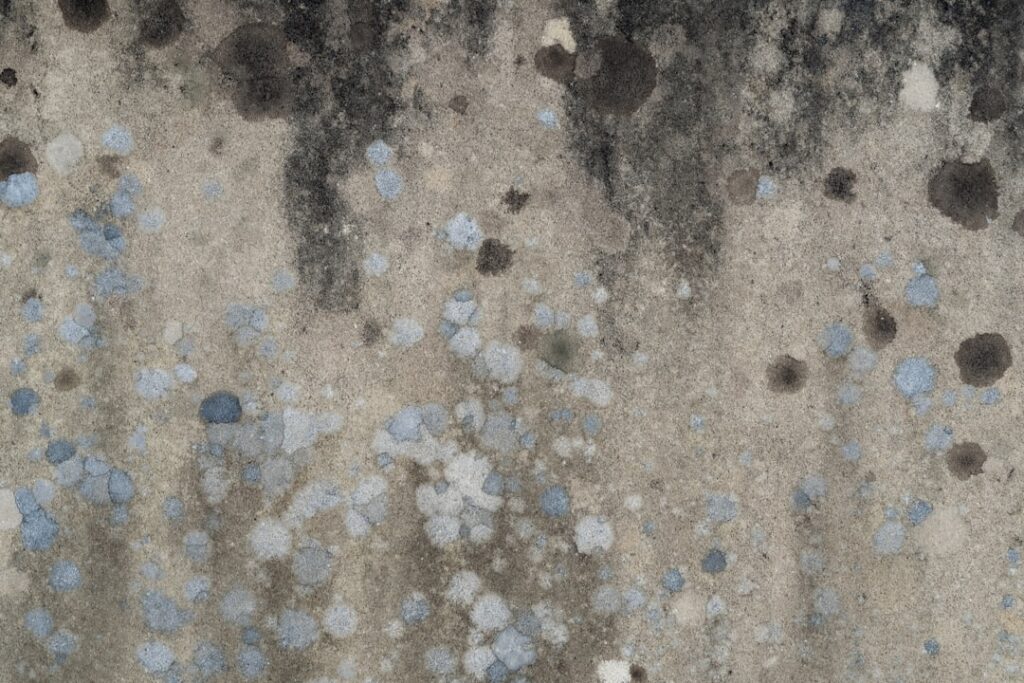
Homeowners asking how do you kill mold on walls usually expect a single answer involving a spray bottle and a kitchen-cabinet ingredient. The honest reality is that the right protocol depends on what kind of wall material the mold is growing on, how big the affected area is, and whether the moisture source has been resolved. Drywall paper, gypsum core, painted surfaces, and wallpaper each have different remediation paths, and skipping the substrate question wastes effort and sometimes spreads the problem. This guide summarizes EPA and CDC guidance current as of 2026 — consult a certified mold inspector for testing decisions and your physician for symptom evaluation.
Is this mold, asbestos, or water damage? Get a free instant screen
Upload a clear photo of the suspect area. You'll get an instant AI screening opinion and what to do next. This is screening guidance, not a professional determination.
Screening guidance only. AI can be wrong. Confirm asbestos, mold type, or lead with lab testing or a licensed professional before acting.
The First Question: Is the Moisture Source Resolved
Before discussing what kills mold, address what feeds it. Mold needs liquid water or sustained relative humidity above sixty percent on cellulose substrates to colonize and spread. Killing visible mold without resolving the moisture source guarantees regrowth, usually within weeks. Common wall-mold moisture sources include plumbing leaks behind the wall, exterior penetration at window or roof flashing, ice dams in northern climates, basement humidity infiltrating finished walls, and bathroom or kitchen humidity not adequately vented.
If a moisture meter reads above twenty percent in drywall or above fifteen percent in framing lumber adjacent to the visible mold, the moisture event is still active or recent enough that drying has not completed. Any kill-the-mold step taken before drying is fully complete will fail. Identifying and stopping the water source is step one; surface treatment is step two.
Drywall Paper Face: When to Clean and When to Replace
The paper face of drywall is cellulose — exactly the food source mold prefers. Once mold has penetrated the paper layer, the affected paper cannot be reliably cleaned, because hyphae extend into the fibers in ways surface scrubbing cannot reach. EPA guidance is that drywall with mold growth covering more than ten square feet warrants professional remediation, and even smaller affected areas of drywall paper are often easier to cut out and replace than to clean.
For small affected areas under two square feet on the paper face, a homeowner can attempt cleaning with a damp cloth and a non-ammonia detergent solution, followed by thorough drying. If the staining returns within two to four weeks after the area has fully dried, replacement is the right call. The replacement protocol is to cut the affected drywall section back at least six inches beyond visible staining, dispose of the cut material in sealed plastic bags, and verify that the framing behind is dry and uncolonized before patching.
Gypsum Core Behind the Paper
If the gypsum core (the white interior of drywall) shows discoloration after the paper face is removed or peeled back, the colonization has gone deeper than surface treatment can address. Gypsum core mold means the entire drywall section is compromised and replacement is required. There is no consumer-tier method to reliably clean mold from gypsum core, because the porous mineral structure traps spores beyond surface reach.
Visual signs of core-level colonization include dark staining visible through the paper face when wet, soft spots when probed with a screwdriver point, or persistent musty smell that does not resolve with surface cleaning. Any of these signs indicates that the cut-and-replace protocol is the right choice, not surface treatment.
Painted Wall Surfaces: The Easier Case
Painted surfaces are easier to remediate because the paint film creates a barrier between the cellulose substrate and the mold colony. Mold on a painted surface is usually surface colonization that has not yet penetrated the paint film. Cleaning with a damp cloth and a non-ammonia detergent or a diluted hydrogen peroxide solution (three percent, used full-strength or diluted 1:1 with water) typically lifts the staining. After cleaning, the area should dry completely for forty-eight hours, then receive a coat of mold-resistant primer (zinc-based or shellac-based) before repainting.
If the staining returns after cleaning and drying, the paint film may be compromised or moisture may still be reaching the substrate. In that case, scrape the affected paint, address the moisture source, and replace the drywall section as if it were exposed paper face. A clean-and-repaint that fails twice usually means the underlying substrate needs replacement.
Wallpaper: Almost Always Replace
Wallpaper compounds the problem because it adds a second cellulose layer (the paper backing) and creates a moisture trap between the wallpaper and the drywall behind. Mold visible on or behind wallpaper means the wallpaper section needs to come down, and the drywall behind it needs inspection. There is no realistic cleaning protocol that addresses mold under wallpaper without removing the wallpaper first.
Remove wallpaper in sections, working away from the affected area. Inspect the drywall behind for staining or soft spots. If the drywall is intact and clean, the wallpaper removal alone has resolved the issue and the wall can be cleaned, dried, primed, and repainted or rewallpapered. If the drywall shows staining, cut and replace as described in the drywall section above.
Cleaning Agents: What Works and What Does Not
Several common household products kill surface mold effectively. Diluted hydrogen peroxide (three percent) is non-toxic, leaves no residue, and works on most non-porous surfaces. White vinegar is acidic enough to inhibit mold growth but works slowly and leaves an odor. Non-ammonia detergent solutions clean effectively but do not kill spores in cracks or pores. Commercial mold removers containing quaternary ammonium compounds work well on tile, grout, and painted surfaces.
Bleach is the controversial option. EPA guidance previously recommended bleach for hard-surface mold cleanup but now notes that bleach is unnecessary in most residential settings and can react with ammonia-containing cleaners to produce toxic chloramine gases. Bleach does not penetrate porous materials well, leaving spores deep in drywall or wood intact. For homeowners who do use bleach on hard non-porous surfaces, a 1:10 bleach-to-water dilution with adequate ventilation is the standard protocol — but a less hazardous cleaner (hydrogen peroxide or a quaternary ammonium product) is usually a better choice. Homeowners working through their first mold cleanup can consult the how to remove mold yourself guide for a step-by-step DIY workflow.
Personal Protective Equipment
Even for small wall-mold cleanup, basic personal protective equipment reduces exposure during the work. EPA-recommended minimum for residential mold cleanup includes an N95 respirator, eye protection without side vents, and disposable gloves rated for the cleaning agent in use. Long sleeves and long pants reduce skin contact. Children, elderly occupants, and anyone with asthma or compromised immunity should leave the area during cleanup and stay out until the area has been cleaned, dried, and ventilated.
Open windows during the work to ventilate any aerosolized spores or cleaner fumes outside. Do not use a household vacuum to pick up dry mold — most household vacuums lack HEPA filtration and will redistribute spores back into room air. Use a damp cloth or paper towel and dispose of cleaning materials in sealed plastic bags.
Hidden Wall-Cavity Mold
Surface treatment addresses only what is visible. If a wall has visible exterior staining, a musty smell, or moisture-meter readings elevated behind the drywall, the cavity itself may be colonized. Cavity mold typically requires destructive sampling — a borescope inserted through a small drilled hole (1/4 inch, easily patched with spackle) to inspect the cavity interior. For larger suspect areas, a section of drywall may need to be cut and inspected, with replacement of any colonized cavity insulation or framing.
Cavity mold is not a DIY job past a certain scale. Insurance claims, real-estate transactions, and post-remediation clearance testing all require professional documentation. Front Range homeowners with suspected cavity mold can consult the mold inspection hub for the next-step assessment options.
When to Call a Professional
Three thresholds typically trigger professional remediation rather than DIY cleanup. First, visible mold covering more than ten square feet — EPA’s standard threshold for professional involvement. Second, suspected cavity colonization with active or recent moisture source. Third, sensitive occupants in the home (asthma, immunocompromise, infant residents) for whom any cleanup-stage exposure carries elevated risk. Professional remediation under IICRC S520 standards includes containment, negative-air-pressure equipment, HEPA filtration, and post-cleanup clearance testing — all of which are difficult to replicate in a DIY context.
Drying Protocol After Cleanup
Drying is the step most homeowners under-execute. Even a thoroughly cleaned surface that remains damp will recolonize quickly, often within two to three weeks. The standard protocol after surface cleaning is forty-eight hours of active drying with fans pointed at the cleaned area, doors and windows open if weather permits, and ideally a portable dehumidifier in the room to pull humidity below fifty percent during the drying window.
For interior walls without exterior exposure, drying may take longer because there is no air circulation behind the wall. For walls with insulation behind, the insulation itself may hold moisture that wicks back to the surface even after the visible surface dries. Use a moisture meter to verify drying — the cleaned surface should read at or near the home’s baseline dry-wall moisture content before any repainting, priming, or restoration work begins. Pushing forward with primer or paint while the substrate is still damp seals in moisture and supports recolonization underneath the new finish.
Substrate Decision Matrix
Different wall substrates call for different cleanup paths, and matching the protocol to the substrate prevents wasted effort. Painted drywall in good condition under two square feet of staining: clean with hydrogen peroxide, dry, prime with mold-resistant primer, repaint. Bare drywall paper face under two square feet: attempt cleaning and dry thoroughly; replace if staining returns. Gypsum core showing through cleaned paper face: replace the affected drywall section entirely. Wallpaper with any visible mold: remove the wallpaper section, inspect the drywall behind, treat or replace as found. Ceramic tile and grout: clean with quaternary ammonium products or hydrogen peroxide; replace grout if heavily colonized.
For wood surfaces (paneling, trim, framing), the decision depends on penetration depth. Surface mold on finished wood typically cleans off; mold that has penetrated grain may require sanding or sealing in addition to surface cleaning. Heavily affected structural members usually need replacement rather than cleaning. Concrete and masonry walls can be cleaned with masonry-rated cleaners, but porous structure traps spores so multiple cleaning rounds may be needed.
Verifying the Cleanup Held
Two-to-four-week monitoring after cleanup is the simplest verification. Photograph the cleaned area immediately after drying, then re-photograph at one week, two weeks, and four weeks. If no staining returns and the area smells normal, the cleanup held and no further action is needed. If staining returns within the monitoring window, either the moisture source was not adequately resolved or the substrate was too deeply colonized for surface cleaning to reach.
For higher-confidence verification, a follow-up tape-lift sample at thirty to fifty dollars after thirty days documents whether the area has stayed clean. This is the consumer-tier equivalent of post-remediation clearance testing. Pairing the post-cleanup sample with a pre-cleanup sample produces a before-and-after comparison that demonstrates the effectiveness of the work.
References
- Mold Cleanup in Your Home — U.S. Environmental Protection Agency
- About Mold and Health — Centers for Disease Control and Prevention
- A Brief Guide to Mold, Moisture, and Your Home — U.S. Environmental Protection Agency
- Mold Inspection Guidance — International Association of Certified Home Inspectors
Front Range homeowners facing wall-mold cleanup that exceeds DIY scale can reach out through our contact page for a vetted remediation referral.
Mold removal & cleanup picks
For a small, contained patch (under ~10 sq ft) these EPA-friendly removers handle surface mold. Larger or recurring growth warrants a professional assessment first.
| Product | Why | Buy |
|---|---|---|
 RMR-86 Instant Mold Stain Remover RMR-86 Instant Mold Stain Remover | Fast-acting on stains; ventilate and wear PPE. | Amazon — $25.99 |
 Concrobium Mold Control Concrobium Mold Control | No-bleach formula that also helps prevent regrowth. | Amazon — $13.48 |
 Mold Armor Mold & Mildew Remover Mold Armor Mold & Mildew Remover | Widely stocked bathroom/surface remover. | Amazon — $22.98 |