Black Mold on Insulation: What Homeowners Should Know
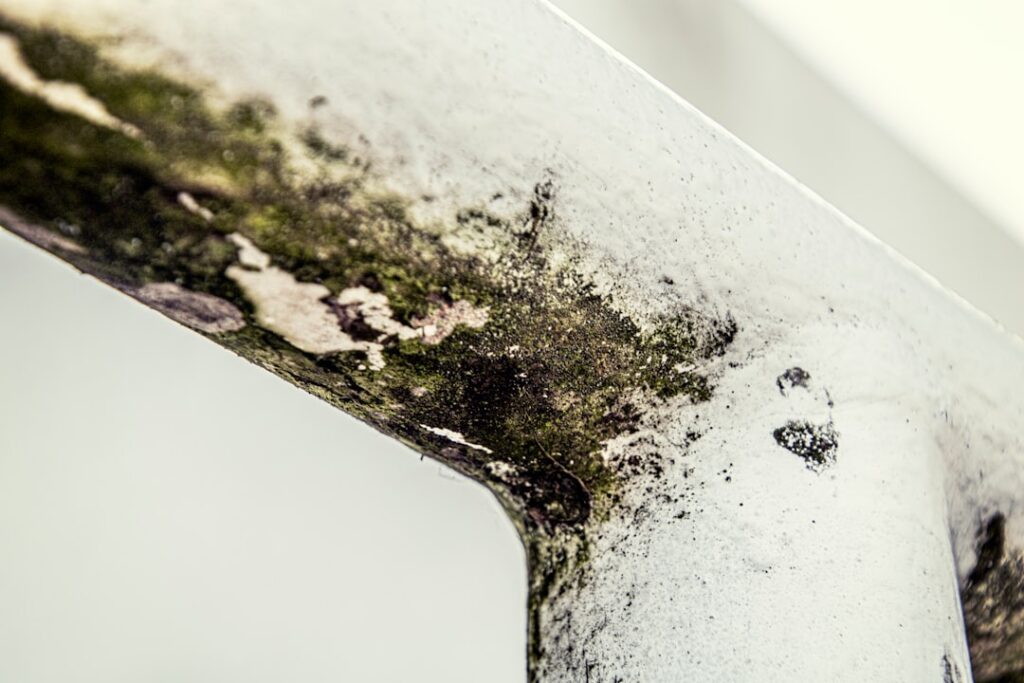
Finding dark growth on the insulation in an attic, crawl space, or wall cavity raises an immediate question about whether the material can be salvaged. The short answer for black mold on insulation is that most affected insulation cannot be cleaned and must be removed and replaced, because the material is porous and holds both moisture and mold growth deep within its structure. The more important question is why the insulation got wet, since insulation does not grow mold unless something is feeding it moisture. This guide summarizes EPA and CDC guidance current as of 2026; consult your physician about any symptoms and a certified professional for testing decisions.
Part of our Crawl Space & Attic Guide guide — start there for the full picture →
Is this mold, asbestos, or water damage? Get a free instant screen
Upload a clear photo of the suspect area. You'll get an instant AI screening opinion and what to do next. This is screening guidance, not a professional determination.
Screening guidance only. AI can be wrong. Confirm asbestos, mold type, or lead with lab testing or a licensed professional before acting.
Can black mold on insulation be cleaned or must it be removed?
The answer depends on the type of insulation, but for the most common types the verdict is removal. Fiberglass batts, blown-in cellulose, and mineral wool are porous and fibrous; they trap moisture and allow mold to root throughout, not just on the surface. The EPA states that porous materials with mold growth generally cannot be cleaned effectively and should be discarded. Trying to wipe or spray moldy fiberglass or cellulose leaves the embedded growth in place, so the standard remediation step is to bag and remove it.
Rigid foam board and some closed-cell spray foam are non-porous and can sometimes be cleaned if mold is only on the surface and the foam itself is undamaged, because these materials do not absorb water the way fiberglass does. Even then, removal is often simpler and more reliable. Faced batts with paper or foil backing complicate things, since the facing is organic and porous. In nearly all cases involving fibrous insulation, planning for replacement rather than cleaning saves time and gives a more dependable result. The same porous-versus-non-porous logic that governs insulation also drives decisions about mold on plywood and other building materials.
Why insulation grows mold
Insulation itself is not always food for mold; fiberglass, for instance, is made of glass fibers that do not feed growth. The mold actually colonizes the dust, paper facing, and organic debris that settle on and within the insulation, and it does so only when that material gets wet. So mold on insulation is a moisture flag pointing at a leak, condensation, or humidity problem nearby.
Common moisture sources include roof leaks soaking attic insulation, plumbing leaks inside wall cavities, condensation on cold surfaces where warm humid air meets uninsulated ducts or pipes, and chronically damp crawl spaces. Cellulose, which is made from recycled paper, is itself organic and supports mold readily once wet. The EPA’s central principle applies: control the moisture and you control the mold. Removing moldy insulation without fixing the water source guarantees the replacement will fail too. Attic growth is a frequent version of this problem, and our guide to attic mold remediation covers the ventilation and roof-leak issues that drive it.
Is black mold on insulation dangerous?
The “black mold” on insulation is often a common species such as Cladosporium or Aspergillus rather than the Stachybotrys people fear, and color cannot identify a species. The health concern is the same regardless: the CDC notes that mold exposure can cause nasal congestion, throat and eye irritation, coughing, and wheezing, with stronger effects in people who have asthma, allergies, or weakened immune systems. Disturbing moldy insulation releases a large burst of spores, so the act of removal is when exposure spikes.
That is why removal of moldy insulation is a job that demands respiratory protection and containment. Tearing out fiberglass also releases glass fibers that irritate skin, eyes, and airways independent of the mold. For larger areas, the spread of spores through the home during removal is a genuine risk, which is one reason the EPA recommends professional remediation for affected areas larger than about 10 square feet. Choosing the right mask for any DIY portion matters, and our guide to selecting a respirator for mold explains why an N95 is the minimum for this kind of dusty work.
How insulation mold remediation works
Professional remediation of moldy insulation follows a clear sequence. First, the source of moisture is found and repaired, whether that is a roof leak, a plumbing failure, or condensation from poor ventilation. Skipping this step makes the rest pointless.
Next, the work area is contained with plastic sheeting and, for larger jobs, negative air pressure and HEPA-filtered air scrubbers to keep spores and fibers from spreading. Technicians wearing respirators and protective suits remove the affected insulation, bag it, and dispose of it. The exposed cavity, framing, and any non-porous surfaces are HEPA-vacuumed and cleaned, then dried completely with the help of dehumidifiers and air movers. Moisture readings confirm the area is dry before any new insulation goes in. Only after the cavity is clean and dry is fresh insulation installed. For severe or widespread contamination, this entire process is best handled by a remediation contractor rather than a homeowner.
How different insulation types respond to mold
The decision to clean or replace depends heavily on which insulation you have, and the common types behave differently enough to be worth distinguishing. Fiberglass batts are made of glass fibers that do not themselves feed mold, but the paper or foil facing and the dust and debris that settle in them do, and once wet, the fibers trap moisture against that organic material. Because the batts are porous and the growth roots into the facing and trapped dust, moldy fiberglass is almost always removed rather than cleaned.
Blown-in cellulose is made from recycled paper treated with fire retardant, so the material itself is organic and feeds mold readily when wet. It also compacts and holds water, making it the least salvageable of the common types once mold takes hold; moldy cellulose is bagged and removed. Mineral wool resists moisture better than fiberglass or cellulose and is less prone to mold, but heavily contaminated mineral wool is still typically replaced. Rigid foam board and closed-cell spray foam are the exceptions: they are largely non-porous and do not absorb water, so surface mold on undamaged foam can sometimes be cleaned, though removal is often simpler. Open-cell spray foam, by contrast, can absorb moisture and may need removal if saturated. Identifying your insulation type before deciding on a course of action prevents the wasted effort of trying to clean a porous batt that was always going to need replacement.
Inspecting hidden insulation for mold
Because most insulation lives in attics, crawl spaces, and wall cavities, mold on it frequently goes undetected until a smell or a related symptom prompts a look. Knowing how to inspect these spaces, and when to stop and call a professional, helps homeowners catch problems before they spread. In an accessible attic, look at the insulation around roof penetrations, near the eaves where ice dams cause leaks, and below any visible roof staining, since these are where leaks and condensation concentrate. Discoloration, a musty smell, matted or compressed sections, and damp-feeling material all suggest moisture.
In a crawl space, insulation under the floor and against foundation walls is exposed to ground moisture and humidity; sagging, blackened, or damp batts indicate a problem, often paired with growth on the floor framing above. Inside walls, mold on insulation is invisible without opening the cavity, so the clues are indirect: staining bleeding through drywall, a persistent musty odor in a room, or a known history of leaks. Disturbing moldy insulation to inspect it releases spores and fibers, so wear a respirator and avoid pulling material apart aggressively. When the affected area looks larger than a small patch, when growth appears widespread across an attic or crawl space, or when the moisture source is not obvious, that is the point to bring in a professional assessor rather than continuing to probe, both to protect your own exposure and to get an accurate scope of the problem.
Preventing mold from returning to insulation
Because insulation mold is a moisture problem, prevention means keeping insulation dry. Maintain the roof and flashing so attic insulation does not get rained on, and inspect after heavy snow or ice-dam season on the Front Range. Ensure attics and crawl spaces are properly ventilated so humid air does not condense on cold surfaces. Insulate and air-seal ductwork and pipes in unconditioned spaces to prevent condensation that drips onto insulation.
Keep household and crawl-space humidity below the roughly 50 percent the EPA recommends, and address plumbing leaks promptly before water reaches wall-cavity insulation. In crawl spaces, a proper vapor barrier over the soil reduces the ground moisture that drives high humidity. When new insulation is installed after remediation, choosing the right type for the space and ensuring the area stays dry keeps the replacement from becoming the next casualty. Insulation that stays dry simply does not grow mold, so the durable fix is always at the moisture source rather than the insulation itself.
The cost and scope of insulation mold removal
Homeowners facing moldy insulation understandably want a sense of what removal and replacement involves financially and logistically. The cost depends heavily on the location, the type and amount of insulation, accessibility, and whether the moisture source requires its own repair. Removing and replacing insulation in an open, accessible attic is generally more straightforward than extracting moldy insulation from inside finished wall cavities, which requires opening and then repairing the walls. Crawl-space insulation work falls in between but is complicated by the cramped, often unpleasant working conditions.
Beyond the insulation itself, a complete job carries several cost components: containment to keep spores from spreading, labor for removal and disposal of the contaminated material, cleaning and drying of the exposed cavity and framing, the moisture-source repair, and the new insulation. Because the insulation is usually the least expensive of these elements, the moisture repair and any associated structural work often drive the total. A roof leak feeding attic insulation, for example, means budgeting for roof repair on top of the insulation work, and a humid crawl space may call for a vapor barrier and improved ventilation or conditioning. The EPA’s recommendation that affected areas larger than about 10 square feet warrant professional handling applies here, and most insulation mold jobs exceed that threshold once you account for how moisture spreads. Getting an itemized estimate that separates the insulation replacement from the moisture repair lets you understand where the money goes and ensures the bid actually addresses the cause, not just the symptom. As with all mold work, an insulation job that replaces the material without fixing the water source is incomplete and will fail, so the moisture repair is the line item that determines whether the work lasts.
One detail homeowners sometimes miss is that not all the insulation necessarily has to go. A professional assessment defines the boundary between affected and unaffected material, and dry, sound insulation outside the wet zone can often stay in place, which controls cost. The judgment call is whether growth or moisture has reached a given section, and that is harder to eyeball than it seems, since insulation can wick moisture beyond the obviously stained area. Erring slightly toward removing a margin of insulation around the visibly affected zone is common practice, because leaving marginally damp material behind risks regrowth in the new cavity. Balancing thorough removal against unnecessary replacement is part of what an experienced assessor brings, and it is another reason the moisture mapping that precedes the work matters as much as the removal itself.
References
- Mold Cleanup in Your Home — U.S. Environmental Protection Agency
- About Mold and Health Effects — Centers for Disease Control and Prevention
- Mold and Indoor Air Quality — National Institute of Environmental Health Sciences
Frequently asked questions
Can you clean mold off insulation?
Usually not. Fiberglass, cellulose, and mineral wool are porous and hold mold throughout, so the EPA advises discarding moldy porous materials rather than cleaning them. Only non-porous rigid foam with surface-only mold can sometimes be cleaned, but replacement is more reliable.
Why did mold grow on my insulation?
Mold grows on the dust, paper facing, or organic debris in insulation once it gets wet. The cause is a moisture source such as a roof or plumbing leak, condensation, or a humid crawl space. The insulation mold is a flag pointing at that water problem.
Is black mold on insulation dangerous to remove?
Removal releases a burst of spores plus irritating glass fibers, so it requires at least an N95 respirator, gloves, and containment. People with asthma or weakened immunity are more sensitive. For areas larger than about 10 square feet, the EPA recommends professional remediation.
Do I have to replace all the insulation if part of it is moldy?
Affected porous insulation should be removed and replaced, but dry, unaffected insulation can often stay. A professional assessment defines the boundary. After removal, the cavity must be cleaned, dried, and the moisture source fixed before new insulation is installed.
If you have found mold on attic, crawl-space, or wall insulation and are unsure how far it spreads, our mold inspection hub explains how a moisture assessment scopes the job, and Front Range homeowners can reach a vetted local inspector through our contact page.