Where Black Mold Hides: 7 Spots to Check First
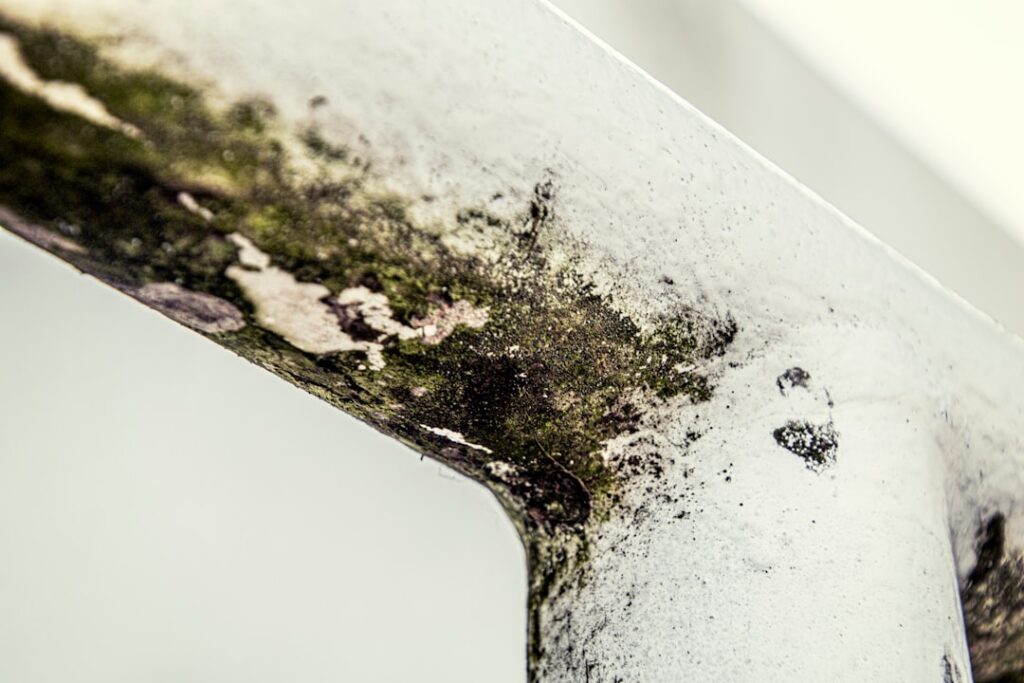
Black mold does not appear at random. It follows water, and water in a house travels along a short list of predictable paths: past worn caulk, down leaking supply lines, into cold sheathing, and through porous cellulose materials that stay damp. That is why Stachybotrys chartarum, the greenish-black mold most people mean by “black mold,” concentrates in a handful of spots rather than spreading evenly across a home. It needs cellulose (drywall paper, wood, ceiling tile, cardboard) that has stayed wet for days, so it colonizes exactly where chronic moisture meets that food source.
Part of our Black Mold & Your Health guide — start there for the full picture →
The EPA notes that mold can begin growing within 24 to 48 hours of a water problem, and that keeping indoor humidity below 60 percent (ideally 30 to 50 percent) is the single most effective way to prevent it. The seven locations below account for the overwhelming majority of residential black-mold findings. Check them in this order.
Is this mold, asbestos, or water damage? Get a free instant screen
Upload a clear photo of the suspect area. You'll get an instant AI screening opinion and what to do next. This is screening guidance, not a professional determination.
Screening guidance only. AI can be wrong. Confirm asbestos, mold type, or lead with lab testing or a licensed professional before acting.
1. Bathroom grout, caulk, and the exhaust fan
Bathrooms are the most common place to find visible growth because they combine daily moisture, warm air, and porous surfaces. Most bathroom growth is surface mildew (usually Cladosporium, not true black mold) on grout lines, silicone caulk, and the shower ceiling near the head. Aged caulk loses its mold-inhibiting additives and becomes a substrate itself.
The spot people miss is the exhaust fan housing. Pop the cover: a fan caked in dust and running weakly leaves the room humid long after a shower, and that humidity is what feeds the ceiling. Also check under the sink cabinet and the floor behind the toilet, where slow supply-line and wax-ring leaks stay hidden. Growth confined to hard grout and caulk is a cleaning job; growth spreading into the drywall behind the tile is not. If you are unsure whether what you see is cosmetic or a real exposure concern, our guide on black mold in the bathroom walks through the distinction.
2. Basement wall-floor joints and stored cardboard
Basements carry the highest true-Stachybotrys risk in most homes: cellulose everywhere, ground moisture pushing through the foundation, and poor air exchange. On the Colorado Front Range, spring snowmelt and the summer monsoon are the two windows when hydrostatic pressure drives water through basement walls.
Look first at the wall-floor junction on poured-concrete walls, especially in corners, and around the sump pit and floor drains. Then pull anything porous away from the wall. Cardboard boxes and paper-faced fiberglass insulation stacked against cold concrete wick moisture and become ideal food. Behind old wall paneling installed without a moisture barrier is a classic hidden colony. Our page on getting rid of basement mold covers the correction once you find it.
3. Crawlspace subfloor and framing
Crawlspaces fail quietly. A torn or missing ground vapor barrier lets soil moisture evaporate straight into the wood above it. Check the underside of the subfloor, the floor joists, and the pier-and-beam framing for the dark staining and cottony growth that precede wood-decay fungi. Insulation batts that have slumped or darkened are a reliable tell that the cavity above them has been damp.
4. Attic sheathing near bath fans and roof leaks
Attic mold develops slowly and out of sight. The most common cause is a bathroom exhaust fan that dumps humid air directly into the attic instead of venting to the outside. Trace each fan duct and confirm it terminates through the roof or a gable, not into insulation. Then inspect the roof sheathing around plumbing vent stacks, skylight curbs, chimney flashing, and roof valleys, where flashing failures cause slow leaks. Dark blotches on the underside of the sheathing, worst on the north-facing slope that dries slowest, point to a ventilation or leak problem. Our attic mold inspection guide details what to bring and what to look for.
5. Inside wall cavities near plumbing
The most expensive black-mold jobs start here, because the colony grows for months inside the cavity before a stain finally appears on the room-side drywall. By the time you see it, the visible patch is a fraction of the actual growth. The high-risk points are behind tub and shower valve bodies, around supply shutoff valves under sinks and behind the washer, and at waste-line connections. Musty odor from a wall with no visible mark, or drywall that feels soft or cool to the touch, warrants opening the cavity or scanning it. Our guide on detecting mold in walls covers moisture-meter and borescope methods for confirming before you cut.
6. HVAC drain pans, coils, and ducts
HVAC mold matters out of proportion to its size because the air handler distributes spores to every conditioned room. Cold evaporator coils condense water, the drain pan beneath collects it, and a clogged condensate line backs that water up into a dust-laden pan. Check the drain pan, the coil fins, and the first few feet of supply duct near the handler. A musty smell that appears only when the system runs is often the first and only sign.
7. Behind and beneath appliances
Refrigerator ice-maker lines, washing-machine hoses, dishwasher connections, and water-heater relief valves all weep slowly for years. The drip wets adjacent drywall, subflooring, and cabinet sides long before anything shows. Pull each appliance out during your annual check and inspect the supply and drain connections, the standpipe behind the washer, and the drip pan beneath the fridge. This is consistently the most overlooked category.
Why these seven and not others
Every spot on the list shares two traits: a recurring water source and a cellulose or biofilm surface that holds moisture. Rooms that stay dry and well-ventilated rarely grow black mold no matter how old the house is. The CDC and EPA agree that controlling moisture, not chasing a specific species, is what keeps a home mold-free. A house held at 35 to 45 percent relative humidity year-round, with promptly repaired leaks, is unlikely to develop a significant problem.
What to do when you find it
Do not disturb a suspect colony during your first pass; wiping or brushing it aerosolizes spores. Photograph each finding with a date, note the nearest water source and any odor, and fix the moisture before you clean anything. EPA guidance holds that a patch under about 10 square feet, on a hard non-porous surface, with a correctable source, is generally safe for a homeowner to clean using detergent and water. Larger areas, porous materials, HVAC involvement, or anything inside a wall cavity calls for a professional following IICRC S520. The American Lung Association’s overview of mold and dampness is a good primer on why porous, saturated materials usually need removal rather than cleaning.
If your walkthrough surfaced growth in walls, HVAC, the attic, or a wet crawlspace, that is the point to bring in testing and a documented assessment. Our mold inspection and testing hub lays out the full workflow, including thermography and moisture mapping, for confirming extent before remediation.
Frequently asked questions
Frequently asked questions
Which room has the most black mold?
Bathrooms show the most frequent visible growth because of daily humidity and porous grout and caulk, but most of it is surface mildew rather than true black mold. Basements and crawlspaces carry the highest risk for actual Stachybotrys, because they combine cellulose materials with ground-moisture intrusion and poor airflow.
Can black mold grow where I can't see it?
Yes. The costliest colonies grow inside wall cavities near plumbing, in HVAC drain pans and ducts, and on attic sheathing, all out of direct view. A persistent musty smell with no visible patch, or drywall that feels soft or cool, is often the only early sign.
How fast does black mold start growing after a leak?
The EPA states mold can begin growing within 24 to 48 hours of a water problem. That is why drying wet materials quickly, ideally within two days, and keeping indoor humidity between 30 and 50 percent are the most effective preventions.
What is the most overlooked place to check?
Behind and beneath appliances, especially the refrigerator ice-maker line, the washing-machine hoses, and the dishwasher connections. These weep slowly and wet the drywall and subfloor behind them for years before anything becomes visible from the room.
This guide reflects EPA and CDC mold guidance current as of 2026 and is general information, not testing or medical advice; consult a certified inspector for testing decisions and your physician for symptom evaluation.