Thermal Imaging Sensors: How They Work Explained
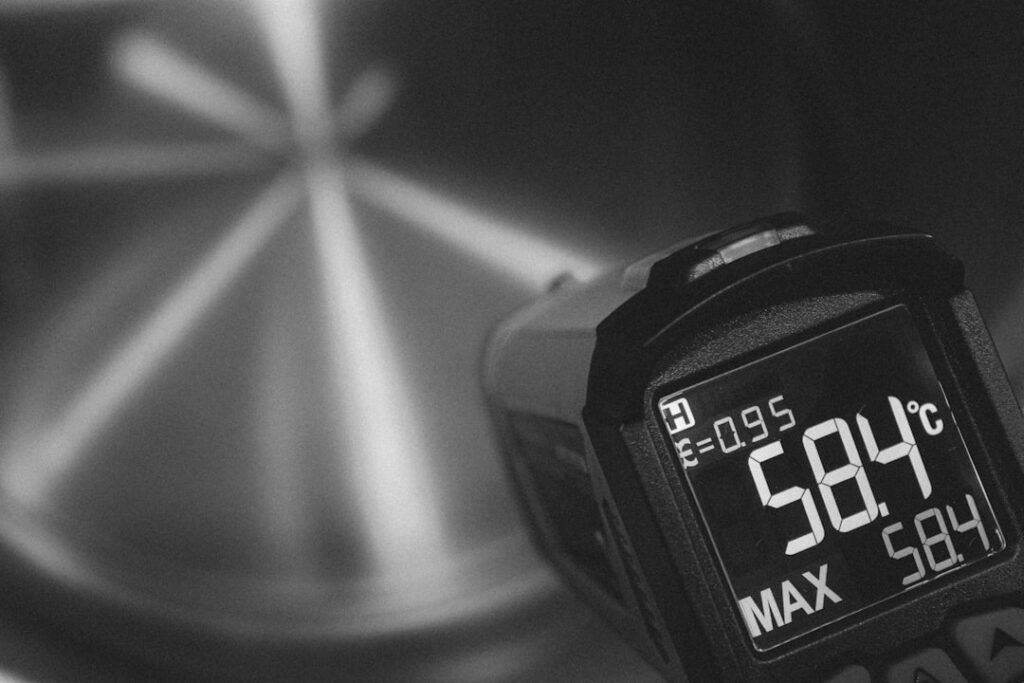
Thermal imaging sensors are the heart of every infrared camera, from a $200 phone attachment to a $20,000 industrial unit, and understanding how they work demystifies the spec sheets that decide which camera is worth buying. At the core of nearly all consumer and inspection cameras is a microbolometer — a grid of tiny heat-sensitive elements that converts infrared radiation into a temperature map. This guide explains the technology in plain language and the two specs that matter most, resolution and NETD, drawing on standards-body and engineering references rather than marketing claims.
How do thermal imaging sensors work?
Every object above absolute zero emits infrared radiation in proportion to its temperature. The human eye cannot see this long-wave infrared (roughly 8 to 14 microns), but a thermal sensor can. A microbolometer is an array of microscopic detector elements, each made of a material — commonly vanadium oxide or amorphous silicon — whose electrical resistance changes when it absorbs infrared energy and warms slightly.
The camera measures the resistance change at each element thousands of times per second, converting it into a temperature value, then assigns a color to each value to build the familiar heat-map image. Crucially, a microbolometer is “uncooled”: it operates at ambient temperature, which is what made compact, affordable thermal cameras possible. Earlier cooled sensors needed cryogenic cooling and were enormous and expensive, reserved for military and scientific use. Uncooled microbolometers brought thermal imaging into phones and home-inspection kits. For how these sensors get used on a house, our guide to thermal imaging a house connects the technology to practice, and the broader equipment landscape is in the home inspection tools hub.
Resolution: how much detail a sensor captures
Thermal resolution is the number of detector elements in the array, expressed as pixels — 160×120, 256×192, 320×240, 640×480, and higher. Each element measures one point of temperature, so more elements mean more detail and the ability to resolve smaller features or to see the same feature from farther away.
The difference is substantial. A 160×120 sensor has 19,200 measurement points; a 320×240 sensor has 76,800 — four times as many. On an inspection that translates into the difference between seeing “something is cool over there” and identifying which specific stud bay or which outlet is the problem. Two important cautions:
- Native versus enhanced resolution. Some cameras advertise a high “image resolution” achieved by software interpolation that adds no real measured detail. Always look for the native sensor resolution.
- MSX and overlays. Features like FLIR’s MSX overlay visible-light edges onto a low-resolution thermal image to make it more readable. This improves clarity without adding true thermal detail — a useful aid, not extra resolution.
For most home use, 256×192 is a comfortable middle ground, 320×240 is generous, and 160×120 with MSX remains workable.
NETD: how sensitive a sensor is
If resolution is how many points a sensor measures, NETD is how small a temperature difference it can detect at each point. NETD — Noise Equivalent Temperature Difference — is measured in millikelvin (mK), and lower is better. A sensor rated at 40 mK can distinguish a temperature difference of 0.04°C; one rated at 100 mK needs a larger difference to register it.
NETD matters enormously for inspection work because the defects that matter often produce subtle temperature differences. The faint cool patch of slightly damp drywall or a minor insulation gap may be invisible to a high-NETD (less sensitive) sensor but obvious to a low-NETD one. Modern quality attachments reach 40–50 mK; older or cheaper sensors sit at 70–150 mK. When two cameras share the same resolution, the one with lower NETD will reveal more of the subtle anomalies that distinguish a real problem from background noise.
How a microbolometer turns heat into a number
Walking through the conversion step by step makes the sensor’s strengths and limits concrete. Infrared energy from a scene passes through the camera’s germanium lens — germanium because ordinary glass blocks long-wave infrared — and focuses onto the microbolometer array. Each detector element absorbs a share of that energy and warms by a tiny, measurable amount, often a fraction of a degree.
That temperature change alters the element’s electrical resistance. The camera’s readout circuit measures the resistance of every element many times per second and converts each into a digital value. Because the raw response also depends on the sensor’s own temperature and on subtle differences between elements, the camera applies corrections: a periodic internal shutter (the brief “click” and freeze some cameras make) gives the array a uniform reference to recalibrate against, smoothing out element-to-element variation. The corrected values become a grid of temperatures, which the camera maps to colors for display and, in radiometric cameras, stores as data behind each pixel.
Two limits fall directly out of this process. First, the sensor reads only the infrared energy that reaches it from surfaces, which is why it cannot see through materials — it measures surface emission, full stop. Second, the smallest temperature change a single element can reliably distinguish from electronic noise is the NETD, the floor on its sensitivity. Everything a thermal camera can and cannot do traces back to these mechanics.
Other sensor specs worth knowing
Resolution and NETD dominate, but a few more specs round out the picture:
- Spectral range: most building-inspection sensors work in long-wave infrared (8–14 microns), the band best suited to near-room-temperature surfaces.
- Temperature measurement range: how hot and cold a target the sensor can quantify, often −20°C to 400°C or wider for inspection models.
- Accuracy: typically ±2°C to ±3°C or ±5 percent for handheld and attachment-class cameras; this is the absolute-temperature tolerance, separate from NETD’s sensitivity to differences.
- Frame rate: 9 Hz units (an export-regulation threshold) feel laggy when panning; 25–30 Hz is smooth.
- Field of view: the angle the lens captures; narrower lenses concentrate resolution on distant targets.
A practical way to read a spec sheet: resolution tells you how fine the picture is, NETD tells you how faint a signal it can pull from noise, accuracy tells you how trustworthy the absolute numbers are, and frame rate tells you how smoothly it pans. The right combination depends on the work.
How sensor specs map to home-inspection tasks
Matching the sensor to the job clarifies what you need:
- Energy and insulation screening: benefits from low NETD to catch subtle gradients; modest resolution suffices.
- Moisture detection: low NETD again helps, since damp areas may be only slightly cooler; confirm with a moisture meter.
- Electrical inspection: wide temperature range and decent resolution to pinpoint which connection at a panel is hot.
- Detailed documentation: higher resolution (320×240 or more) for report-grade images that clearly identify the defect’s location.
No sensor changes the fundamental limit: thermal imaging reads surface temperature and cannot see through materials. A better sensor reveals fainter and finer surface patterns, but it still cannot see inside a wall — a limit detailed in our overview of what thermal imaging can and cannot detect.
Cooled versus uncooled sensors
Nearly every camera a homeowner or inspector will encounter uses an uncooled microbolometer, but understanding the alternative clarifies why these sensors have the limits they do. Cooled thermal sensors use photon detectors chilled to cryogenic temperatures, often by an integrated cooler, which gives them extraordinary sensitivity and speed. They are used in scientific, military, and specialized industrial applications, and they cost many thousands to tens of thousands of dollars, with bulky hardware and a cooler that consumes power and eventually wears out.
Uncooled microbolometers trade some sensitivity for enormous gains in size, cost, power, and reliability. They start instantly, run on a phone’s power, fit in a clip-on module, and last for years. The trade-off appears in NETD and frame rate: an uncooled sensor is less sensitive than a cooled one and updates more slowly. For building inspection, energy diagnostics, and home use, uncooled performance is more than sufficient, which is why this technology democratized thermal imaging. No homeowner needs a cooled sensor; understanding the distinction simply explains why even a good attachment cannot match a laboratory instrument and why its sensitivity has a floor.
Why sensor size and lens also matter
Two factors beyond the headline specs shape real-world image quality. The physical size of the detector elements (pixel pitch) influences sensitivity — larger elements collect more infrared energy per pixel, which can improve the signal even at the same resolution. And the lens, almost always made of germanium because ordinary glass blocks long-wave infrared, focuses that energy onto the array. A better lens with a wider aperture gathers more energy and sharpens the image. This is part of why a dedicated camera with a quality germanium lens can outperform a phone attachment of the same stated resolution: the optics feeding the sensor are better. When comparing cameras, resolution and NETD are the headline, but the lens and detector quality behind them explain why two cameras with identical specs on paper can produce visibly different images.
When to rely on professional-grade sensors
For occasional energy and moisture screening, an attachment-class microbolometer is plenty. A 256×192 sensor with around 50 mK sensitivity, common in today’s mid-range attachments, handles insulation, air-leak, and moisture screening capably. Step up to professional-grade equipment — and a trained operator — when the stakes are high: documenting findings for a real-estate transaction, diagnosing an intermittent electrical hazard, or performing a formal energy audit. Higher resolution and lower NETD reveal problems that escape entry sensors, and trained interpretation prevents misreading a reflection or thermal bridge as a defect. The DOE emphasizes that meaningful thermographic diagnostics combine calibrated equipment with skilled analysis. The sensor captures the data; experience turns it into a correct conclusion.
Common sensor terms decoded
Spec sheets bury the useful information under jargon, so a short glossary of the terms you will encounter helps you read them confidently.
- Microbolometer: the uncooled infrared detector array at the heart of consumer and inspection thermal cameras.
- Resolution / IR resolution: the native number of detector elements, given as pixels; more means finer detail. Watch for inflated “enhanced” or “interpolated” figures.
- NETD: Noise Equivalent Temperature Difference, the smallest temperature difference detectable, in millikelvin; lower is more sensitive.
- Thermal sensitivity: usually a synonym for NETD on marketing material.
- Spectral range: the band of infrared the sensor detects, typically 8–14 microns for building work.
- Accuracy: how close the absolute temperature reading is to truth, often ±2–3°C or ±5 percent.
- Frame rate: how many times per second the image updates; 9 Hz is choppy, 25–30 Hz is smooth.
- Field of view: the angle the lens captures; narrower concentrates resolution on distant targets.
- Emissivity: not a sensor spec but a setting; how efficiently a surface radiates heat, which affects reading accuracy.
- Radiometric: whether the camera stores a temperature value at every pixel for later analysis.
Armed with these, a spec sheet reduces to a few decisions: enough resolution for the detail you need, low enough NETD for the subtlety of your work, an accuracy and range suited to your targets, and a smooth frame rate. The marketing language wrapped around those numbers rarely changes the underlying capability, which is set by the sensor and lens described in plain terms above.
One practical warning: be skeptical of any product that advertises an impressive “resolution” without stating the native sensor pixels, and of cameras that omit NETD entirely. A module claiming a high megapixel-style figure is almost certainly quoting an interpolated or display resolution that adds no real measured detail. A reputable manufacturer states the native array size (such as 256×192) and the NETD (such as 50 mK) plainly, because those are the numbers a knowledgeable buyer checks. When a spec sheet hides them, it is usually because the underlying sensor is modest. Reading past the marketing to those two core figures is the single most useful skill in comparing thermal cameras, and it applies equally to a phone attachment and a professional instrument.
References
- Using Infrared Thermography — U.S. Department of Energy
- Infrared Thermography for Inspectors — International Association of Certified Home Inspectors (InterNACHI)
- Professional Home Energy Audits — U.S. Department of Energy
Thermal imaging cameras
Infrared cameras reveal hidden moisture, missing insulation, and air leaks. Phone-attachment models are the budget entry point; standalone units have higher resolution.
| Product | Why | Buy |
|---|---|---|
 FLIR ONE Pro (phone) FLIR ONE Pro (phone) | Plugs into iPhone/Android; inspector favorite. | Amazon — $349.00 |
 Topdon TC001 Topdon TC001 | High-res phone module at a low price. | Amazon — $199.99 |
 FLIR C5 Compact FLIR C5 Compact | Standalone pocket camera with Wi-Fi. | Amazon — $560.00 |