Thermal Imaging Moisture Meter: The Combo Workflow
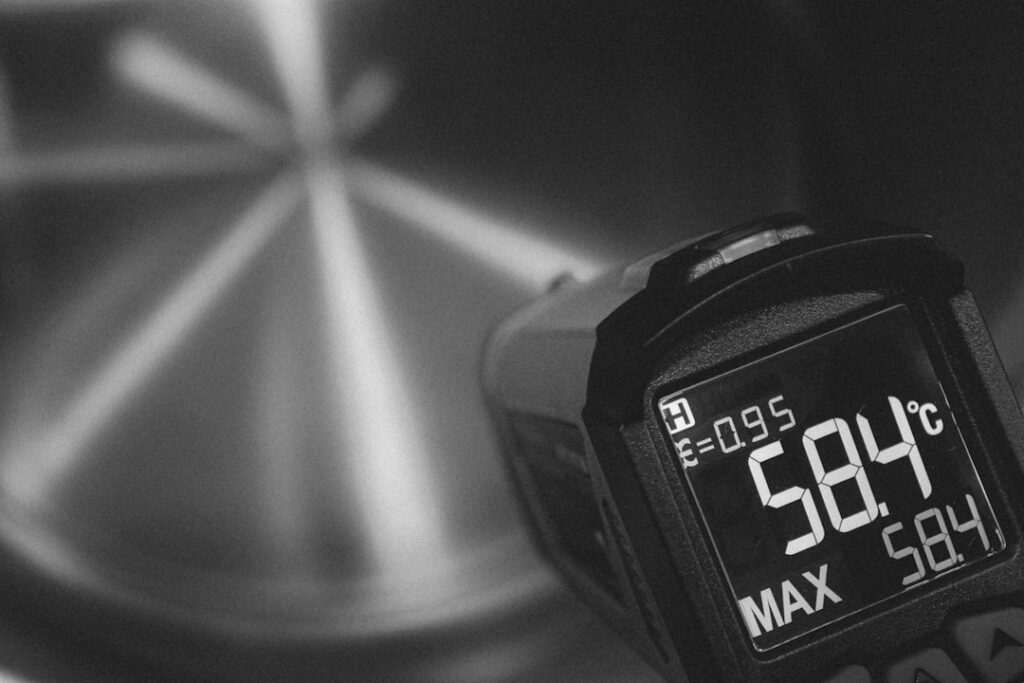
The phrase “thermal imaging moisture meter” describes less a single gadget than a two-tool workflow that professional inspectors rely on. A thermal camera locates a suspected damp area fast; a moisture meter confirms whether that area is actually wet. Understanding why these two instruments work together, and why neither alone is enough, is the key to using them correctly. This guide explains the combined workflow, the specs that matter for each tool, and the limits, drawing on inspection trade guidance rather than manufacturer claims.
What is the thermal imaging moisture meter workflow?
The workflow is scan, confirm, document. An inspector sweeps a wall or ceiling with a thermal camera, looking for an anomaly where the surface temperature differs from its surroundings. That anomaly marks a likely damp zone, because moisture changes how a material holds and releases heat. The inspector then presses or holds a moisture meter against the flagged area to confirm elevated moisture and record the reading.
This pairing exists because each tool covers the other’s weakness. The thermal camera is fast and non-contact but indirect; it cannot prove water is present. The moisture meter is direct and quantitative but slow, reading only one small spot at a time. Used together, the camera tells you where to point the meter, and the meter tells you whether the camera found real moisture.
Why a thermal camera alone is not enough
A thermal camera reads surface temperature, not moisture. Many things create temperature differences that mimic a leak: a stud behind drywall, missing insulation, a draft, a sunlit patch, or a pipe carrying hot or cold water. An inspector who treats every cool spot as a leak generates false alarms and unnecessary repair recommendations.
Resolution and sensitivity also constrain the camera. A low-resolution unit blurs small anomalies, and a camera with poor thermal sensitivity may miss a faint damp signature entirely. Even a good camera only narrows the search. Our explainer on whether thermal imaging can see through walls makes clear that the sensor detects surface temperature, not what lies behind it, which is exactly why confirmation is required.
Why a moisture meter alone is slow
A moisture meter is accurate at a point but blind to everything around it. To find a leak with a meter alone, you would have to test the surface inch by inch, which is impractical across a whole wall or ceiling. Pin meters leave holes, and pinless meters, while non-destructive, still read only the area under the sensing pad.
The meter’s strength is verification. Once the thermal camera flags a zone, the meter answers the decisive question: is this wet, and how wet relative to a known-dry reference? For interpreting the number it returns, our guide on how to read a moisture meter explains relative versus absolute scales and why a baseline comparison matters.
Specs that matter for each tool
On the thermal side, detector resolution and thermal sensitivity drive performance. Resolution such as 320 by 240 pixels distinguishes small anomalies that a 160 by 120 sensor would blur. Thermal sensitivity, expressed as NETD in millikelvin, indicates the smallest temperature difference the camera can detect; 50 mK reveals subtler moisture contrasts than 100 mK. For leak work, sensitivity often matters more than absolute temperature accuracy.
On the meter side, pinless sensing depth, typically a quarter inch to three quarters of an inch, and material selection settings determine usefulness on walls. A meter that lets you choose a material group reads drywall meaningfully rather than applying a wood scale. A calibration or zero-check feature keeps readings trustworthy across jobs, which inspection bodies recommend verifying periodically.
Matching the tools to the job
For finished walls a homeowner wants to keep intact, a thermal camera plus a pinless meter is the least invasive pairing. For framing, subfloor, or confirming depth, a pin meter adds pinpoint accuracy after the thermal scan locates the zone. Many inspectors carry a dual-mode meter so they can switch between scanning and pinpointing without changing tools.
A step-by-step combined inspection
The process begins with conditions. Because thermal imaging needs a temperature difference to reveal moisture, an inspector often scans after heating or cooling has run, creating the contrast that makes a damp patch stand out. They sweep the suspect area methodically, noting any anomaly and comparing it to surrounding surfaces.
Next comes confirmation. The inspector applies the moisture meter to each flagged spot, comparing readings against a known-dry area on the same material. Confirmed wet zones are photographed, mapped, and measured, while anomalies the meter rules out are dismissed. This documented result links to the wider home inspection tools workflow, where the moisture map informs any drying or repair decision.
What the combination cannot do
Neither tool, alone or together, detects mold. They detect the moisture that allows mold, which is a different and earlier signal. The combination also cannot see dry historical damage that has no temperature signature and no elevated moisture, nor can it see through walls to image hidden pipes directly.
Reflective surfaces fool thermal cameras, dense finishes and embedded metal skew pinless meters, and a flat thermal environment can hide moisture from the camera entirely. The workflow reduces error by cross-checking, but it does not eliminate the need for an operator who understands building construction and recognizes false signals.
Choosing the moisture meter for the pairing
The meter half of the workflow deserves as much thought as the camera. For finished walls a homeowner wants to keep intact, a pinless meter pairs best because it confirms a thermal anomaly without leaving holes; its sensing depth of roughly a quarter inch to three quarters of an inch covers standard drywall. For framing, subfloor, or confirming moisture at depth, a pin meter reaches the wet zone and gives a pinpoint reading the pinless cannot.
Material selection matters because a reading meaningful for wood is meaningless on drywall, so a meter that lets you choose a material group reads each surface correctly. A calibration or zero-check feature keeps the readings trustworthy across jobs, which is what makes the confirmation step credible. Many inspectors carry a dual-mode meter so the same tool can scan a wall after the thermal sweep and then pinpoint at depth, matching the camera’s two-step logic with a single instrument.
Why conditions make or break the workflow
Thermal imaging depends entirely on a temperature difference existing between wet material and its surroundings. On a thermally flat day, when the wall and the moisture behind it sit at the same temperature, even an excellent camera shows nothing, and a real leak can be missed. This is the most common reason a thermal scan comes back clean despite obvious dampness.
Experienced inspectors engineer the contrast. Running the heating or cooling system before a scan, or timing the inspection after a natural temperature swing, drives a delta that makes moisture stand out. They also avoid pitfalls that create false contrast, such as direct sunlight on an exterior wall or reflective surfaces that mirror surrounding temperatures. The moisture meter then resolves whatever the camera flags, which is why the two tools are reliable together even when conditions would mislead either one alone.
When to call a professional
For a recurring stain, a leak whose source you cannot trace, or a moisture concern before a home purchase, a professional brings the right combination: a quality thermal camera, a calibrated moisture meter, the conditions to create thermal contrast, and the experience to confirm rather than assume. The combined approach turns a guess into a documented finding, which is what supports a sound repair or purchase decision. The value is not the gear alone but the discipline of scanning, confirming, and documenting that prevents both missed leaks and false alarms.
A worked example of the combined workflow
Consider a ceiling stain below an upstairs bathroom. A thermal scan of the ceiling, run after the heating system has created a temperature difference, shows a cool, irregular patch extending a couple of feet from the visible stain toward an interior wall. That pattern suggests water has traveled along the framing from a source near the wall rather than directly above the stain.
The inspector then applies a pinless moisture meter across the flagged area, comparing readings to a known-dry section of the same ceiling. Elevated readings confirm the cool patch is genuinely wet, and the highest readings near the wall point toward the likely source, perhaps a supply line or drain in the adjacent bathroom. Without the camera, the inspector would have probed near the stain and possibly missed the source; without the meter, the cool patch might have been dismissed as a draft or insulation gap. Together, the two tools turn a single stain into a mapped moisture path that guides an efficient repair.
Common mistakes when using the two tools
The most frequent error is trusting the camera alone. A user who treats every cool spot as a leak, without meter confirmation, generates false alarms and unnecessary repairs, because studs, drafts, missing insulation, and plumbing all create temperature differences. The discipline of confirming each anomaly is what keeps the workflow honest.
Other mistakes include scanning without creating thermal contrast, so a real leak stays invisible on a thermally flat surface; reading a moisture meter without a known-dry baseline, so a number is treated as absolute when it is comparative; and applying a wood material setting to drywall, which yields a meaningless reading. Reflective surfaces also fool thermal cameras by mirroring surrounding temperatures. Avoiding these pitfalls is mostly a matter of method and patience, not more expensive equipment, which is why training is emphasized alongside the tools themselves.
Documenting findings from both tools
The combined workflow produces its real value when the findings are documented rather than just observed. A thorough record pairs each thermal image with the moisture-meter reading that confirmed or ruled out the anomaly, noting the location, the material, the known-dry baseline used for comparison, and the conditions under which the scan was taken. This turns a series of observations into a moisture map that a homeowner, contractor, or buyer can act on.
Documentation also guards against misinterpretation later. A thermal image alone can look alarming to someone who does not know it was ruled out by a dry meter reading, so recording the confirmation step prevents a harmless anomaly from being mistaken for a leak. For inspections tied to a transaction, the paired record is what gives the finding credibility, because it shows the inspector did not stop at a temperature clue but verified it. Keeping the images, readings, and notes together is what separates a professional moisture assessment from a casual sweep with a camera.
This paired documentation also helps the homeowner act. A moisture map that ties each confirmed wet area to a reading and a likely source gives a repair contractor a clear target, reducing exploratory demolition. It also provides a baseline if dampness reappears later, letting a follow-up scan show whether a problem is new or a recurrence of one thought resolved. The record, in other words, has value well beyond the day the scan is performed. For a home purchase, that documented moisture map can inform negotiation or repair requests, giving the buyer evidence rather than a vague concern. And for a homeowner managing a known problem area, comparing scans over time shows whether a repair held or whether moisture is creeping back, which a single visit could never reveal.
References
- Infrared Thermal Imaging in Inspections — International Association of Certified Home Inspectors
- Thermographic Inspections — U.S. Department of Energy
- Standard of Practice — American Society of Home Inspectors
Moisture meters for home inspection
Pin meters read deep but leave marks; pinless meters scan surfaces non-destructively. Many inspectors carry both.
| Product | Why | Buy |
|---|---|---|
 Klein Tools ET140 Pinless Klein Tools ET140 Pinless | Non-destructive scanning; affordable. | Amazon — $49.97 |
 General Tools MMD4E General Tools MMD4E | Best-selling pin meter for drywall/wood. | Amazon — $37.70 |
 Lignomat Mini-Ligno Lignomat Mini-Ligno | Trusted by woodworkers; species-calibrated. | Amazon — $199.00 |