Products for Mold Removal: A Practical Overview
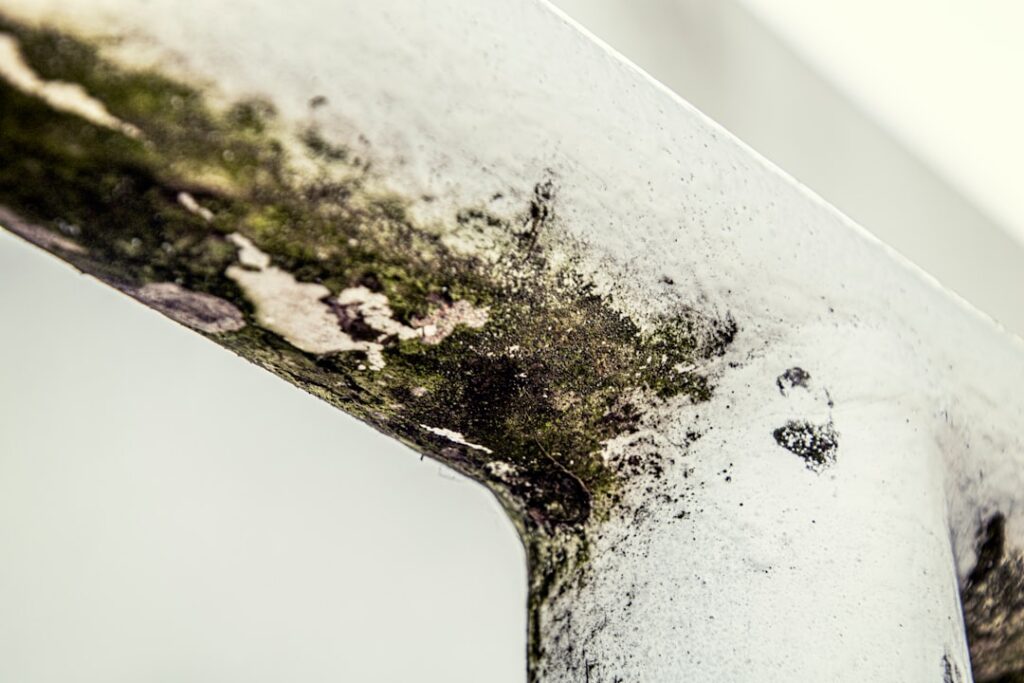
Effective mold cleanup is rarely about one bottle. The useful products for mold removal form a small kit: a cleaner matched to the surface, the right scrubbing tools, and the safety gear that protects you from the spores you disturb. Buying the kit rather than a single spray is what makes a small job go cleanly and safely. This guide summarizes EPA and CDC guidance current as of 2026 and is educational only; consult your physician about symptoms and a certified professional for large or hidden growth.
Part of our Mold Removal & Remediation guide — start there for the full picture →
Is this mold, asbestos, or water damage? Get a free instant screen
Upload a clear photo of the suspect area. You'll get an instant AI screening opinion and what to do next. This is screening guidance, not a professional determination.
Screening guidance only. AI can be wrong. Confirm asbestos, mold type, or lead with lab testing or a licensed professional before acting.
The Cleaners: Matching Chemistry to Surface
The cleaner is the heart of the kit, and the surface decides which one. There is no universal best; each chemistry has a niche.
Bleach Solutions
Diluted chlorine bleach, about one cup per gallon, kills surface mold and fades staining on hard nonporous surfaces like tile and glass. It is mostly water and weak on porous materials, with strong fumes and a strict no-mixing rule against ammonia and acids.
Hydrogen Peroxide
A 3% peroxide solution kills growth, breaks down cleanly, and is gentler on lungs and color-safe on many fabrics. It is a flexible default for mixed surfaces.
Vinegar and Natural Cleaners
Distilled white vinegar handles light growth on tile, glass, and sealed surfaces at low cost and low fumes, better for maintenance than heavy outbreaks.
Commercial Cleaners
Branded cleaners with an EPA registration number have had their kill claim reviewed. They add convenience; follow the dwell time on the label.
The Tools That Make Cleaners Work
A cleaner only performs if it stays in contact and the residue comes off. Tools handle both. A stiff-bristle brush scrubs textured surfaces like grout where wiping alone leaves growth behind. Microfiber cloths lift residue and dead spores rather than smearing them. A spray bottle lets you mist a surface lightly to keep spores down before you start.
For anything beyond a tiny patch, a shop vacuum with a HEPA filter captures fine particles that an ordinary vacuum would blow back into the air. Plastic sheeting and painter’s tape contain a work area so spores do not migrate to clean rooms. Sealable bags let you discard contaminated rags, brush heads, and porous debris without spreading them through the house.
These supporting products matter more than shoppers expect. A good cleaner with the wrong tools is a half-finished job.
The Safety Gear You Should Not Skip
Cleaning disturbs mold and sends spores airborne, so protection is part of every kit. The CDC recommends an N95 respirator, gloves, and eye protection even for modest cleanups. Unvented goggles keep spores and cleaner splashes out of your eyes. Rubber or nitrile gloves protect skin from both the mold and the chemicals.
For larger jobs, disposable coveralls keep spores off clothing. Adequate ventilation is its own safety measure: open a window, run a fan, and close the door to the rest of the home. None of this gear is expensive, and most home-improvement stores stock it alongside the cleaners. Skipping it is the most common avoidable mistake in do-it-yourself mold work.
A Step-by-Step Removal Workflow
Having the right products is only useful if they are used in the right order. A simple workflow turns a pile of supplies into a clean, lasting result.
Start by addressing the moisture source, because cleaning before the water is fixed guarantees regrowth. Next, set up containment and ventilation: close the door to the rest of the home, open a window, run a fan toward the opening, and tape plastic sheeting around the work area if the job is more than a small spot. Put on the respirator, gloves, and goggles before disturbing anything.
Then mist the growth lightly to keep spores from going airborne, apply the cleaner matched to the surface, and let it sit for the full dwell time. Scrub textured areas with the stiff brush, and wipe residue away with microfiber cloths rather than letting it dry. Place used cloths, brush heads, and any porous debris into sealable bags as you go. Finish by drying the surface completely with a fan, and over the next few days confirm it stays dry. Following the steps in this sequence keeps spores contained and prevents the most common rework.
Matching the Kit to the Job
Scale decides whether a kit is enough. The EPA generally treats a hard-surface area under about ten square feet as a reasonable do-it-yourself scope. Within that range, a surface-matched cleaner, a brush, microfiber cloths, sealable bags, and basic protection handle the job.
Beyond that range, products stop being the answer. Heavily colonized porous materials — drywall paper, ceiling tile, carpet, insulation — generally need removal rather than cleaning, per the EPA’s remediation guidance, and a spray cannot reach roots inside them. Widespread growth, water damage, sewage, or HVAC involvement calls for professional remediation with proper containment. Homeowners deciding which side of that line they are on can review the plain-language mold inspection and testing hub for the warning signs.
The Product No Kit Includes: Dry Air
Every product in a removal kit treats the visible growth, and none of them fixes the moisture that caused it. The missing “product” is dry air, achieved through repairs and humidity control rather than a bottle.
Keep indoor humidity in the EPA’s suggested 30 to 50 percent range, and use a dehumidifier in Front Range basements that swing damp seasonally. Run exhaust fans during and after showers, fix plumbing and roof leaks promptly, and dry any water intrusion within a day or two. For a closer comparison of cleaner chemistries, a roundup of products that kill mold and how they differ helps you choose the cleaner in your kit. Assemble the right products for the job, but treat moisture control as the part that makes the cleanup last.
Setting Up a Safe Work Area
Before any product touches the growth, setting up the work area protects both you and the rest of the home from the spores that cleaning disturbs. The goal is containment: keep spores in the work zone and out of the air you breathe and the rooms you are not cleaning.
Start by closing the door to the rest of the home and turning off any HVAC system serving the space, so the ductwork does not carry spores elsewhere. Open a window if one is available and set a fan to draw air toward that opening rather than into the house. For anything beyond a small spot, hang plastic sheeting and tape it down to seal off the area, leaving a single entry point. Lay sheeting on the floor beneath the work to catch debris. Put on the respirator, gloves, and goggles before disturbing the growth, and have sealable bags ready so contaminated materials go straight into containment as you work. Taking these few minutes up front prevents the far larger problem of spreading spores through a home, which is the most common consequence of cleaning without containment.
Prevention Supplies That Belong in the Kit
A removal kit focused only on cleaning is incomplete, because cleaning is the part that does not last. Adding a few prevention supplies turns the kit from a one-time fix into a long-term defense. The most useful of these is a hygrometer, an inexpensive gauge that tells you whether indoor humidity is sitting in the EPA’s suggested 30 to 50 percent range or drifting into mold territory.
A dehumidifier sized to the space is the workhorse for damp basements and is often the single most effective tool for preventing regrowth in the conditions common along the Front Range. Beyond that, the prevention list includes the materials for fixing moisture sources: caulk and grout to reseal a leaking shower, weatherstripping and insulation to stop condensation on cold surfaces, and downspout extensions to carry roof water away from the foundation. An exhaust fan that actually vents to the outside finishes the picture in a steamy bathroom. These items rarely appear on a mold-cleanup shopping list, yet they do more to keep surfaces clear than any cleaner, because they remove the water that the cleaners cannot touch.
When Products Stop Being the Answer
Even a complete kit has a ceiling, and some situations call for a professional rather than more products. If the growth covers more than roughly ten square feet, the EPA’s guidance points toward professional help with proper containment so spores are not spread through the home. Growth tied to flooding or a sewage backup carries contamination beyond ordinary mold and should be handled by a pro.
Mold inside HVAC ductwork spreads through the house when the system runs, so it belongs to a professional. Recurrent growth that returns within weeks of every cleaning points to an unresolved moisture source that an inspection can find. And when someone in the household has asthma, allergies, or a weakened immune system and reacts to the air, professional removal is the safer choice. No combination of products changes those limits; recognizing them is part of using a kit wisely.
Understanding What the Kit Is Fighting
The products in a removal kit make more sense alongside an understanding of how mold grows. Mold is a fungus that spreads through microscopic spores, present in nearly every indoor and outdoor space. Spores drift on air currents and settle on surfaces constantly, far too small to see. They are harmless until they meet the conditions that let them grow into a colony.
Those conditions are moisture, a food source, and time. Food is everywhere — drywall paper, wood, dust, fabric, and soap film all qualify. Time is constant. Moisture is the only condition a homeowner controls, so every cleaner, brush, and vacuum in the kit addresses a colony that has already formed while the underlying cause is water on a surface. New spores settle within days, and a damp surface lets a fresh colony form, which is why the kit is a maintenance set and moisture control is the real cure.
Storing and Disposing of Kit Items Safely
A removal kit is safest when stored and discarded with the same care it is used. Keep cleaners in their original, labeled containers so contents and warnings stay clear, and store them out of reach of children and pets, away from ammonia cleaners and acids. Keep everything cool and dry, and check expiration dates on the cleaners.
For disposal, follow each label and local rules; rinsed containers of common cleaners usually go with ordinary recycling or trash. The contaminated items a kit generates — used cloths, brush heads, vacuum bags or filter contents, and any porous debris — should be sealed in plastic bags before disposal so spores are not released as the trash is handled. Treating storage and disposal as part of the job keeps the spores the kit removed from spreading on their way out.
References
- Mold Cleanup in Your Home — U.S. Environmental Protection Agency
- About Mold and Your Health — Centers for Disease Control and Prevention
- A Brief Guide to Mold, Moisture and Your Home — U.S. Environmental Protection Agency
Frequently asked questions
What products do I need to remove mold myself?
A small kit: a cleaner matched to the surface, a stiff brush, microfiber cloths, sealable bags for debris, and safety gear including an N95 respirator, gloves, and goggles. For larger areas, add plastic sheeting and a HEPA shop vacuum.
Is one mold removal product enough?
Rarely. A cleaner needs scrubbing tools to stay in contact and lift residue, plus safety gear to protect you from disturbed spores. A bottle alone usually leaves a job half-finished.
What safety products are essential for mold removal?
The CDC recommends an N95 respirator, gloves, and eye protection even for small jobs. Unvented goggles and good ventilation round out basic protection, and disposable coveralls help on larger jobs.
Do mold removal products prevent regrowth?
No. Products treat the visible growth, not the moisture that caused it. Until you fix leaks and keep humidity in the 30 to 50 percent range, the growth returns.
If a Front Range cleanup turns out larger than your kit can handle, get in touch with a vetted local inspector here to talk through testing and professional remediation.
Mold removal & cleanup picks
For a small, contained patch (under ~10 sq ft) these EPA-friendly removers handle surface mold. Larger or recurring growth warrants a professional assessment first.
| Product | Why | Buy |
|---|---|---|
 RMR-86 Instant Mold Stain Remover RMR-86 Instant Mold Stain Remover | Fast-acting on stains; ventilate and wear PPE. | Amazon — $29.99 |
 Concrobium Mold Control Concrobium Mold Control | No-bleach formula that also helps prevent regrowth. | Amazon — $34.27 |
 Mold Armor Mold & Mildew Remover Mold Armor Mold & Mildew Remover | Widely stocked bathroom/surface remover. | Amazon — $22.98 |