How to Use a Moisture Meter: Plain-Language How-To
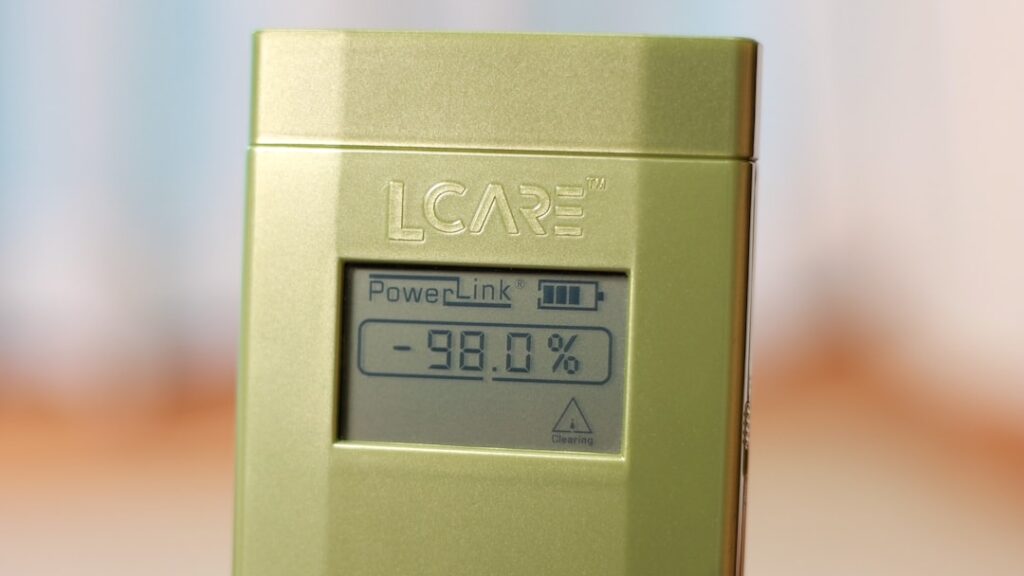
How to use a moisture meter properly is a question that splits across a few different skills — picking the right material setting, reading at the right depth, comparing to a baseline rather than trusting a single number, and interpreting results in the context of what you’re actually trying to learn. A meter can tell you whether material is wet, but it cannot tell you why. The walk-through below covers the workflow used by working home inspectors and translates it for homeowner use. For brand and tier comparisons, see our parent home inspection tools hub.
Before you read anything — set up the meter
Turn the meter on. Confirm the battery indicator shows full or near-full charge. A low battery indicator means the meter may already be returning compromised readings — replace the battery before you proceed. Most consumer meters use a 9V; some prosumer units use AA pairs.
Select the material mode. This is the single most important setting and the one most users get wrong. Wood mode is for solid wood and lumber. Drywall or gypsum mode is for sheetrock and similar paper-faced gypsum board. Masonry mode is for concrete, brick, and CMU. Generic or “reference” mode is for materials not specifically supported. Reading drywall with the dial set to “wood” produces a different number than reading it on “drywall” mode — neither is wrong, but they’re not comparable.
For pin meters, check that the pins are clean and not bent. Oxidation on the pin contacts increases resistance and produces falsely low readings. Wipe pins with fine sandpaper or a small wire brush if they show discoloration. For pinless meters, check the sensing area on the back of the unit for surface contamination — a sticky residue or dust film changes the capacitance reading.
Pin meter technique
Push the pins firmly into the material until they make solid contact. The depth depends on pin length — most consumer meters use pins about a quarter-inch long. The meter reads electrical resistance between the pins at that depth, which captures moisture content of the material in the small zone between and immediately around the pins.
Hold the meter steady for one to two seconds. The reading should stabilize. If the number jumps wildly, you’re either making intermittent pin contact or reading through a hidden metal fastener. Move a few inches and try again.
Take three readings within a few inches of the suspect spot and use the highest. A single reading can miss the actual moisture zone by an inch or two. Three readings localize the wet area more reliably.
Pinless meter technique
Pinless meters read through the surface to a depth of roughly three-quarters of an inch using capacitance. Hold the meter flat against the surface with firm contact. Don’t tilt — the sensor area on the back of the unit must lie flat to give an accurate reading. Wait for the display to stabilize, usually one to two seconds.
Scan slowly across the wall. Pinless meters are best for screening large areas. Watch for the reading to spike as the sensor passes over a wet zone. When you find a spike, mark the location with a pencil dot or sticky note for follow-up.
The pinless reading depth — three-quarters of an inch — is a feature and a limit. It catches wet drywall covered by dry surface paint. It does not catch moisture deeper inside a wall cavity. For deeper assessment, pin readings through small drill holes are an option (filled with paintable spackle afterward).
The comparison-baseline rule
A single reading is rarely actionable. The reading that matters is the suspect-zone reading compared to a known-dry reference reading on the same material in the same room. A wall reading 14% might be wet — or might be normal baseline for that material in that ambient humidity. Knowing whether 14% is elevated requires a reference reading from a wall section ten feet away that you can confirm is dry.
The professional workflow runs four or five reference readings during every inspection — one on each interior wall away from any suspected source, comparing to the suspect zones. The disciplined homeowner approach is similar in spirit. Always read a reference spot. Always compare. Never act on a single number.
Reading on different materials
Drywall
Use drywall or gypsum mode. Dry drywall typically reads under 1% on wood-scale meters or in the dry zone on relative-scale meters. Wet drywall reads above 17% and usually feels soft to a fingernail. The comparison baseline is another section of the same drywall sheet — manufacturing tolerances vary, so reference within the same sheet whenever possible.
Lumber and framing
Use wood mode. Construction lumber typically reads 8-15% at equilibrium moisture content depending on regional humidity. Dry-down for newly cut lumber takes weeks to months; readings under 19% are generally safe for closing into walls. Higher readings indicate continued drying needed or active moisture intrusion.
Concrete and masonry
Pin meters in masonry mode produce comparative readings useful for identifying wet versus dry sections. Absolute moisture content of concrete requires dedicated tools — Wagner Rapid RH probes embedded in the slab, or Tramex CMEX-II with masonry-calibrated electrodes. For homeowner screening of basement walls, masonry mode on a pin meter is workable.
Plaster walls
Plaster reads differently than drywall. Use plaster mode if your meter supports it; otherwise generic mode. Pinless readings on plaster can return false signals from the embedded wood lath, so pin readings are usually more reliable on plaster walls. We cover the plaster-versus-drywall question in our wall moisture meter walkthrough.
Where to read and when not to
Read where you suspect moisture. Bathroom walls near tubs and showers. Basement perimeter walls during spring melt or rainy season. Around windows where condensation might pool. Below penetrations through ceilings or walls. Around plumbing lines where supply or drain pipes pass through framing.
Don’t read in locations the meter will misinterpret. Directly on electrical outlets or switch boxes — the metal inside spikes pin readings. Over hidden plumbing lines — same issue, metal conducts. Through metallic wall coverings or behind framed pictures with metal hangers. Within a few minutes of cleaning the wall with damp cloth — surface moisture distorts the reading.
How long after a leak should you measure
Immediately after the leak is stopped, readings spike but the wall is wettest in the cavity behind the surface. Pin and pinless readings at the surface may not capture cavity moisture. Over the following days, surface readings rise as moisture migrates outward. The drying curve flattens over weeks. The standard professional approach is to read every day or two during the active drying period, plotting the trend rather than relying on single readings.
A wall is dry enough to close up or paint over when readings have stabilized at the same level as known-dry reference material on the same surface for at least 48 hours. Closing too early traps moisture and produces hidden mold growth.
Common interpretation mistakes
Mistake one: trusting “in the green” without comparison. The color zones on consumer meters are useful but represent generic thresholds. A wall reading at the top of the green zone is wetter than a wall reading at the bottom of the green zone. For drying-progress tracking, the specific number matters, not just the color.
Mistake two: stopping at the first wet reading without mapping the extent. The job of the meter is to identify the boundary of the wet zone, not just confirm a single wet spot. Continue reading outward until you find the dry edge in each direction.
Mistake three: forgetting to check above and below. Water migrates by gravity and capillary action. A wet baseboard often has wet drywall above it; a wet ceiling often has wet drywall below it. Read at multiple heights, not just at eye level.
Mistake four: ignoring the source. The meter tells you where moisture is, not where it came from. A wet wall behind a shower might be from the shower pan, the supply line, the drain line, the wall behind, or condensation. Source identification requires inspection, sometimes opening the wall, and often working with a plumber or HVAC contractor.
Documentation
If readings are going into any kind of record — insurance claim, real-estate negotiation, lender requirement — write them down. Note the room, the wall, the height, the material mode used, the meter model, and the reading. Include reference readings from known-dry locations. Photograph the meter display next to the wall if possible. This documentation matters far more than a single mental “yeah it was wet.”
Care between uses
Store the meter in a dry environment. Replace pins when they show oxidation. Replace the battery when low-battery indication appears, not when readings get clearly wrong. Calibration check blocks (sold by most meter manufacturers for $15-$25) confirm the meter still reads accurately at known reference values; check annually if used regularly. For mold-inspection users we also cover the moisture meter for mold workflow in detail.
When the meter has done its job
The meter’s job is to answer “is this wet, and how does it compare to dry?” Once you have those answers, the next step is usually one of three things. If it’s dry, no action needed. If it’s wet and you can identify the source, fix the source and re-read over time to confirm drying. If it’s wet and you can’t identify the source, escalate — call a plumber, an HVAC contractor, or an inspector with thermal imaging.
Reading drywall after a flood event
After a flood — burst pipe, dishwasher overflow, washing-machine hose failure — drying needs systematic monitoring. The pattern works like this. Within the first 24 hours, fans and dehumidifiers should be running and the affected drywall should show stable or rising surface readings (water migrates outward from the wet zone). Days 2-5, surface readings should peak and begin declining. Days 5-10, readings approach but don’t yet match the dry reference baseline. Days 10+, readings stabilize at baseline and the wall is dry.
If readings don’t follow this curve — if they remain elevated past day 10, or if they decline initially and then re-elevate — something is wrong. Possible explanations: ongoing leak that wasn’t fully repaired, inadequate drying equipment, moisture trapped in adjacent cavity that’s leaching back into the visible drywall. The meter’s role is to identify the deviation; the source investigation follows.
Why the comparison reading matters more than the absolute number
Material moisture content varies with ambient humidity. The same drywall sheet that reads 6% in dry winter air may read 9% in humid summer air without any change in actual building condition. The meter is responding to the equilibrium moisture content of the material, which tracks ambient. The reading that matters is the suspect zone versus reference zone difference — that comparison filters out ambient variation and isolates the actual moisture-source signal.
This is why inspector reports list multiple readings rather than a single number. A reading “elevated relative to dry reference” is meaningful. A reading “12% on drywall” without context isn’t.
Using the meter to verify HVAC condensation hypotheses
Some wall moisture patterns trace back to HVAC condensation rather than plumbing leaks. The diagnostic approach: run the air conditioning continuously for 30 minutes, then meter the suspect zone immediately. If readings spike during AC operation and decline when AC is off, condensation on cold supply ducts or registers is the likely cause. The fix usually involves either insulation around the duct or supply register, or adjusting the AC operation to reduce extreme temperature differentials.
Documentation templates
For users producing reports, a simple template captures the necessary information per reading. Date and time, room and wall, height above floor, material and meter setting, reading value, comparison reference reading, photo file name, notes on conditions. Repeated readings during drying-curve monitoring add a “day of monitoring” column. The template doesn’t have to be complicated; it just has to be consistent enough that the readings tell a coherent story when reviewed later.
References
- InterNACHI on moisture meter use in residential inspection — International Association of Certified Home Inspectors
- ASHI standards of practice — American Society of Home Inspectors
- EPA on identifying and fixing moisture sources — U.S. Environmental Protection Agency
- DOE on residential moisture control — U.S. Department of Energy
Moisture meters for home inspection
Pin meters read deep but leave marks; pinless meters scan surfaces non-destructively. Many inspectors carry both.
| Product | Why | Buy |
|---|---|---|
 Klein Tools ET140 Pinless Klein Tools ET140 Pinless | Non-destructive scanning; affordable. | Amazon — $49.97 |
 General Tools MMD4E General Tools MMD4E | Best-selling pin meter for drywall/wood. | Amazon — $37.70 |
 Lignomat Mini-Ligno Lignomat Mini-Ligno | Trusted by woodworkers; species-calibrated. | Amazon — $115.00 |