How to Remove Lead Paint Safely: A Clear Guide
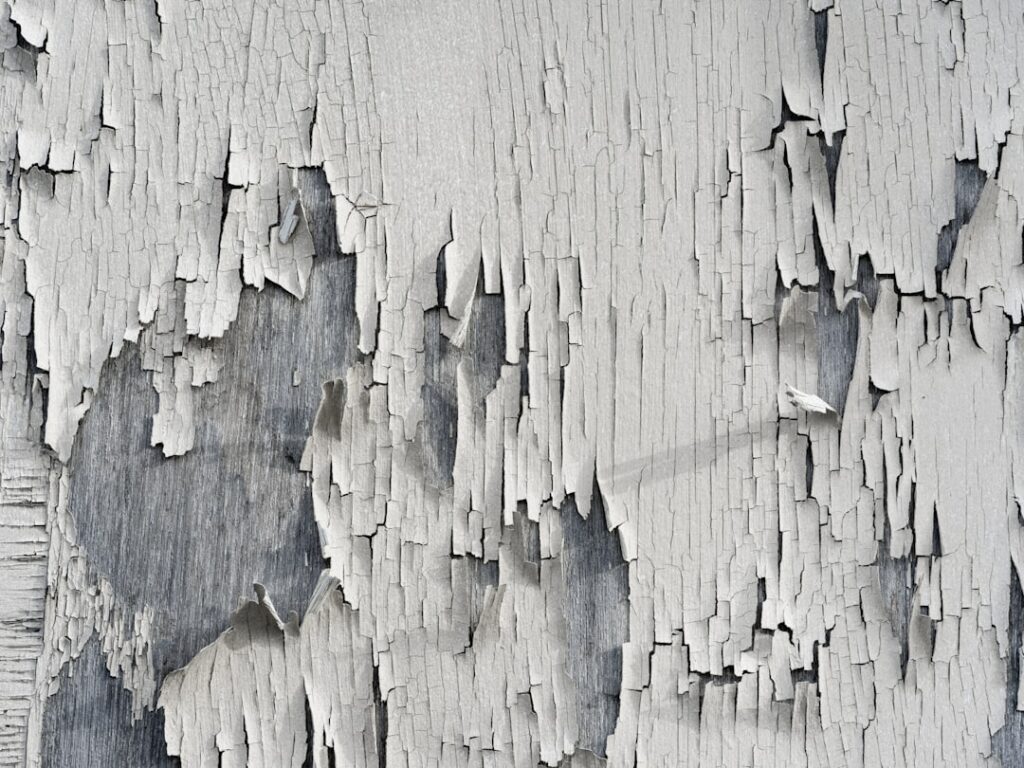
Removing lead paint is less about the paint and more about controlling the dust. The paint itself is hazardous only when it becomes airborne dust or chips that people, especially young children, can ingest. That single fact shapes every safe method and rules out several common ones. Knowing how to remove lead paint correctly means knowing which techniques contain dust and which scatter it. This guide summarizes EPA, HUD, and OSHA guidance current as of 2026 to walk through the approved methods, the dangerous ones to avoid, the safety setup required, and when the job belongs to a certified professional rather than a homeowner. For health symptoms, consult your physician.
Is this mold, asbestos, or water damage? Get a free instant screen
Upload a clear photo of the suspect area. You'll get an instant AI screening opinion and what to do next. This is screening guidance, not a professional determination.
Screening guidance only. AI can be wrong. Confirm asbestos, mold type, or lead with lab testing or a licensed professional before acting.
The Core Principle: Control the Dust
Lead paint becomes dangerous when it is disturbed. Sanding, scraping, and burning all turn a stable coating into fine lead dust that settles on floors, sills, and soil, where it lingers and gets tracked through the home. Children under six and pregnant women face the greatest risk, and the CDC stresses there is no known safe level of lead exposure for children. So the goal of any removal project is not just stripping the paint but doing it without contaminating the home.
This is why a pre-1978 home, which is presumed to potentially contain lead paint because residential lead paint was banned in 1978, demands special care during renovation. Before deciding to remove anything, confirm the surface actually contains lead through testing, and consider whether removal is even necessary. Intact, well-maintained lead paint that nobody disturbs poses limited risk and may be best left alone. The pre-1978 housing hazard guide covers when removal is and is not warranted, and it is worth consulting before grabbing any tools.
Methods That Are Considered Safer
Several removal approaches are compatible with dust control. None is risk-free, but these minimize airborne lead when done with proper containment.
Wet Scraping and Wet Sanding
Keeping the surface wet while scraping or sanding suppresses dust dramatically. The water binds the particles so they fall as damp debris rather than floating as fine dust. Wet methods are a cornerstone of lead-safe work practices and are far safer than their dry counterparts. A simple spray bottle of water, used continuously, transforms a hazardous task into a far more controllable one.
Chemical Strippers
Chemical paint removers soften the paint so it can be scraped off as a paste rather than sanded into dust. Products designed for lead removal, including poultice-style strippers that are applied, left to work, and peeled away with the paint, can be effective on detailed trim. They carry their own chemical-handling cautions, so ventilation and skin protection matter. The paste-and-peel approach is especially useful on ornate moldings where sanding would be both dangerous and impractical.
Component Replacement and Encapsulation
Sometimes the safest “removal” is not removal at all. Replacing a leaded component entirely, such as swapping out an old window sash, removes the hazard without generating stripping dust. Encapsulation, sealing the lead paint under a specialized coating, is another approved alternative that locks the lead in place rather than liberating it. For many homeowners, replacing a few high-friction components like windows solves most of the risk at lower cost and effort than stripping every painted surface.
Dangerous Methods to Avoid
Some popular DIY techniques are exactly wrong for lead paint because they maximize dust or fumes. Dry sanding and dry scraping without containment send clouds of lead dust through the home and are among the worst possible approaches. Open-flame torching or high-heat burning vaporizes lead into fumes that are inhaled directly, which is acutely dangerous. Power tools without HEPA dust collection, such as ordinary sanders and grinders, also generate hazardous dust.
The EPA’s Renovation, Repair and Painting rule specifically prohibits open-flame burning and uncontained power-tool methods on regulated surfaces for these reasons. If a method makes visible dust or fumes, it is the wrong method for lead. Homeowners tempted to grab a belt sander to speed the job should recognize that the time saved is not worth contaminating the household. Pressure washing exterior lead paint is another mistake, since it spreads lead-laden chips and water across the yard and into the soil.
Choosing the Right Method for the Surface
No single method fits every surface, and matching the technique to the situation is part of doing the job safely. For large flat areas like walls and siding, encapsulation is often the most practical choice when the underlying paint is sound, since it seals the lead without generating any dust. For windows, which are both high-friction and a major dust source, full component replacement frequently makes the most sense because it eliminates the hazard permanently rather than repeatedly stripping a surface that will keep shedding dust.
For detailed trim, moldings, and balusters where the paint must come off, chemical strippers that lift the paint as a paste are usually safer than any sanding approach, because they avoid airborne dust entirely. Small, intact areas may need nothing more than careful maintenance and monitoring. Thinking surface by surface, rather than reaching for one tool for the whole house, leads to both a safer project and often a cheaper one, since the least invasive effective option is frequently the best.
Special Care for Exterior Lead Paint
Exterior lead paint deserves its own attention because it tends to be present in high concentrations and because outdoor work spreads contamination differently. Decades of weathering cause exterior lead paint to chalk and flake, depositing lead into the soil around the foundation, where children can be exposed while playing. Any exterior removal must contain that fallout: ground sheeting to catch chips, careful cleanup of the soil and surrounding area, and avoidance of methods that scatter debris.
This is why pressure washing and power sanding exteriors are particularly hazardous, since they fling lead-laden material across the yard and into the air. Wet methods, chemical stripping, and careful hand work with ground containment are the appropriate approaches outdoors. Because exterior projects are often large and involve substantial quantities of lead paint, they are among the clearest cases for hiring an RRP-certified professional rather than attempting a DIY job that could contaminate the property’s soil for years.
Setting Up for a Safe Job
Whether removing lead paint yourself or supervising a contractor, the setup matters as much as the technique. Containment comes first. Cover the floor and surrounding area with plastic sheeting taped down at the edges, seal off the work area from the rest of the home, and remove or cover furniture. Keep children and pregnant household members away from the area entirely until cleanup is complete.
Personal protection includes a properly fitted respirator rated for lead particles, disposable coveralls, gloves, and eye protection. During the work, mist surfaces to keep dust down, and never eat, drink, or smoke in the area. Cleanup is where many DIY jobs fail: use a HEPA vacuum, never an ordinary household vacuum that would blow lead dust back into the air, then wet-wipe all surfaces. Collect paint debris and plastic sheeting as lead waste and dispose of it according to local rules. Turning off forced-air heating and cooling during the work prevents the system from spreading dust through the ductwork to other rooms.
The RRP Rule and When to Hire a Pro
The EPA’s RRP rule requires that contractors who disturb painted surfaces in pre-1978 homes be certified and follow lead-safe work practices. If you hire out the work, confirming RRP certification is non-negotiable; an uncertified contractor doing this work is operating outside the law and likely without proper containment. The rule does not legally bind a homeowner working on their own residence, but the same practices protect your family, so they are worth following voluntarily.
Certain situations clearly call for a professional regardless of preference. Large areas of deteriorated lead paint, homes with young children, extensive exterior surfaces, and any job where you are unsure about containment are best handed to a certified abatement professional or RRP-certified renovator. The cost of professional work is far smaller than the cost of lead-poisoning a child or contaminating a home that then needs professional remediation anyway. Knowing your own limits is part of doing the job safely; some projects are simply too large or too risky for a DIY approach.
After Removal: Verify and Clean
Finishing the job means confirming the area is genuinely clean, not just visibly clean. Lead dust is invisible, so thorough HEPA vacuuming followed by wet wiping with disposable cloths is essential, and a second pass is wise. For homes with young children or after a large project, dust-wipe sampling sent to a lab can verify that lead levels are below the hazard threshold, giving objective confirmation that the space is safe to reoccupy.
Dispose of all debris, used cloths, plastic sheeting, and disposable gear as directed by local waste rules. Wash work clothing separately from the household laundry so lead dust does not transfer. Taking these final steps seriously is what separates a safe project from one that quietly leaves a lead hazard behind. When in doubt about whether the cleanup succeeded, professional verification is the prudent close to any lead paint removal job. For homeowners who want to understand how their home’s age drives all of these precautions, the companion guide on what a pre-1978 home means for you ties the 1978 cutoff to the renovation rules that apply.
One last point worth internalizing: removing lead paint is not always the goal. In many homes the safest, most cost-effective outcome is to leave intact paint in place, maintain it, and address only the surfaces that are deteriorating or about to be disturbed. Stripping every painted surface in an old house is rarely necessary and can introduce risk where none existed. The disciplined approach is to test, prioritize the genuine hazards, choose the least invasive effective method for each, and verify the cleanup, leaving the rest of the home’s sound paint undisturbed.
Protecting the people in the home is the entire point, so plan around them. Move children and pregnant household members out of the work zone, and ideally out of the home, for the duration of any significant project and the cleanup that follows. Block off the area so curious children and pets cannot wander in. After the work, a child’s blood-lead test arranged through a pediatrician offers direct confirmation that the precautions worked. Keeping the most vulnerable household members away from the dust, and verifying their safety afterward, is the measure that matters more than any technique, because the whole reason to control lead dust is to keep it out of the people who are most harmed by it.
References
- Renovation, Repair and Painting Program — U.S. Environmental Protection Agency
- Lead-Safe Housing and Work Practices — U.S. Department of Housing and Urban Development
- Lead Exposure Standards for Workers — Occupational Safety and Health Administration
- Preventing Childhood Lead Exposure — Centers for Disease Control and Prevention
Front Range homeowners facing extensive lead paint can connect with a vetted local inspector through our contact page for testing and a referral to an RRP-certified renovation professional.
Lead paint test kits
Instant swab kits flag lead on painted surfaces in minutes — useful before a renovation in any pre-1978 home.
| Product | Why | Buy |
|---|---|---|
 3M LeadCheck Swabs 3M LeadCheck Swabs | EPA-recognized instant swabs. | Amazon — $199.00 |
 Lead Test Kit (lab-based) Lead Test Kit (lab-based) | Mail-in for a documented result. | Amazon — $150.00 |