Caulk Remover: Stripping Old Caulk Before Resealing Tubs
Recaulking a tub or shower looks like a one-afternoon job, and the new bead is the easy part. The hard part is getting the old caulk out completely. Silicone in particular leaves a thin, slick film that new sealant will not grip, and a fresh bead laid over it often starts peeling within weeks. That is where a caulk remover comes in, along with a few simple hand tools. This guide compares chemical removers with scrapers, razor tools and oscillating multi-tools, explains how to clear silicone residue so new caulk bonds, covers what to do about mold found behind an old bead, and outlines ventilation and chemical safety for small bathrooms. It closes with a step-by-step recaulking sequence, guidance on when a tub needs refinishing instead, and hedged cost ranges. Product labels and safety data sheets remain the final word on how any specific remover should be used.
Part of our Plumbing & Water guide — start there for the full picture →
What a Caulk Remover Does and When You Need One
A caulk remover is a gel or liquid that softens cured caulk so it can be scraped or peeled away with less effort and less risk of scratching the tub, tile or glass. Most products are applied over the bead, left to work for a period stated on the label (often a few hours), then scraped off along with the softened caulk.
The direct answer for most homeowners: a chemical remover is optional for the bulk of the bead but very helpful for the last step. Mechanical tools do most of the removal work on acrylic and siliconized caulk. Silicone is tougher. It tends to tear rather than soften, and it leaves residue that blades alone cannot clear. That residue is the main reason to buy a remover rated for silicone.
Removers are not interchangeable. Some are formulated mainly for latex and acrylic caulks, others for silicone, and a few claim to handle both. The label states which sealants it works on, which surfaces it is safe for, how long to leave it on and what ventilation and protective equipment it requires. Reading that label before buying saves a second trip to the store.
Chemical Removers vs Tools: Scrapers, Razors and Oscillating Tools
Most good removal jobs combine both approaches: tools for the bulk, chemistry for the film.
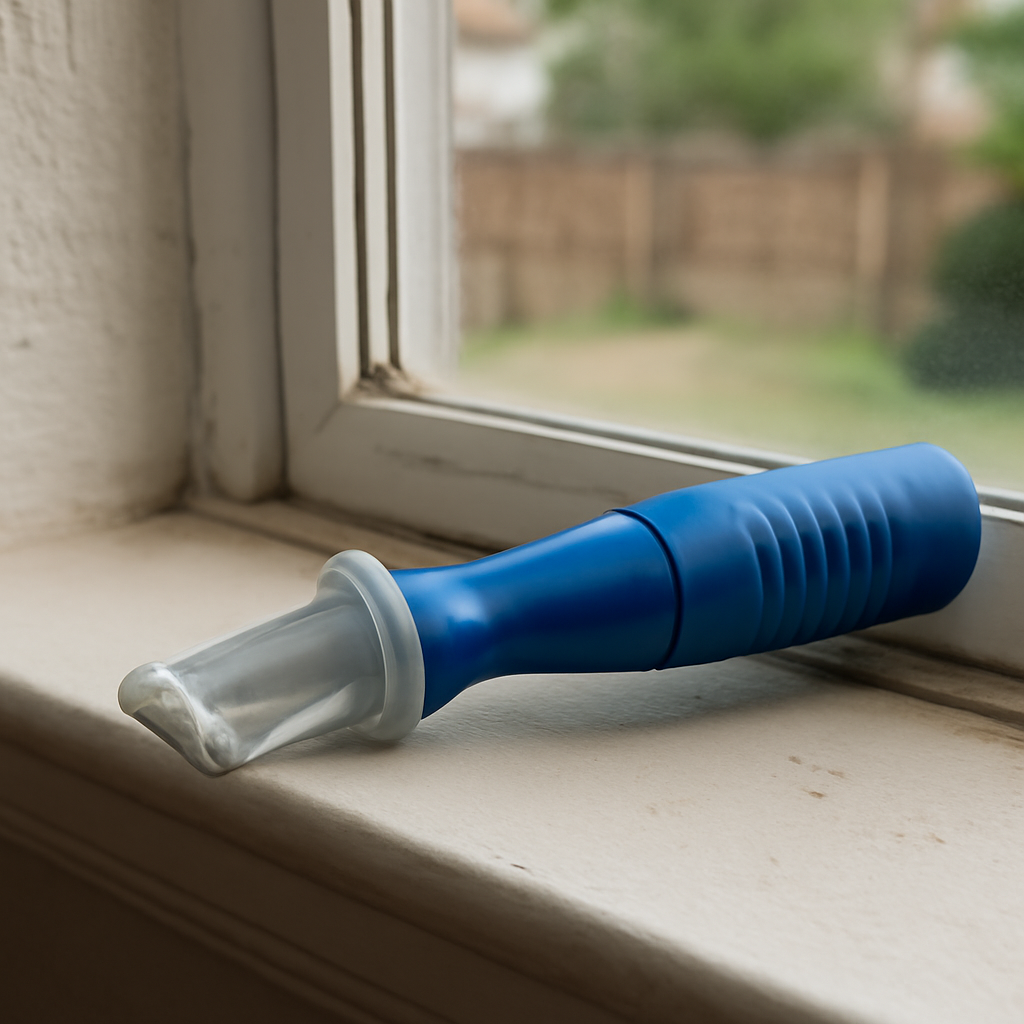
Plastic and multi-blade caulk removal tools
Inexpensive caulk tools with hooked or angled plastic blades are designed to slice under a bead and pull it out without scratching acrylic or fiberglass tubs. They are the safest first choice on soft surfaces and usually cost only a few dollars.
Utility knives and razor scrapers
A sharp utility knife cuts along both edges of the bead so it can be peeled out in long strips. A razor scraper with a fresh blade clears thin remnants on glass and glazed tile. Blades work fast but can scratch acrylic, fiberglass and refinished surfaces, and they can nick grout. Keeping the blade at a low angle and working slowly reduces the risk.
Oscillating multi-tools
An oscillating tool with a flexible scraper or caulk-removal blade can speed up long runs, wide joints and stubborn polyurethane or construction adhesive. It is also the tool most likely to damage a tub finish, chip tile edges or cut into a shower pan flange. Many contractors use it for exterior joints or long tile seams and switch to hand tools near finished tub surfaces.
Chemical removers
Gels cling to vertical surfaces and stay put on a tub wall, which is why most bathroom products are gels. Some work on silicone by swelling it so it releases from the surface. Others are better at dissolving residue than at softening a thick bead. A typical approach is to cut out as much caulk as possible by hand, apply remover to what remains, wait the labeled time, then scrape and wipe.
Household alternatives
Mineral spirits, isopropyl alcohol and commercial adhesive removers are often used to clean up silicone film after the bead is gone. Heat from a hair dryer or heat gun on a low setting can soften some caulks, though heat guns can damage acrylic tubs and should be kept moving. Any solvent can harm certain plastics and finishes, so testing in an inconspicuous spot first is sensible.
Best Caulk Removers: our top 3 picks
| Product | Best for | Key features | Price | Buy |
|---|---|---|---|---|
| Krud Kutter Caulk Remover | Softening old beads before scraping |
| $14.95as of Oct 28, 2026 8:48 am GMT+0000 | Buy now →Check current price |
| Saker 3-in-1 tool | Best all-around removal tool |
| $12.47as of Oct 28, 2026 8:48 am GMT+0000 | Buy now →Check current price |
| TRUXXON 2-pack | Stubborn, hardened caulk |
| $12.99as of Oct 28, 2026 8:48 am GMT+0000 | Buy now →Check current price |


Prices are Amazon’s listed prices as of the time shown and change often; check Amazon for today’s price. As an Amazon Associate we earn from qualifying purchases.
Removing Silicone Residue So New Caulk Bonds
New caulk fails most often at the bond line, and the bond line fails most often because of residue. Cured silicone leaves a thin, nearly invisible film that feels slightly slippery. Paint will not stick to it, and neither will most new sealants, including new silicone.
A common sequence for clearing it:
- Cut and pull out the bulk of the bead with a knife and plastic caulk tool.
- Apply a silicone-rated remover to remaining strands and film, and wait as directed.
- Scrape softened residue with a plastic tool, then a razor on glass or glazed tile only.
- Scrub the joint with a non-scratch pad.
- Wipe with isopropyl alcohol or the cleaner the remover’s manufacturer recommends, and repeat until the surface no longer feels slick.
- Let everything dry completely before recaulking.
A simple check is to run a dry fingertip along the joint. If it drags evenly, the surface is ready. If it glides, residue is still there. Taking the extra half hour at this stage is usually what separates a bead that lasts years from one that peels by the next season. For more on choosing the new sealant, see the silicone caulk guide.
Mold Behind Old Caulk
Pulling out an old bead often reveals what was hiding behind it. Black or gray staining in the joint, damp grout, or a musty smell all suggest moisture has been getting past the caulk for a while.
EPA’s mold cleanup guidance is direct on two points. First, do not paint or caulk moldy surfaces; clean up the mold and dry the surfaces before sealing. Second, if the moldy area is less than about 10 square feet, homeowners can usually handle the job themselves, while larger areas or significant water damage call for more extensive guidance and often a professional. EPA also recommends scrubbing mold off hard surfaces with detergent and water and drying them completely.
In a tub joint, that means cleaning the exposed area, letting it dry fully (often a day or more, sometimes with a fan running), and checking whether the material behind the joint is still sound. If drywall or backer board is soft, crumbling or stained well beyond the joint, the problem has moved past a caulk job. Our guide to black mold in shower caulk explains when cleaning is enough and when the surrounding materials need attention.
Anyone with asthma, allergies or other health concerns should consult a physician before disturbing mold and may prefer to have someone else do the work.
Ventilation and Chemical Safety in Small Bathrooms
Bathrooms are small, often poorly ventilated rooms, and many removal products contain solvents. That combination calls for some care.
EPA’s indoor air quality guidance lists paint strippers and other solvents among household sources of volatile organic compounds and notes that, during and for several hours after activities such as paint stripping, indoor levels may be 1,000 times background outdoor levels. EPA advises increasing ventilation when using products that emit VOCs and meeting or exceeding any label precautions.
Methylene chloride deserves specific mention. EPA identifies it as an ingredient in some paint strippers and adhesive removers, notes that the body converts it to carbon monoxide, and recommends using such products outdoors when possible, or indoors only in well-ventilated areas. OSHA’s methylene chloride page highlights a fatal case in which a worker died while refinishing a bathtub in a residential bathroom using a paint-stripping product that contained it. Most consumer caulk removers are not methylene chloride strippers, but the label and safety data sheet are the place to confirm what is in the can.
Practical precautions:
- Read the label and safety data sheet before opening the product.
- Run the bathroom exhaust fan and open a window. A box fan blowing outward in a doorway or window can help move air.
- Wear chemical-resistant gloves and eye protection. Use a respirator only if the label calls for one and it is the correct type.
- Take breaks outside the room, and stop if you feel dizzy, nauseated or get a headache.
- Keep children and pets away, and never mix removers with other cleaners.
A working exhaust fan matters long after the job is done, because it removes the moisture that caused mold in the first place. If the fan is weak, noisy or vents into the attic, the bathroom exhaust fan guide explains sizing, ducting and replacement.
Matching the Remover and Tool to the Surface
The surface under the caulk often matters more than the caulk itself. A method that works on glazed ceramic can ruin an acrylic tub, so it helps to identify the material before starting.
Acrylic and fiberglass tubs and surrounds
These scratch easily and can be softened or clouded by some solvents. Plastic removal tools, a remover whose label lists acrylic or fiberglass as safe, and non-scratch pads are the usual combination. Metal blades and oscillating tools are best kept away from the finished surface entirely.
Porcelain-enameled steel and cast iron
Enamel is harder than acrylic but can chip at edges, especially on older tubs. A razor held at a low angle is generally acceptable on intact enamel. Chips exposed during removal can rust on steel tubs and are worth touching up before recaulking.
Glazed tile, glass and natural stone
Glazed tile and glass tolerate a sharp razor well. Unglazed tile, grout and natural stone such as marble or travertine are porous and can absorb solvents or stain. Stone-safe products and a spot test in a hidden area reduce that risk.
Previously refinished tubs
A refinished coating is a thin film over the original surface. Aggressive solvents and blades can lift or scratch it, and once it starts peeling, recaulking alone will not hold for long. Gentle hand tools and a mild remover are the safest route.
Exterior joints
Old caulk around windows, doors and siding is often polyurethane or a hybrid sealant that removers soften slowly. An oscillating tool or a sharp knife does most of the work outdoors, followed by a wire or stiff brush. Paint and older finishes on homes built before 1978 may contain lead, so scraping painted trim calls for lead-safe work practices.
Recaulking Steps After Removal
With the old caulk gone, the joint clean and the surface dry, the recaulking itself is straightforward.
- Confirm the joint is dry. Many installers wait at least 24 hours after cleaning a wet tub joint. Colorado’s low humidity helps, but water trapped behind a tub flange can take longer.
- Check the grout. Cracked or missing grout next to the joint should be repaired first. Once the new grout has cured, a sealer helps it resist staining and water absorption. The grout sealer guide covers product types and timing.
- Choose the sealant. A 100% silicone kitchen-and-bath product is the usual choice for tubs and showers.
- Mask the joint with painter’s tape for a clean line.
- Fill the tub with water before sealing the tub-to-wall joint, so the bead cures with the joint at its loaded width.
- Apply, tool and remove tape in one continuous pass.
- Let it cure for the time on the label before showering or draining the tub.
The caulking a bathtub guide covers bead size, tooling technique and common mistakes. Glass enclosures are a separate job. Sweeps and vinyl seals on shower doors wear out on their own schedule, and replacing them is covered in the shower door seal guide.
When to Refinish the Tub Instead of Recaulking
Sometimes removing old caulk exposes a tub that needs more than a new bead. Chipped enamel along the edge, a worn or peeling previous refinish, rust on a steel tub, or a deeply etched surface can all make it hard for any caulk to seal well. In those cases, refinishing or replacing the tub may be the better long-term answer.
Refinishing is also where the chemical-safety story becomes serious. Professional refinishing involves stripping, etching and spray coatings in an enclosed room, and OSHA’s methylene chloride page specifically highlights a fatal bathtub-refinishing case. Hiring a refinisher who uses safer strippers, strong ventilation and proper respiratory protection is not optional. The bathtub refinishing guide covers what the process involves and what to ask a contractor.
If the walls are soft, tile is loose, or there are stains on the ceiling below, the issue may be a leak behind the surround rather than the tub surface. That calls for a plumber or inspector before any cosmetic work.
Caulk Remover Costs and Hiring Help
Costs for a DIY job are low. A tube or bottle of chemical remover commonly runs somewhere around $8 to $20. A basic plastic caulk-removal tool is often under $10, and a multi-blade kit with scraper and smoothing tools may run $10 to $25. Add new caulk, tape, gloves and cleaning supplies and a typical tub job often comes in under $60 in materials. Prices vary by brand and retailer.
Professional removal and recaulking of a single tub or shower is commonly quoted in a range of roughly $150 to $400, with higher figures for large showers, stubborn adhesive, or mold cleanup. Bathtub refinishing generally costs considerably more, and leak repair or subfloor work can add substantially. These are rough estimates rather than quotes, and pricing around Denver, Boulder, Colorado Springs and other Front Range markets can vary.
Reasons to hand the job off:
- Mold covers a large area or keeps returning after cleaning.
- The tub is acrylic or refinished and easily scratched.
- Someone in the home has respiratory sensitivities.
- There are signs of a leak, such as soft floors or ceiling stains below.
For help choosing between a handyman, plumber or refinisher, the plumbing and water contractor guide lists the questions worth asking, and the main hiring process hub explains how to compare bids and scopes of work.
References
- Volatile Organic Compounds’ Impact on Indoor Air Quality — U.S. Environmental Protection Agency
- Methylene Chloride — Occupational Safety and Health Administration
- Mold Cleanup in Your Home — U.S. Environmental Protection Agency
- A Brief Guide to Mold, Moisture and Your Home — U.S. Environmental Protection Agency
Frequently asked questions
Does caulk remover work on silicone?
Some do. Many removers are formulated mainly for latex and acrylic caulks, while others are labeled for silicone. Check the label, and expect to cut out most of a silicone bead by hand before using a remover on the residue.
How long should caulk remover sit before scraping?
It depends on the product. Many labels call for a wait of a few hours, and some suggest longer for thick beads. Follow the manufacturer's directions and keep the room ventilated during the wait.
Can you recaulk over mold?
No. EPA advises against painting or caulking moldy surfaces. Clean the mold, dry the joint thoroughly, and confirm the material behind the joint is sound before applying new caulk.
How can you tell all the silicone residue is gone?
Run a dry fingertip along the joint. A slick, gliding feel means film is still there. Repeat the remover and an isopropyl alcohol wipe until the surface drags evenly, then let it dry before recaulking.
Is it time to hire help if old caulk reveals water damage?
Soft backer board, loose tile or stains below the bathroom suggest a leak that needs more than new caulk. A plumber or inspector can trace the source. To get matched with a Front Range professional, send us a message.
Found damage behind an old caulk line and not sure how far it goes? Homeowners along the Front Range can get in touch here for a connection to a qualified local inspector.