Thermal Leak Detector: What Homeowners Need to Know
Drafts cost money every winter, and they hide in places a hand cannot feel: the top plate of a wall, a recessed light, the gap behind an outlet. A thermal leak detector is a pocket tool built to expose them by reading surface temperature. Point it across a wall and a cold spot betrays the air leaking in. For homeowners trying to lower a heating bill or improve comfort, it is one of the cheapest entry points into thermal diagnostics. This guide explains how the tools work, what they can and cannot find, and how to use one to actually fix the leaks.
Part of our Thermal Imaging for Homes guide — start there for the full picture →
What a thermal leak detector does
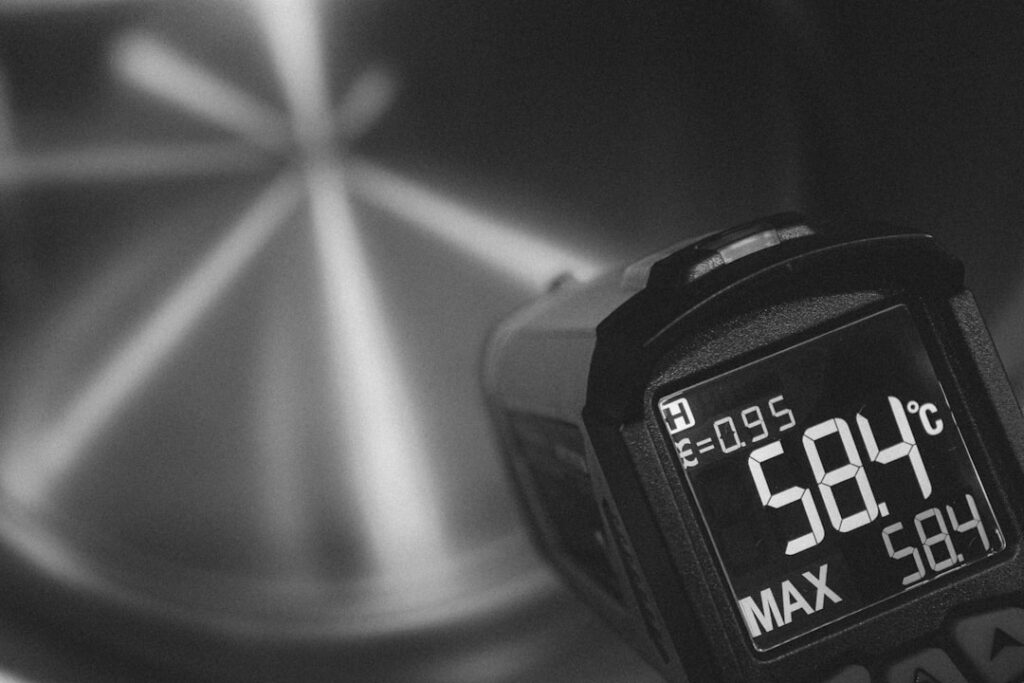
A thermal leak detector is a handheld device with an infrared temperature sensor and, usually, a color-coded light. You aim it at a reference spot on a wall, the tool notes that baseline temperature, then you sweep it across the surface. When the temperature drops or rises beyond a set threshold, the light changes color — often blue for colder, red for warmer — flagging the spot as a likely leak. Many models also project a small laser dot so you can see exactly which spot the sensor is reading, which helps when sweeping along a baseboard or window frame.
These are simpler and cheaper than imaging cameras. Most read a single point of temperature rather than painting a full thermal picture, so they tell you “this spot is colder than the wall around it” without showing the shape of the problem. That is enough for the core job: hunting drafts and insulation gaps one surface at a time. The Department of Energy recognizes temperature scanning as a standard method for revealing heat loss during a home energy assessment, and a leak detector brings the basic version of that into a homeowner’s hand.
The single-point design is exactly why these tools cost so little. A full thermal imaging camera needs a grid of thousands of infrared-sensing elements to build a picture; a leak detector needs only one sensor reading the spot its laser points at. That simplicity drops the price to a fraction of an imaging camera while keeping the one capability most homeowners actually want for energy work: a clear, instant signal that a particular spot is leaking. For draft hunting specifically, the cheaper tool does the essential job nearly as well as its expensive cousin, because finding the leak matters more than seeing its precise shape.
What it can find around the home
A thermal leak detector shines at locating energy losses that show up as surface temperature differences. Because air leaks and insulation gaps are among the largest sources of wasted heating and cooling in a typical home, the spots a detector flags are often the very ones most worth fixing. Common finds include:
- Air leaks around window and door frames, where cold air sneaks past worn weatherstripping
- Drafts at electrical outlets and switch plates on exterior walls
- Gaps where insulation has settled, thinned, or was never installed
- Leaky recessed lights and attic hatches that let conditioned air escape upward
- Cold or warm bands tracing uninsulated framing members through a wall
- Cold spots at rim joists, sill plates, and where walls meet floors or ceilings
- Uninsulated sections of ductwork in unconditioned space
- Gaps where pipes and wiring penetrate exterior walls
Each of these is a place where sealing or insulating pays back in comfort and lower bills. The detector’s value is turning an invisible problem into a specific spot you can point at and fix.
The biggest culprits in a typical home
Some leaks matter far more than others, and a detector helps you find the ones worth your time. The largest air leaks in many homes are not the obvious window gaps but the hidden paths at the top and bottom of the building. Where the walls meet the attic, gaps around plumbing stacks, wiring penetrations, and recessed lights let warm air escape upward. At the basement or crawl space, the rim joist — where the wooden floor structure sits on the foundation — is a notorious leak zone that homeowners rarely think to check. A leak detector sweeping these areas often finds the cold spots that account for the most waste, which is why a thorough hunt looks beyond the windows to the parts of the house no one sees.
Pairing the detector with simple fixes
The detector is only the diagnosis; the cure is a handful of inexpensive materials. Weatherstripping seals movable gaps around doors and operable windows. Foam gaskets behind outlet and switch plates close the surprising leaks at electrical boxes on exterior walls. Caulk handles stationary cracks around window frames, baseboards, and penetrations. Expanding foam fills larger gaps around pipes and wiring, and added insulation tackles the thin spots a detector reveals. None of these requires special skill, and together they convert a detector’s findings into real, lasting improvement.
Leak detector versus thermal imaging camera
The two tools overlap but serve different depths of work. A single-point thermal leak detector is cheap, simple, and perfect for a homeowner doing a draft hunt: it answers “is this spot leaking?” surface by surface. A thermal imaging camera paints a full picture, showing the size and shape of a cold area at a glance, which makes scanning large areas faster and reveals patterns a single point would miss.
For most homeowners chasing winter drafts, the inexpensive detector is the sensible start. Those wanting to survey whole walls quickly, or to investigate possible moisture and electrical issues too, get more from an imaging device. Our overview of the thermal imaging camera explains where that extra capability is worth the cost, and the broader home inspection tools guide places both in context.
Speed versus thoroughness
The trade-off between the two tools is really speed versus thoroughness. A single-point detector makes you sweep methodically, reading one spot at a time, which is fine for a focused draft hunt but slow for surveying a whole house. An imaging camera takes in a broad area at a glance, instantly showing the size and shape of a cold zone and revealing patterns — a diagonal cold stripe tracing a stud cavity, a halo around a recessed light — that a point reader would only stumble onto. For a homeowner whose goal is a weekend of sealing leaks, the detector’s pace is no obstacle. For someone evaluating a whole home’s envelope or chasing an elusive problem, the camera’s overview saves real time and catches more.
The limits to understand
A thermal leak detector reads surface temperature, not the cause behind it, and that creates two honest limits.
It shows symptoms, not diagnoses
A cold spot could be an air leak, but it could also be a cold-water pipe in the wall, a thermal bridge through the framing, or a patch of moisture. The tool flags the temperature difference; figuring out why takes a little judgment. Most of the time, near a window or outlet, a cold spot really is a draft — but on a blank wall section, consider the alternatives before assuming. One useful cross-check: a genuine air leak often changes when you adjust airflow. Closing a window or running a fan to pressurize or depressurize the house can make a draft-driven cold spot intensify or fade, while a cold pipe or thermal bridge stays steady. That simple test helps separate the leaks worth sealing from the temperature features that sealing will not fix.
Reflective surfaces and contrast
Shiny metal and glass reflect surrounding heat and can throw off a reading, so treat surprising results on those surfaces with caution. More importantly, these tools need temperature contrast to work. On a mild day, indoor and outdoor temperatures sit close together and even a real draft barely registers. Scanning on a cold winter morning or a hot afternoon makes the same leak obvious. Timing the hunt for strong contrast is the single biggest factor in getting clear results.
How to use one to actually fix leaks
Finding a leak only helps if you seal it, and the real payoff of a thermal leak detector comes from the fixes it makes possible, not from the scanning itself. A productive session looks like this:
- Pick a day with a strong indoor-outdoor temperature difference. Cold winter mornings are ideal.
- Set the detector’s reference on a neutral section of interior wall so it has a fair baseline.
- Sweep slowly around the usual suspects: window and door frames, outlets and switches on exterior walls, baseboards, attic hatches, and recessed lights.
- Mark each flagged cold spot with painter’s tape so you can find it later.
- Seal what you find — weatherstripping for doors and windows, foam gaskets behind outlet plates, caulk for stationary gaps, and insulation where it has thinned.
- Rescan after sealing to confirm the cold spot is gone.
That last step closes the loop. The Energy Department’s guidance on air sealing and insulation pairs naturally with this kind of scan, since the detector finds the targets and basic materials fix them.
Working systematically beats wandering. Start at one corner of a room and move along each wall in order, then do the ceiling and floor edges, so nothing gets skipped. Pay special attention to the transitions — where wall meets ceiling, where wall meets floor, and around every penetration like an outlet, vent, or pipe — because those junctions leak more than the flat middle of a wall. Keeping the reference baseline on a stable interior surface ensures the tool is comparing against a fair “normal” rather than another problem spot. A patient, methodical pass through a single room usually surfaces every leak worth sealing in it, and repeating that room by room covers the whole house without missing the quiet losses.
What the savings can look like
The strongest case for a thermal leak detector is the return on a tiny investment. The Department of Energy ties air leaks and insufficient insulation to a meaningful share of a typical home’s wasted heating and cooling. A few dollars of weatherstripping, foam outlet gaskets, and caulk can close many of the leaks a detector finds, and the comfort and energy improvement often outweighs the cost of the tool and materials within a single heating season. The key is that the detector converts a vague “this room feels drafty” into a precise list of spots worth sealing, which is what makes the cheap fixes possible at all.
When to go beyond a leak detector
A handheld detector is a draft tool, not a whole-house diagnostic. If you suspect hidden moisture, want to check electrical connections, or need to document insulation problems for a renovation or sale, an imaging camera or a professional energy assessment gives a fuller picture. Persistent comfort problems that survive your sealing efforts, or cold spots that do not behave like drafts, are signals to bring in more capable tools or a professional. Used for what it does best — turning invisible drafts into specific, fixable spots — a thermal leak detector is one of the highest-value few-dollar upgrades a comfort-minded homeowner can make.
It also pairs well with the tools above it. A homeowner might use a leak detector for the routine seasonal draft hunt and call in an inspector with an imaging camera and moisture meter when a problem is bigger or its cause is unclear. The detector handles the everyday energy work; the professional handles the diagnosis when temperature alone cannot answer the question. Thought of that way, the inexpensive tool is not a lesser version of a camera but a focused instrument for one common, valuable job — and it does that job well enough that most homeowners never need more for simple weatherization.
References
- ENERGY STAR: Seal and Insulate — U.S. Environmental Protection Agency (ENERGY STAR)
- Infrared Thermal Imaging in Inspections — International Association of Certified Home Inspectors
Frequently asked questions
How does a thermal leak detector work?
It uses an infrared sensor to read surface temperature. You set a baseline on a neutral spot, then sweep across a wall; when the temperature changes beyond a threshold, a light changes color to flag a likely air leak or insulation gap. Most read a single point rather than a full image.
Is a thermal leak detector the same as a thermal camera?
No. A leak detector reads one point of temperature and flags cold or warm spots with a light, making it cheap and simple for draft hunting. A thermal camera paints a full image showing the size and shape of problems, which scans large areas faster and reveals more.
When is the best time to use a thermal leak detector?
Use it when there is a strong temperature difference between inside and outside, such as a cold winter morning or a hot afternoon. Contrast is what makes leaks visible. On a mild day, even a real draft barely registers on the tool.
Can a thermal leak detector find moisture?
It can flag a cold or warm spot that moisture might cause, but it cannot confirm water. A flagged spot could equally be a draft, a cold pipe, or a thermal bridge. Confirm suspected moisture with a moisture meter before concluding there is a leak.