Soldering Copper Pipe: Joints, Lead-Free Solder and Fire Safety
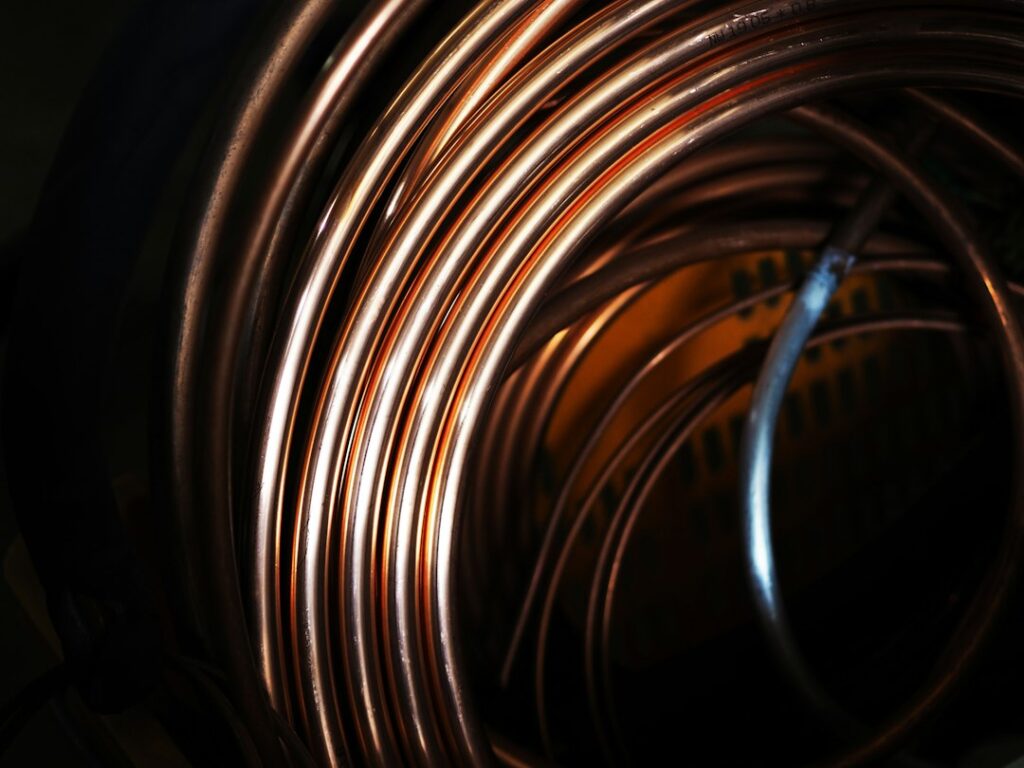
Copper water lines have been joined the same basic way for generations: clean the pipe and fitting, brush on flux, heat the joint with a torch and feed in solder until capillary action pulls it into the gap. Plumbers call it sweating a joint. Done well, a soldered joint can last for decades. Done poorly, it can weep, fail under pressure or, if the torch is used carelessly, start a fire inside a wall. Anyone planning to solder copper pipe, or evaluating a house where someone already has, benefits from understanding how the process works, why the solder used on drinking-water lines has been regulated since the 1980s, what the fire risks are and when press or push-fit fittings make more sense. This guide is general information. Plumbing work on a home’s water system often requires a permit and a licensed plumber in Colorado, so check with the local building department first.
Part of our Plumbing & Water guide — start there for the full picture →
How a Soldered Copper Joint Works
A soldered joint is not a weld. The copper itself never melts. Instead, the pipe slides into a fitting socket with a very small clearance, and molten solder flows into that thin gap by capillary action, bonding to both clean copper surfaces as it cools. The strength and watertightness of the joint depend on three things: clean metal, the right amount of heat and enough solder to fill the gap all the way around.
The basic sequence looks like this:
- Cut square. A tubing cutter gives a clean, square end. A hacksaw cut tends to leave the end out of square, which can prevent the pipe from seating fully.
- Ream and deburr. Cutting leaves a ridge of copper inside the pipe that restricts flow and can create turbulence. A reamer or deburring tool removes it.
- Clean both surfaces. Sand cloth or a fitting brush removes oxidation from the outside of the pipe and the inside of the fitting until the copper is bright.
- Apply flux. A thin, even coat of flux on both surfaces prevents new oxidation during heating and helps the solder wet the copper.
- Assemble and heat. The pipe goes fully into the fitting, and the torch heats the fitting, not the solder, until the joint is hot enough to melt solder on contact.
- Feed solder. Solder touched to the joint opposite the flame should melt and be drawn into the gap. A properly heated joint shows a continuous ring of solder at the fitting edge.
- Cool and clean. The joint is left undisturbed to cool, then excess flux is wiped off.
The water in the line has to be drained. Even a small amount of water in the pipe turns to steam and pulls heat away, which is one of the most common reasons a joint will not take solder. Plumbers use various tricks to stop residual drips, but none of them work if a valve upstream is leaking through.
Soldering versus brazing
Soldering and brazing are related but not interchangeable. Soldering uses filler metals that melt at comparatively lower temperatures and is the standard method for most residential water supply joints. Brazing uses filler alloys that melt at much higher temperatures, produces a stronger joint and is common on refrigerant lines for air conditioners and heat pumps, as well as on some larger or higher-pressure piping. Brazing requires more heat, often an oxy-fuel or hotter air-fuel torch, and raises the fire risk accordingly. A homeowner who sees a contractor brazing water lines, or soldering refrigerant lines, may want to ask why, since each method has its own appropriate uses under the equipment instructions and local code.
Common workmanship problems
- Overheating. Too much heat burns the flux, which turns black and stops working. Solder then balls up and runs off instead of flowing in.
- Underheating. Solder melts on the surface from the torch flame but never gets pulled into the joint, leaving a cosmetic bead with voids behind it.
- Dirty surfaces. Oxidation, oil or old solder residue prevents bonding in patches, leaving leak paths.
- Too much flux. Excess flux left inside the pipe can contribute to corrosion over time, and flux residue left on the outside can discolor and attack the copper.
- Stressed joints. A joint that is moved before it cools, or a pipe that was forced into alignment, may crack the solder fillet.
Lead-Free Solder Is Required for Drinking Water
Older copper plumbing was often joined with tin-lead solder, which melts easily and flows well. The problem is that lead can leach from solder into water that sits in the pipes. That is why federal law changed the rules decades ago.
According to the U.S. Environmental Protection Agency, Congress amended the Safe Drinking Water Act in 1986 to prohibit the use of pipes, solder or flux that were not “lead free” in public water systems or in plumbing in facilities providing water for human consumption. At that time, “lead free” meant solder and flux with no more than 0.2% lead. EPA describes the Act as prohibiting the use of any pipe, fitting, fixture, solder or flux that is not lead free “after June 1986” in the installation or repair of public water systems or plumbing providing water for human consumption. The 0.2% limit for solder and flux still applies today, while the limit for pipes, fittings and fixtures was later lowered to a weighted average of 0.25% across wetted surfaces under the 2011 Reduction of Lead in Drinking Water Act.
EPA also notes that, among homes without lead service lines, the most common lead problem is with brass or chrome-plated brass faucets and fixtures and with plumbing joined with lead solder. Our guide to lead pipe corrosion covers testing and what to do if lead shows up in a water sample.
What this means in practice
- Use solder labeled lead-free for any potable line. Common lead-free solders use tin with small amounts of other metals such as copper, silver or antimony. They melt at somewhat higher temperatures than old tin-lead solder and can be a bit less forgiving to work with.
- Keep tin-lead solder out of the plumbing toolbox. It is still sold for electrical and some other uses, and a spool of the wrong solder is an easy mistake.
- Use flux suited to lead-free solder and potable water. Flux is also covered by the lead-free definition.
- Expect older homes to have lead solder. Houses with copper plumbing installed before the change may still have tin-lead joints. Water testing, not visual inspection, is the way to know whether it matters.
EPA has also published a fact sheet on identifying lead-free certification marks for pipes, fittings, fixtures, solder and flux, which can help when sorting through products at a supply house.
Torch Safety and Fire Risk Near Framing
Soldering copper pipe means running an open flame, often inside a wall cavity, a floor system or a crawl space, a few inches from wood framing, paper-faced insulation, dust and cobwebs. That is a fire hazard, and fires started by soldering can smolder unseen inside a wall for some time after the work appears finished.
NFPA 51B, the National Fire Protection Association’s Standard for Fire Prevention During Welding, Cutting, and Other Hot Work, presents provisions intended to prevent injury, loss of life and loss of property from fire or explosion as a result of hot work such as welding, heat treating, grinding and similar applications that produce or use sparks, flames or heat. Torch soldering falls squarely in that broad category. OSHA lists burns and eye damage among the safety hazards of welding, cutting and brazing, and notes that many hazards can be controlled with proper work practices and personal protective equipment.
Careful plumbers typically take precautions along these lines:
- Clear combustibles from the work area where possible.
- Use a flame-resistant heat shield or cloth behind the joint to protect framing, insulation and nearby pipes or wiring.
- Keep a charged fire extinguisher and a spray bottle of water within reach.
- Wet nearby wood surfaces before heating where appropriate.
- Watch the area after finishing, often for a period afterward, and check for smoke, heat or smoldering before leaving.
- Ventilate the space, because flux fumes and combustion products build up in tight areas.
- Wear eye protection and gloves, and keep the torch and fuel cylinder secure.
Some plumbers avoid open flame entirely in tight or hazardous spots, using press fittings or other flame-free methods. That alternative is described below.
Other hazards on the job
Copper and fittings stay hot long after the flame is gone, and burns from touching a fresh joint are common. Working overhead in a basement or crawl space adds awkward positions and drips of hot solder. Older homes may also have materials near the pipes, such as old pipe insulation or painted surfaces, that should not be disturbed or heated without knowing what they contain.
Alternatives to Soldering
Soldering is not the only way to join copper, and in many situations it is no longer the first choice.
- Press fittings. Copper press systems use fittings with built-in O-rings that are crimped onto the pipe with a powered press tool. They avoid open flame, can be made with some water still in the line, and are fast once the expensive tool is on hand. Fitting costs per joint are higher than for solder fittings.
- Push-fit fittings. Push-to-connect fittings grip the pipe with internal teeth and seal with an O-ring. They need no tools beyond a cutter and deburrer, which makes them popular for emergency repairs. Their long-term suitability in concealed locations depends on the product listing and local code acceptance.
- Compression fittings. Common at fixture supply stops, these use a brass ring compressed by a nut. They are generally intended for accessible locations.
- Transition to PEX. Many repairs and remodels now transition from copper to cross-linked polyethylene tubing, which is flexible and joined with crimp, clamp, expansion or push-fit connections. Our guides to PEX pipe and PEX fittings explain the trade-offs.
Each method has to be compatible with the pipe type and size, listed for the use, and accepted by local code. A licensed plumber can explain which makes sense for a given repair.
Leaks, Pinholes and Failed Joints
When a copper system leaks, the problem is either at a joint or in the pipe itself, and the two have different causes.
Joint leaks
A joint that weeps, shows green or white crusty deposits, or drips under pressure usually reflects one of the workmanship problems listed earlier: incomplete solder fill, burnt flux, a dirty surface or movement during cooling. Joint leaks often appear soon after work is done, though a marginal joint may hold for a while and then start seeping. A leaking soldered joint generally cannot be fixed by adding more solder on top. It has to be drained, heated apart or cut out, cleaned and remade.
Pinholes and pipe wall failures
Pinhole leaks in the body of the pipe are a different issue. They are commonly associated with water chemistry, high flow velocity, excess flux residue, stray electrical current or defects in the pipe. Pinholes tend to appear on horizontal runs and near fittings, and one pinhole can be followed by others. Our copper pipe guide covers pipe types, wall thickness and corrosion patterns, and a water pressure test can show whether excessive pressure is adding stress to the system.
If a joint or pipe fails suddenly and water is spraying, shut off the main water valve and call a plumber. The burst pipe repair guide walks through the first steps to limit water damage.
Freeze damage in Front Range homes
Colorado’s sharp cold snaps cause their own pattern of copper failures. Water that freezes in a pipe expands, and the split or bulge usually appears in a stretch of pipe in an exterior wall, an unheated garage, a crawl space or near a hose bib rather than at the frozen spot itself. Soldered joints can also be pushed apart. After a thaw, a plumber typically cuts out the damaged section and replaces it, and the more useful long-term fix is to insulate, reroute or heat the vulnerable run so it does not freeze again.
Signs worth noticing in an older house
- Green or blue-green staining at joints and fixtures.
- Solder that looks lumpy, dripped or blackened around fittings.
- Water stains on ceilings below bathrooms and kitchens.
- Multiple patch repairs, clamps or mixed fitting types along one run.
- Scorch marks on framing or subfloor near joints, which indicate past torch work done without adequate protection.
Costs and Hiring a Plumber
Costs vary with location, access, the number of joints and whether drywall must be opened. As a rough 2026 guide only:
- Small repair to a single accessible joint or short section: often a service-call minimum plus labor, commonly in the low hundreds of dollars.
- Repairs inside finished walls or ceilings: more, because access, drying and drywall patching are often separate costs.
- Repiping sections or the whole house: ranges widely with house size, material choice and how much finish work is disturbed, often running into the thousands.
- DIY materials: a torch kit, lead-free solder, flux, fittings and cleaning tools are modest in cost, though press tools are expensive to buy and are more often rented or left to pros.
When hiring, ask whether the plumber will solder, press or use another method, how they protect framing and insulation during torch work, whether a permit will be pulled, and whether the estimate includes access and patching. Our plumbing and water inspections section covers what a home inspector evaluates, and the main guide to hiring a home inspector explains how to choose one.
What a home inspector can and cannot see
A home inspector looks at visible supply piping, runs fixtures and notes active leaks, corrosion, evidence of past leaks and visible signs of poor workmanship. Inspectors cannot see joints hidden inside walls and generally do not test water for lead as part of a standard inspection. If a house has older copper plumbing and someone in the household is at higher risk from lead, water testing through a certified laboratory is a separate step worth taking.
References
- Use of Lead Free Pipes, Fittings, Fixtures, Solder, and Flux for Drinking Water — U.S. Environmental Protection Agency
- Basic Information about Lead in Drinking Water — U.S. Environmental Protection Agency
- NFPA 51B: Standard for Fire Prevention During Welding, Cutting, and Other Hot Work — National Fire Protection Association
- Welding, Cutting, and Brazing: Hazards and Solutions — Occupational Safety and Health Administration
Frequently asked questions
Is lead-free solder required for drinking water pipes?
Yes. EPA explains that 1986 amendments to the Safe Drinking Water Act prohibited solder and flux that are not lead free in plumbing providing water for human consumption. Lead-free solder and flux can contain no more than 0.2% lead.
Why won't solder flow into my copper joint?
Common causes are water still in the line, dirty or oxidized copper, burnt flux from overheating, or heating the solder instead of the fitting. The joint usually has to be taken apart, cleaned and redone.
Can a leaking soldered joint be fixed by adding more solder?
Generally not. A leaking joint has to be drained, heated apart or cut out, cleaned, fluxed and remade so solder can fill the entire gap.
Are press fittings better than soldering copper?
They avoid open flame and are fast, which helps in tight spaces near framing. Fittings cost more and require a press tool. Both methods work when done correctly and accepted by local code.
How much does it cost to have a plumber fix a copper joint?
A simple accessible joint repair often runs in the low hundreds of dollars including the service call. Repairs inside walls cost more once access and patching are added. These are general 2026 ranges.
Not sure what kind of solder or piping is behind the walls of a house you are buying? Get in touch and we will match you with a Front Range inspector who checks the plumbing you can see and flags what needs a closer look.