Printable Home Inspection Checklist: Format and Content
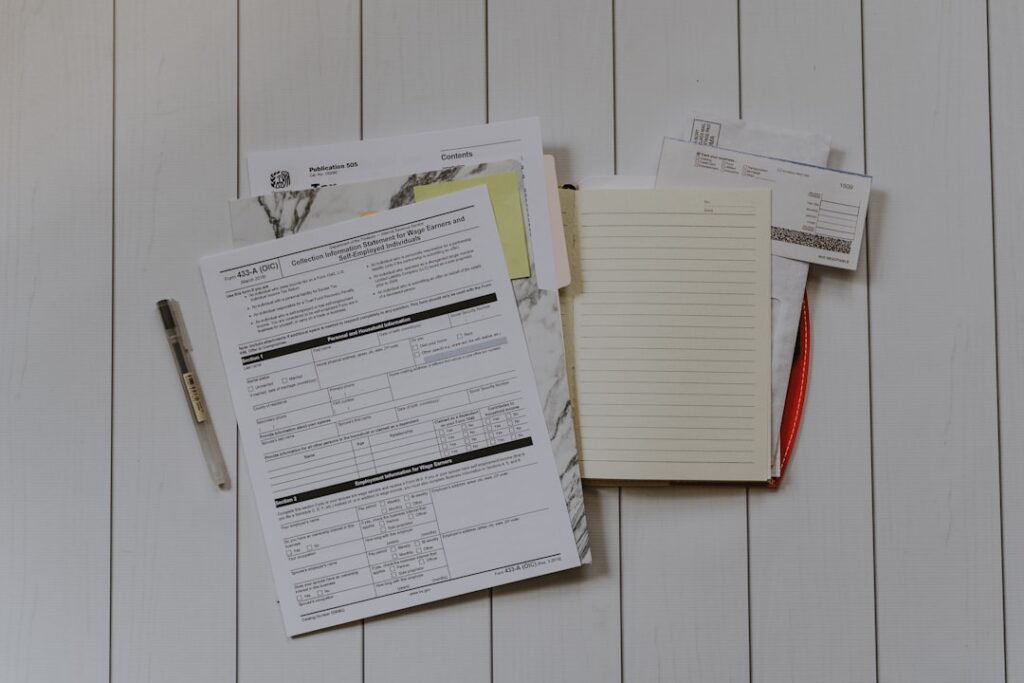
A printable home inspection checklist is a physical object first and an information design second. The paper version exists because tablets fail, batteries die, and a clipboard is easier to scribble on than a touchscreen. Designed well, a printable checklist captures observations as fast as the inspector can write. Designed badly, it slows the inspection and produces notes that are useless a week later. This guide focuses on what a printable home inspection checklist should contain — the sections, the fields, and the formatting decisions — rather than where to download one.
What Belongs on a Printable Home Inspection Checklist
Eight sections cover most of what a homeowner or buyer needs from a printable. The structure mirrors how the American Society of Home Inspectors and InterNACHI organize their standards of practice, scaled down for hand notation. The sections:
- Property identification block.
- Exterior and grounds.
- Roof and attic.
- Structure and foundation.
- HVAC, plumbing, and electrical.
- Interior and rooms.
- Safety and code items.
- Summary and action items.
Each section needs three columns: an item label, a finding column (pass/fail/monitor), and a notes column. The pass/fail/monitor column is the workhorse. A printable that lacks it forces the user to write the same word repeatedly. For broader context on where printables fit into the inspection toolkit, see the free printable home inspection checklist guide on the format side.
Section 1: Property Identification Block
The top of page one identifies the property and the inspection. Fields:
- Property address (street, city, ZIP).
- Inspection date and start time.
- Weather conditions at time of inspection.
- Year built (per public records or seller disclosure).
- Square footage and bedroom/bathroom count.
- Buyer name (or homeowner name if doing self-inspection).
- Inspector name and license number (if applicable).
- Inspection type (pre-purchase, pre-listing, annual, post-disaster).
This block becomes critical six months later when the inspection is one of three the buyer has reviewed. Without it the document is just an anonymous list of findings.
Section 2: Exterior and Grounds
Items to list for hand notation:
- Driveway, walkways, steps.
- Grading and drainage away from foundation (slope, swales, downspout extensions).
- Siding type and condition.
- Trim, fascia, soffits.
- Windows (exterior surfaces, sills, lintels).
- Exterior doors and frames.
- Deck, patio, porch (boards, posts, railings, ledger attachment).
- Fences and gates.
- Trees within striking distance of structure.
- Irrigation system condition.
Each line gets a checkbox column and a notes line. Front Range printables benefit from a hail-damage subcolumn on siding and roof rows because the climate produces it.
Section 3: Roof and Attic
- Roof covering type (asphalt shingle, tile, metal, membrane).
- Estimated age and remaining life.
- Hail or wind damage indicators.
- Flashing, vents, pipe boots.
- Gutters and downspouts.
- Chimney condition (if applicable).
- Attic access location.
- Attic insulation type and approximate R-value.
- Attic ventilation (soffit and ridge or gable vents).
- Visible moisture or staining in attic.
- Bath and dryer vents — terminate to exterior, not into attic.
Section 4: Structure and Foundation
- Foundation type (slab, crawl, basement; poured concrete or block).
- Visible cracks (type, location, width).
- Signs of differential settlement.
- Floor levelness.
- Basement or crawl space moisture indicators.
- Sump pump (present, active, discharge to exterior).
- Visible structural members (joists, beams, posts) condition.
Section 5: HVAC, Plumbing, Electrical
Three of the most expensive systems in the home. Each gets a sub-block:
- HVAC: furnace age, type, fuel, condition; AC condenser age, condition; thermostat; ductwork visible condition; filter location and condition.
- Plumbing: water-heater age, type, fuel, capacity, condition; main shutoff location; visible supply lines (material and condition); visible drain lines; water pressure at fixtures.
- Electrical: service amperage; panel manufacturer (note FPE or Zinsco); double-tapped breakers; GFCI and AFCI presence at required locations; visible wiring concerns.
Section 6: Interior and Rooms
Room-by-room rows. Kitchen, baths (one row per), bedrooms (one row per), living and dining, basement living spaces, garage. Each room row covers walls, ceilings, floors, windows, doors, outlets, and fixtures. Anomalies get jotted in the notes column.
Section 7: Safety and Code Items
- Smoke detectors installed at code-required locations.
- CO detectors on each floor with fuel-burning appliances or attached garages.
- GFCI outlets in kitchens, baths, garage, exterior, basement.
- AFCI on bedroom circuits where required.
- Stair handrails and baluster spacing.
- Window-fall hazards.
- Garage-house door fire rating and self-closing.
- TPR valve and discharge tube on water heater.
Section 8: Summary and Action Items
The final page is the most useful part of the printable. It does not list items — it summarizes findings into action categories:
- Safety items (must address before occupancy).
- Further evaluation recommended (specialist callouts).
- Repair before closing (negotiation targets).
- Maintenance budget items (next 12 months).
- Monitor and re-evaluate (no immediate action).
Each category has space to write three to five items. This is where decisions get made. For a treatment of how this action-summary feeds the buyer’s negotiation, the report-reading checklist covers it.
Format Decisions That Make or Break a Printable
Some design choices matter more than the items themselves.
Page count: keep it to four to six pages. Longer printables get abandoned mid-walkthrough. Font size: 10–11 point for items, 9 point for notes lines, 12+ point for section headers. Margins: half-inch minimum so a clipboard doesn’t cover the edge. Line spacing: 1.5x in the notes column so a pen can fit a sentence.
Checkbox column placement: the right side of the page if right-handed users (and most are). Notes column: directly below the item, not to the right — writing horizontally on a clipboard is awkward.
Photo log: include a one-page photo-numbering sheet at the back where users can write photo numbers and brief descriptions (“photo 12: basement corner stain”). The actual photos live on the phone; the printable cross-references them.
Confused by your home inspection report? Decode it free in plain English
Upload your inspector's PDF and get a plain-English summary, what actually matters, rough repair costs, and negotiation talking points. Educational only — not a professional re-inspection. Your file is analyzed and discarded, never stored.
Educational summary only. AI can be wrong and cost figures are rough estimates. This is not a professional re-inspection, appraisal, or legal/financial advice — confirm major items with your inspector or a licensed contractor.
What a Printable Cannot Do
A paper checklist cannot replace the inspector’s full report. The full report includes detailed photos, technical descriptions, code references, and component-life estimates — things a one-page printable cannot match. The printable’s job is to support the user’s note-taking and follow-up, not to substitute for the licensed deliverable. Buyers walking through with a printable should still hire a professional. For a guide to how the buyer’s printable interacts with the inspector’s deliverable, see the buyer’s PDF guide.
Adapting the Format for Different Inspection Types
The same eight-section structure flexes to fit different inspection types. A pre-purchase printable populates every section deeply. A homeowner annual maintenance printable trims sections two and three to high-yield items only. A post-disaster printable expands the exterior and roof sections and trims the interior rooms. The skeleton stays constant; the depth shifts with the trigger event.
The pillar-level overview of how these forms fit into the buying process lives in the guide to working with a home inspector.
Field-Use Print Format Specifics
A printable checklist that works for note-taking during a real inspection has different formatting requirements than a checklist designed for desktop reading. Field use means clipboard, ballpoint pen, occasionally rain, occasionally a dusty attic or damp crawlspace, and a hand that is holding a flashlight while writing. The print format itself becomes a usability factor, and small details determine whether the checklist gets filled out completely or abandoned at section three.
Margins should be 0.75 to 1 inch on all sides. Tighter margins look efficient on screen but hit the edge of clipboard binder clips and get truncated when the checklist is photocopied. A standard binder clip occupies the top half-inch of the page, so the top margin should accommodate that without obscuring the section header.
Font choice matters more than non-printers realize. Sans-serif fonts (Helvetica, Arial, Open Sans) at 11-12 point print cleaner than serif fonts at the same size and remain legible in low-light attics. Bold weights work for section headers; regular weight works for item rows. Line height of 1.4 to 1.5 leaves enough vertical space for handwritten checkmarks, notations, and small symbols (an arrow indicating photo number, a “P” indicating priority) without items crowding into each other.
Paper weight is the most overlooked detail. Standard 20-pound copy paper tears at the clipboard clip after two or three inspections and absorbs sweat and rain. 24-pound or 28-pound paper holds up through repeated handling. Cardstock is overkill for one-off use but appropriate if you are building a reusable reference template. Per ASHI Standards of Practice, the inspector’s deliverable is digital — but the field-note version on paper survives the inspection’s physical demands better than any tablet or phone in adverse conditions.
Section breaks should fall on natural page boundaries. A section that runs from the bottom of page two to the top of page three forces the user to flip back and forth while writing, which fragments attention. Either compress the section to fit on one page or expand it deliberately to fill the next. Page numbers, document title, and date should appear in the footer so the user can identify the checklist later when reviewing notes alongside the inspector’s report.
Mobile-First Alternatives
Paper-printed checklists work, but mobile-first alternatives have advanced enough that the paper-versus-digital decision is no longer one-sided. Three categories of mobile tools deserve consideration depending on the user’s existing workflow and the inspection’s purpose.
Spectora and HomeGauge are the two dominant inspector-platform companies, and both ship buyer-facing mobile views of completed inspection reports. The buyer-side mobile experience is read-only — you cannot fill in your own checklist within these apps — but for reviewing the professional inspector’s findings, walking the property after the inspection, and cross-referencing photos to actual locations, the mobile views are excellent. Both platforms are listed in the InterNACHI directory of approved inspection software.
For users who want to fill in their own checklist digitally during the walkthrough, generic platforms work better than specialized ones. Notion lets you build a template database with one row per checklist item, customizable status fields (pass, monitor, fail, photo-needed), and embedded photos via the mobile app’s camera integration. Google Sheets achieves similar functionality with simpler templating — a two-column sheet with item name and status, plus a third column for notes. Both sync to cloud storage automatically, which protects against device loss during or after the inspection.
The third category is voice-note alternatives. Some users prefer to skip written checklists entirely and dictate observations into a voice-memo app while walking the property, then transcribe and organize afterward. This works well for users who type slowly or who find that handwriting interrupts their visual attention. The trade-off is that voice notes lack the systematic coverage a checklist enforces — without an explicit list of sections, items get missed. The hybrid that often works best: a paper checklist for structure, voice memos for detailed observations on flagged items.
References
- ASHI Standards of Practice — American Society of Home Inspectors
- InterNACHI Standards of Practice — International Association of Certified Home Inspectors
- International Residential Code — International Code Council
- HUD Home Buyer Resources — U.S. Department of Housing and Urban Development