How to Clean Shower Mold: A Plain-Language Guide
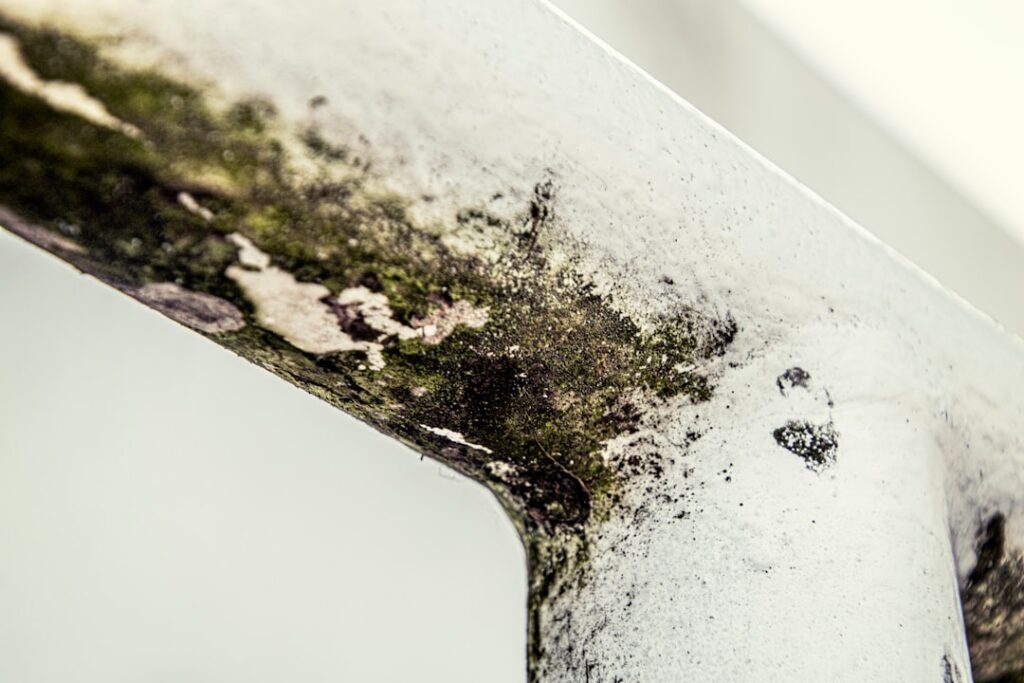
Knowing how to clean shower mold keeps a small bathroom nuisance from becoming a recurring problem. Showers are mold magnets because they combine constant moisture, warmth, and soap residue that feeds growth. This guide summarizes EPA and CDC guidance current as of 2026; consult a certified professional for testing decisions and your physician for health concerns. Most shower mold is a surface issue homeowners can handle, but the dark staining in grout and caulk needs the right method and, just as important, a ventilation fix so it does not come right back.
Part of our Mold Removal & Remediation guide — start there for the full picture →
Is this mold, asbestos, or water damage? Get a free instant screen
Upload a clear photo of the suspect area. You'll get an instant AI screening opinion and what to do next. This is screening guidance, not a professional determination.
Screening guidance only. AI can be wrong. Confirm asbestos, mold type, or lead with lab testing or a licensed professional before acting.
Why Showers Grow Mold So Easily
A shower delivers everything mold needs: water, warmth, and organic residue from soap and skin cells. After each use, droplets cling to tile, grout, and caulk, and without ventilation that moisture lingers for hours. Grout and silicone caulk are slightly porous, so mold roots into the texture. The CDC’s core advice, keep humidity below 60 percent, is exactly what a bathroom struggles to do without an exhaust fan.
Gear and Prep
For routine shower cleaning, wear gloves and ensure ventilation by opening a window or running the fan. For heavier growth, add an N95 respirator and non-vented goggles. Remove shampoo bottles and clear the area so you can reach every joint and corner where mold hides.
Cleaning Tile and Glass
Hard, non-porous tile, glass, and metal fixtures clean up readily. Scrub with detergent and water using a stiff brush, rinse, and dry. The EPA notes you do not need to chemically kill mold to remove it; physical scrubbing plus drying does the work. Wipe surfaces dry afterward to deny mold the moisture it needs.
Tackling Grout
Grout lines trap mold in their porous texture. A paste of baking soda and water scrubbed in with an old toothbrush lifts surface growth, and rinsing followed by drying finishes the job. Persistent dark staining deep in grout sometimes survives cleaning because the discoloration has penetrated; in that case, regrouting may be the cosmetic fix. Our guide to the best way to clean mold off walls covers related surfaces.
When Grout Won’t Come Clean
If staining remains after thorough scrubbing, the grout may need refreshing or sealing. Sealing clean, dry grout reduces how easily mold takes hold next time.
Dealing With Caulk
Silicone caulk around the tub and corners is the hardest spot. Mold often grows beneath the surface where scrubbing cannot reach. When caulk is blackened through, the durable fix is to cut it out and re-caulk with a quality silicone product, ideally one rated for wet areas. Clean, dry, and prime the joint before applying new caulk so it adheres and resists mold.
The Bleach Question for Showers
Bleach can lighten stains on hard, non-porous surfaces, but the EPA does not require it and warns against relying on it for porous materials, where its water can feed regrowth. Never mix bleach with ammonia or other cleaners, which creates dangerous fumes. For most shower mold, detergent and scrubbing are enough. See our guide to what kills mold for the full comparison.
The Step That Actually Prevents It
Cleaning treats the symptom; ventilation treats the cause. Run the bathroom exhaust fan during and for at least 20 to 30 minutes after every shower, squeegee glass and tile, and leave the door open to let humidity escape. Keeping bathroom humidity down is the single most effective way to stop mold from returning. Our overview on preventing mold and mildew details these habits.
When Shower Mold Signals Something Bigger
Most shower mold is cosmetic, but mold spreading beyond the wet zone, a persistent musty smell, or staining that bleeds onto adjacent drywall can indicate a leak behind the wall. Soft or discolored drywall near the shower is a warning sign worth investigating, since hidden mold needs a different response than surface scrubbing.
Cleaning Mold From a Shower Curtain or Liner
Fabric and plastic shower curtains collect mold along the bottom hem where water pools. Many fabric liners are machine washable; run them on a warm cycle and dry promptly. Plastic liners can be wiped down, but heavily mildewed ones are inexpensive to replace and often not worth saving. Keep the curtain spread out rather than bunched after showering so it dries instead of trapping moisture in folds where mold thrives.
Cleaning a Shower Drain and Hidden Spots
Mold and biofilm build up in drains, along the bottom track of glass doors, and under loose tile edges, spots most cleaning routines miss. Flush drains, scrub door tracks with a brush, and check the silicone seam where the shower base meets the wall. These low, wet, shaded areas stay damp longest. Cleaning them as part of your routine prevents a reservoir of growth that re-seeds the visible surfaces you just cleaned.
Routine That Keeps Showers Mold-Free
Prevention beats repeated scrubbing. After each shower, squeegee the glass and tile, run the exhaust fan for 20 to 30 minutes, and leave the door open so humidity escapes. Wipe down corners and the base weekly. A monthly deep clean of grout and seams catches growth before it darkens. These small habits keep bathroom humidity down, which the CDC identifies as the key to discouraging mold. Consistency matters more than any single heavy cleaning session.
Improving Bathroom Ventilation
If mold keeps returning despite cleaning, the bathroom likely lacks adequate ventilation. Confirm the exhaust fan actually vents outdoors rather than into the attic or wall cavity, where it just relocates the moisture problem. An undersized or clogged fan struggles to clear humid air. Upgrading to a properly sized fan, or simply cracking a window during and after showers, can break the cycle. Our overview on preventing mold and mildew covers ventilation fixes that last.
Sealing Grout and Surfaces
After cleaning grout thoroughly and letting it dry completely, applying a grout sealer reduces how easily mold takes hold next time. Sealer fills the porous texture that traps spores and moisture. Reapply periodically, since sealer wears down with use and cleaning. Sealing is not a substitute for ventilation, but combined with good drying habits it makes grout far more resistant to the dark staining that prompts repeated scrubbing.
Safe Cleaning Practices in a Small Bathroom
Bathrooms are tight, enclosed spaces, which concentrates both humidity and any cleaning fumes. Ventilate by opening a window and running the exhaust fan throughout the job, and never mix cleaning products, since combining bleach with ammonia or vinegar releases dangerous gases in a confined room. Wear gloves and eye protection, adding an N95 respirator for heavier growth. Keep the cleaning to one product at a time, rinse well, and step out for fresh air if fumes build. Good ventilation protects you and helps surfaces dry.
What Different Cleaners Do on Shower Mold
Detergent and water with a stiff brush is the EPA’s recommended baseline and handles most shower mold on tile and glass. Baking soda paste works well in grout. Vinegar can help on hard surfaces but struggles in porous grout and caulk. Bleach lightens stains, which makes a surface look clean even when mold remains in the grout, so it can mislead. For most bathrooms, scrubbing with detergent and drying outperforms reaching for harsher chemicals. Our guide to what kills mold compares the options.
Dealing With Recurring Shower Mold
If mold returns within weeks of cleaning, the bathroom is staying too humid or harboring a hidden reservoir. Check that the exhaust fan vents outdoors and moves enough air, look for biofilm in drains and door tracks, and confirm caulk is intact rather than hiding growth beneath it. Persistent recurrence despite good habits can point to a slow leak behind the wall. Treat repeated regrowth as a signal to investigate moisture rather than simply scrubbing harder each time.
Protecting Grout and Caulk Over Time
Once grout is clean and fully dry, a grout sealer fills its porous texture and slows future mold, and it should be reapplied periodically as it wears. Keep caulk lines intact; cracked or peeling caulk lets water reach the wall and feeds hidden mold, so re-caulk when joints fail. Wiping these joints dry after showers extends their life. Maintained grout and caulk are far less prone to the dark staining that prompts repeated cleaning.
When to Call a Professional
Handle ordinary surface mold yourself. Call a certified professional if mold extends behind the wall, if you find soft or stained drywall around the shower, if the area exceeds roughly 10 square feet, or if household members have respiratory issues. A pro can locate hidden moisture and confirm the problem is contained to the surface.
Cleaning Mold From a Shower Caddy and Accessories
Shower caddies, loofahs, sponges, and bath toys trap water and grow mold in spots people overlook. Hard plastic and metal accessories can be scrubbed with detergent and dried, while porous sponges and loofahs that have gone moldy are cheap to replace and not worth saving. Store accessories where they can drain and dry between uses rather than sitting in a pool of water. These small items act as hidden reservoirs that re-seed the surfaces you just cleaned if you ignore them.
A Weekly and Monthly Shower Routine
Consistency beats heavy scrubbing. Weekly, wipe down corners, the door track, and the base, and check caulk and grout for early growth. Monthly, do a deeper clean of grout lines and seals, and inspect accessories and the drain. After every shower, squeegee and ventilate. This rhythm keeps growth from ever darkening into a stubborn stain. Our overview on keeping mold from growing covers the habits that make a bathroom resistant to recurring mold.
When Cleaning Isn’t Solving It
If you clean diligently and mold keeps returning, the problem is usually environmental rather than a cleaning failure. The bathroom may be under-ventilated, a fan may vent into a wall cavity instead of outdoors, or a slow leak may be feeding hidden growth. Persistent recurrence is a signal to investigate moisture rather than scrub harder. At that point, a professional can check the exhaust system and look for water escaping behind the tile, addressing the real cause your cleaning cannot reach.
Choosing the Right Tools for the Job
The right tools make shower cleaning faster and more thorough. A stiff-bristle brush handles tile and large surfaces, an old toothbrush reaches grout lines and corners, and a squeegee maintains the result after each shower. A spray bottle of detergent solution covers most needs, with baking soda for grout. Microfiber cloths dry surfaces without leaving streaks. None of this is exotic, which is the point: ordinary tools used consistently keep a shower clear of mold far better than occasional heavy scrubbing with harsh chemicals.
References
- Mold Cleanup in Your Home — U.S. Environmental Protection Agency
- Mold Frequently Asked Questions — Centers for Disease Control and Prevention
- A Brief Guide to Mold, Moisture and Your Home — U.S. Environmental Protection Agency
- About Mold and Health — Centers for Disease Control and Prevention
Frequently asked questions
What is the best way to clean mold from shower grout?
Scrub grout with a baking soda and water paste using an old toothbrush, rinse, and dry. If dark staining has penetrated the grout, regrouting may be needed as a cosmetic fix, followed by sealing.
Why does shower mold keep coming back?
Showers stay humid, and mold returns when moisture lingers. Run the exhaust fan during and after showers, squeegee surfaces, and keep humidity down. Cleaning alone without ventilation only delays regrowth.
Should I use bleach on shower mold?
Bleach can lighten stains on hard surfaces but is not required by the EPA and is poor on porous materials like grout and caulk. Never mix it with other cleaners. Detergent and scrubbing handle most shower mold.
When is shower mold a bigger problem?
If mold spreads onto adjacent drywall, you smell a persistent musty odor, or drywall near the shower feels soft, there may be a leak behind the wall that needs professional investigation.
If your shower mold seems to extend behind the wall and you’re on the Front Range, a vetted inspector can check for hidden moisture. Reach out through our contact page, or visit our mold inspection and testing hub.