How Do You Check for Mold in Your House: A Plain-Language Guide
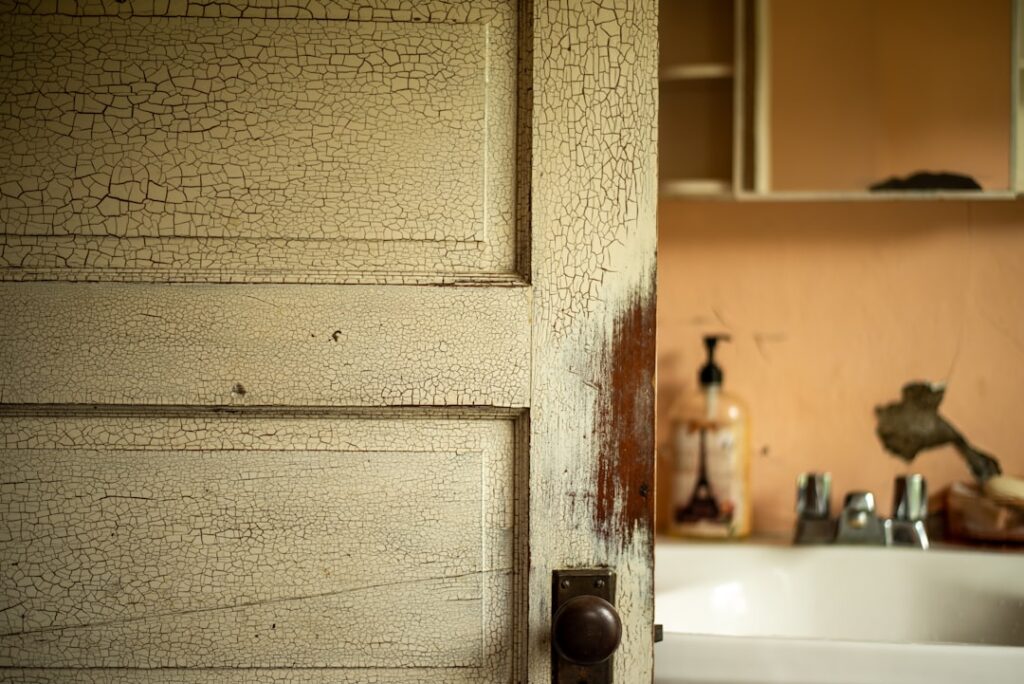
So how do you check for mold in your house without spending hundreds on lab work that may not be necessary? The honest answer is that most homeowners can rule mold in or out using four progressively more invasive steps: a careful visual scan, a smell test, a moisture-meter spot-check, and finally a lab sample if the first three turn up something concerning. This guide summarizes EPA and CDC guidance current as of 2026 — consult a certified mold inspector for testing decisions and your physician for symptom evaluation. The point of the workflow is not to find every spore. It is to confirm whether a real problem exists and decide whether you can clean it yourself or need to call a remediator.
Part of our Types of Mold guide — start there for the full picture →
Is this mold, asbestos, or water damage? Get a free instant screen
Upload a clear photo of the suspect area. You'll get an instant AI screening opinion and what to do next. This is screening guidance, not a professional determination.
Screening guidance only. AI can be wrong. Confirm asbestos, mold type, or lead with lab testing or a licensed professional before acting.
How do you check for mold in your house: the four-step short answer
Federal guidance from the EPA frames a mold check around moisture, not microscopy. If you find an active water source and visible or smell-detectable growth, you do not need a lab confirmation to act. The four-step sequence below moves from free and fast to more involved and expensive. Stop at whichever step gives you a clear answer.
- Step 1 — Visual scan. Walk the house room by room looking for staining, fuzzy patches, or warped surfaces near any past or present moisture source.
- Step 2 — Smell test. Sniff confined spaces (closets, cabinets, basements, attics) for the musty, earthy odor associated with active mold growth.
- Step 3 — Moisture meter check. Use a pin-type or pinless meter on suspect drywall, subfloor, baseboards, and ceiling areas to confirm whether the substrate is wet.
- Step 4 — Lab confirmation. Send a tape-lift, swab, ERMI dust, or air spore-trap sample to an accredited lab only when species identification or extent will change your next move.
The complete mold inspection and testing hub for homeowners walks through each step in more depth, but the workflow below covers what most Front Range households actually need on a first pass.
Step 1: a room-by-room visual scan
Mold needs three things to grow: a food source (most building materials qualify), oxygen, and moisture. Of those, moisture is the only one you can control, so your visual scan is really a moisture-history scan. Open every cabinet, every closet, every access panel. Bring a flashlight and look at corners, seams, and the underside of horizontal surfaces where condensation collects.
Bathrooms
Start with the caulk line where the tub or shower meets the wall and floor. Pink, brown, or black streaks in the grout and silicone are the most common entry-level finding. Check the ceiling above the shower for dotted speckling, the inside of the vanity for staining under the trap, and the back of the toilet tank for condensation rings on the drywall.
Basements and crawlspaces
Walk the perimeter of the basement and inspect the bottom six inches of drywall and the sill plate above the foundation. Look at corners near sump pumps, water-heater drain pans, and HVAC condensate lines. In crawlspaces, the dirt floor itself is a moisture source unless covered with a sealed vapor barrier — staining on floor joists, fiberglass insulation falling out of bays, and powdery white efflorescence on concrete walls all flag past wet events.
Attics and HVAC
Attic mold typically shows up around bathroom exhaust vents that dump into the attic instead of through the roof, around plumbing stacks, and at ridge or soffit boards where ice dams melted in winter. Pop the access panel on the air handler and look at the evaporator coil drain pan and the inside of the return-air plenum. Standing water in a clogged drain pan grows biofilm fast.
Behind appliances and under sinks
Pull the refrigerator a foot away from the wall and check the floor and drywall behind it. Open kitchen and bathroom vanity doors and look at the cabinet floor near the trap, the supply lines, and any spot where water has stained the particle board. Behind wallpaper and behind framed art in humid rooms are common hidden-growth zones.
Step 2: the smell test and why your nose is a real instrument
Mold colonies release microbial volatile organic compounds — MVOCs — that humans can smell at very low concentrations, often before visible growth appears. The descriptor most people land on is musty, earthy, or like an old basement. The CDC overview of mold and dampness in homes notes that a persistent musty odor is itself a reason to investigate moisture sources, even without visible growth.
Walk into closed rooms cold, before you open any windows. Sniff the back of closets, the inside of cabinets, the laundry room, and the area near the HVAC return. If the smell is intermittent — strong some days, gone others — it usually tracks a humidity or condensation cycle worth investigating. A persistent damp basement smell that does not improve after a week of dehumidification is a step-three signal.
Step 3: confirming with a moisture meter
A consumer moisture meter is the single most useful tool a homeowner can add to a mold check. Pin-type meters drive two small probes into drywall or wood and read electrical resistance; pinless meters use radio-frequency sensing through the surface without leaving holes. The plain-language physics behind moisture meters covers why the two technologies give slightly different numbers on the same wall.
What you are looking for is a comparative reading. Take a baseline measurement on a wall you know is dry (interior bedroom partition wall, well away from plumbing) and then test the suspect area. General benchmarks from manufacturer guidance:
- Under 12% on wood, under 0.5 on the relative drywall scale — dry, no concern.
- 12–16% wood, or 0.5–0.7 drywall — slightly elevated, watch and re-test in 48 hours.
- 16–20% wood, or 0.7–0.9 drywall — wet, mold growth likely if condition persists.
- Over 20% wood, or above 0.9 drywall — saturated, active water intrusion almost certain.
If your meter flags a wet area without an obvious cause, that is the moment to investigate plumbing, roof flashing, or grading before you worry about lab confirmation. Mold follows water; fix the water source first and the growth stops.
Step 4: when and how to confirm with a lab
Lab work is useful in three situations: you cannot identify the species and need to know whether it is allergenic versus toxigenic, you need documentation for an insurance claim or real-estate transaction, or you want a baseline for whole-house spore load before and after remediation. Otherwise, EPA guidance is clear that visible mold does not require sampling to justify cleanup.
Tape-lift surface samples
A clear adhesive lift pressed against a visible colony, packaged into a slide mailer, and shipped to an accredited lab runs $30 to $50 per sample. The lab identifies dominant genera (Cladosporium, Penicillium, Aspergillus, Stachybotrys) under a microscope. This is the most cost-effective lab option for a single, well-defined patch.
Surface swabs and consumer petri dishes
Consumer kits that ask you to leave a petri dish open for an hour and then mail it for incubation are the least reliable option. The EPA mold testing and sampling page notes that since mold spores exist everywhere indoors at low levels, settle-plate methods almost always grow something — making them prone to false positives. Sterile swabs analyzed by direct microscopy at a lab are more defensible than settle plates.
ERMI dust samples
The Environmental Relative Moldiness Index analyzes settled dust from carpets and floors against a database of 36 species. Lab cost is typically $150 to $300. ERMI gives a whole-house picture rather than a single-spot reading, which makes it useful for occupants with unexplained respiratory symptoms.
Air spore-trap sampling
Pro-only equipment — an air pump with an Andersen-style impactor cassette — pulls a known volume of air across a sticky slide for lab counting. Inspector-collected paired samples (one indoor, one outdoor control) typically run $300 to $600 total. This method is the standard for clearance testing after remediation.
DIY versus calling a professional
The EPA’s working rule of thumb for cleanup is the ten-square-foot threshold: contiguous mold growth covering less than roughly ten square feet of non-porous surface, accessible without tearing into wall cavities, is generally a DIY cleanup. Beyond that, or whenever respiratory illness is present in occupants, calling a certified remediator is the safer move.
Use the table below to decide whether to escalate. If any row in the right column applies, hire a pro before disturbing the growth — sanding or scrubbing visible mold releases far more spores into the air than leaving it alone for another week while you book an inspector.
- DIY-appropriate: ≤10 sq ft, non-porous substrate (tile, glass, sealed wood), no occupant with asthma or immune compromise, clear cause and easy moisture fix.
- Call a pro: Growth larger than 10 sq ft, porous substrate (drywall, carpet, insulation), HVAC contamination, post-flood Category 3 (sewage) water, recurring mold after prior cleanup, or symptomatic occupants.
The companion guide on how to check for mold in a house and the walkthrough for finding mold in your home both cover the inspection checklist in slightly different formats — pick whichever order matches how you tend to work.
Front Range Colorado context
Colorado’s Front Range is dry on average, with relative humidity often in the 25–45% range that suppresses indoor mold across most of the year. That overall dryness creates a false sense of security. Localized moisture problems still drive mold in specific spots: basement window wells that pond after thunderstorms, crawlspaces with bare dirt floors, attic ice dams from poor insulation, and HVAC condensate lines clogged with biofilm.
The Colorado Department of Public Health and Environment mold guidance page recommends keeping indoor relative humidity below 50% year-round, repairing water leaks within 24–48 hours, and using exhaust fans during showers and cooking. Those three habits prevent more mold than any inspection ever finds.
When to escalate beyond a homeowner check
A few situations always justify a paid inspection rather than a self-check. Recurring mold in the same spot after a prior cleanup signals a hidden moisture source you have not found. Occupant symptoms (chronic cough, headaches, sinus issues) without a clear medical cause justify ERMI or air sampling for documentation a physician can use. Post-water-damage assessment after a flood, burst pipe, or major roof leak almost always needs a moisture-meter map of the affected area to verify drying. And real-estate transactions where mold appears in the inspection report typically require lab documentation to justify either remediation pricing or a credit at closing.
Documenting what you find as you go
Whether or not you eventually send samples to a lab, the documentation you produce during your own check pays off later. Snap timestamped photos of every suspect area with a phone camera. Record meter readings in a simple table — date, location, reading, baseline-dry reference — so you can see whether the wall is drying out after you fix the source, getting worse, or holding steady. A held-steady-wet reading three days after you think you stopped the leak means the leak is still active or the substrate has not started drying yet.
If a remediator or insurance adjuster later walks the house, a photo log and a meter-reading table cut their assessment time in half and give you leverage on scope. The same documentation matters in real-estate transactions: a buyer who shows up with photos and meter notes from a pre-inspection walkthrough is harder to lowball than one who points vaguely at a stain on the ceiling.
What a homeowner check cannot tell you
It helps to be honest about the limits of self-checking. A visual scan plus a smell test plus a moisture meter can tell you whether you have a moisture problem, whether visible mold is present, and roughly how widespread the issue is on accessible surfaces. None of those steps can identify the species, quantify spore concentration in the breathing air, or rule out hidden growth inside wall cavities you have not opened. They also cannot tell you whether the spores in the air are coming from inside your home or drifting in from outdoors, which is exactly why pro inspectors take a paired outdoor control sample with every indoor air sample.
The practical takeaway is that homeowner checking is a triage tool. Use it to decide whether a problem exists and whether you can address it yourself. Once the answer is yes-problem-but-larger-than-I-can-handle, hand the work off to a certified professional and stop disturbing the area. Repeated sanding and scrubbing of large colonies aerosolizes spores into rooms that were previously clean, which is the opposite of the outcome you want.
References
- Mold Testing or Sampling: EPA Guidance — U.S. Environmental Protection Agency
- About Mold and Dampness in Homes — U.S. Centers for Disease Control and Prevention
- A Brief Guide to Mold, Moisture, and Your Home — U.S. Environmental Protection Agency
- Mold and Your Home — Colorado Department of Public Health and Environment
- Mold Inspection Standards — International Association of Certified Home Inspectors
Frequently asked questions
How do you check for mold in your house without buying equipment?
Start with a careful visual scan and a smell test. Walk every room with a flashlight, open cabinets and closets, and sniff for a musty earthy odor. If you find visible growth or persistent musty smell tied to a moisture source, you have enough evidence to act without further testing.
Are DIY mold test kits accurate?
Most settle-plate kits sold at hardware stores are unreliable because they almost always grow something. The EPA notes that mold spores exist everywhere indoors at low levels, so a positive petri dish does not prove a problem. Tape-lift samples sent to an accredited lab are more defensible than consumer kits.
What moisture-meter reading means a wall has a mold risk?
Wood readings above 16% or relative drywall scales above 0.7 usually indicate the substrate is wet enough to support mold growth if conditions persist. Sustained readings above 20% on wood signal active water intrusion. Always compare suspect areas against a known-dry baseline reading on the same instrument.
When should I call a professional instead of checking for mold myself?
Escalate whenever growth exceeds about ten square feet, the substrate is porous like drywall or carpet, HVAC components are involved, or any occupant has asthma or immune compromise. Recurring mold after a prior cleanup also warrants a paid inspection because it signals an undiscovered moisture source.
How much does a professional mold inspection cost on the Front Range?
Front Range inspectors typically charge $300 to $600 for a visual inspection with paired indoor-and-outdoor air samples sent to an accredited lab. ERMI dust analysis adds $150 to $300. Visual-only inspections without sampling are sometimes available for $150 to $250.
Front Range homeowners who want a vetted local mold inspector to handle the air sampling, moisture mapping, and remediation scoping can connect with a qualified inspector through our contact page and skip the trial-and-error of finding one cold.