Flir One Pro Lt Thermal Camera: What Homeowners Need to Know
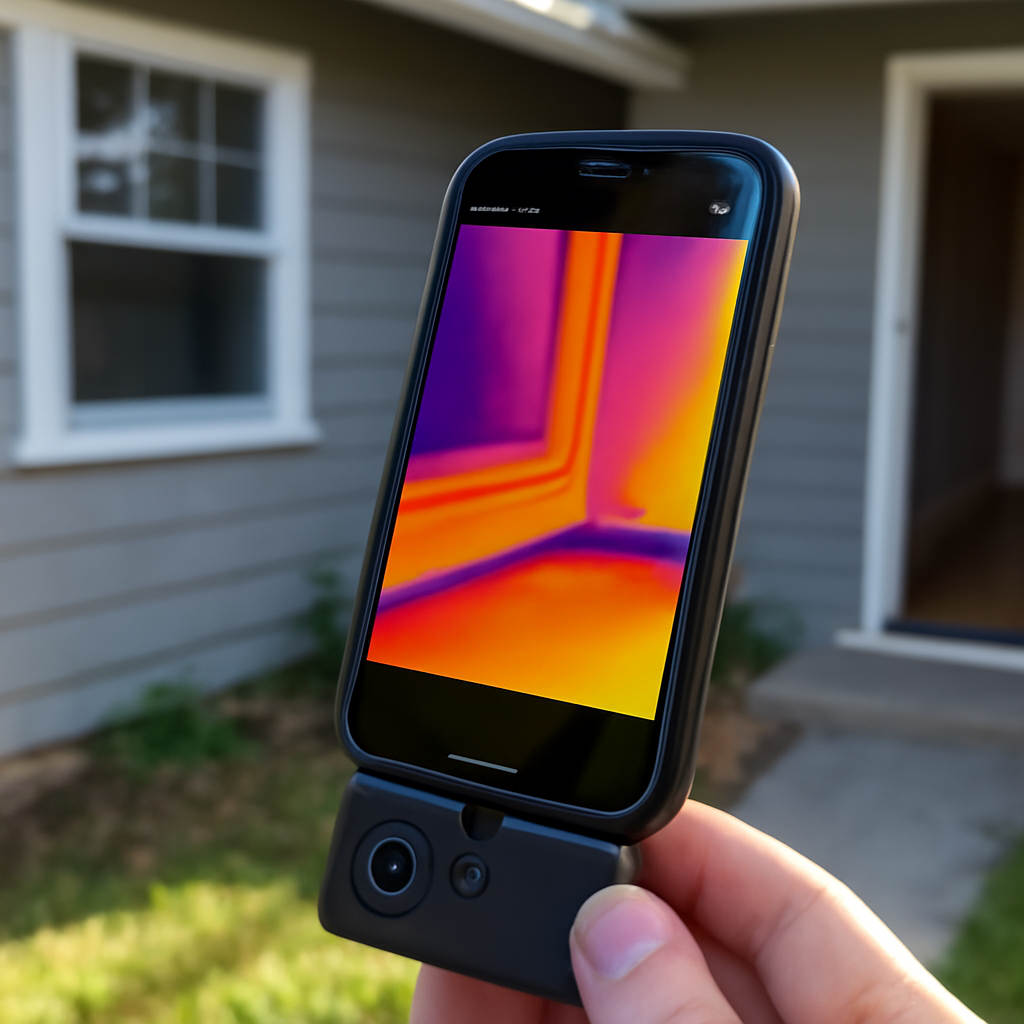
The Flir One Pro LT thermal camera is the entry-level model in Flir’s smartphone attachment line, sitting below the Flir One Pro at a meaningfully lower price. The Pro LT pairs an 80×60 thermal sensor with the same MSX visual edge-blending feature as its more expensive sibling, packaged in the same connector form factor that attaches to iPhone or Android phones. The price point is typically around two hundred dollars, which makes it the most affordable Flir attachment and an entry point for buyers curious about thermal imaging without the four-hundred-dollar commitment of the Pro.
Part of our Thermal Imaging for Homes guide — start there for the full picture →
The 80×60 Resolution Question Front and Center
The defining spec of the Flir One Pro LT is its 80×60 thermal sensor, which produces 4,800 thermal pixels per frame. That number sits at the bottom of the credible thermal camera resolution range. For comparison, the Flir One Pro at 160×120 produces 19,200 thermal pixels, four times what the Pro LT captures. The Seek Thermal CompactPRO at 320×240 produces 76,800 thermal pixels, sixteen times the Pro LT.
What 4,800 thermal pixels actually means in practice is that the camera can clearly identify large temperature anomalies but struggles with smaller or more distant ones. A wet stud bay behind drywall might show up as two or three contrasting pixels rather than a clearly defined rectangle. A poorly insulated rim joist shows up as a thin cold strip that requires interpretation. An air leak around a window often becomes a fuzzy halo rather than a sharp boundary.
This does not make the Pro LT useless. It makes the Pro LT a tool for obvious problems, not subtle ones. Used within its capabilities, it produces meaningful diagnostic value. Used as if it were a higher-resolution camera, it produces frustration.
What the Pro LT Does Well
For the right use cases, the Pro LT delivers solid value at its price point. Common scenarios where the resolution is adequate:
- Spotting obvious air leaks around poorly sealed windows and doors during winter scans
- Identifying missing insulation in attics where the gaps are larger than a few square feet
- Locating overheating electrical breakers in a service panel
- Verifying that floor heating delivers warmth across a slab
- Detecting major water leaks behind walls when the leak is recent and evaporation is active
- Finding draft sources around recessed light fixtures and ceiling penetrations
For these tasks, the Pro LT’s price-to-capability ratio is reasonable. Homeowners spending two hundred dollars on a basic diagnostic tool get something that genuinely helps with the most common building envelope problems.
What the Pro LT Struggles With
The 80×60 resolution becomes limiting in several scenarios that homeowners often encounter:
- Subtle insulation thinning rather than completely missing insulation
- Slow water leaks where the temperature differential is small
- Scanning from distance — the camera needs to be held close to the target to produce useful images
- Documentation for insurance or real estate purposes where image clarity matters
- Diagnostics of HVAC system performance across multiple registers
- Identification of specific anomalies in a complex wall or ceiling structure
For these tasks, the Flir One Pro at 160×120 produces meaningfully better images, and the Seek CompactPRO at 320×240 produces clearly better ones. Buyers who anticipate working on subtle diagnostic problems should consider stepping up before purchase rather than buying the Pro LT and replacing it within a year.
The MSX Implementation on the Pro LT
The Pro LT includes the same MSX visual edge-blending feature as the more expensive Flir One Pro. The visible-light camera resolution is lower (typically 640×480 on the Pro LT versus 1440×1080 on the Pro), but the basic functionality of overlaying visible-image edges onto the thermal frame is preserved. This makes the Pro LT’s images easier to interpret than they would be without MSX — a warm rectangle clearly sits above a doorframe rather than floating in space.
The MSX value is more important on lower-resolution cameras because the thermal data alone is less self-explanatory. On a 320×240 camera, the thermal image can often stand alone; on an 80×60 camera, the MSX edges are often what makes the image interpretable at all. Flir made the right call by keeping MSX on the entry-tier unit.
Connector Variants and Phone Compatibility
The Pro LT is available in USB-C and Lightning variants. iPhones with Lightning ports (iPhone 14 and older) need the Lightning version. iPhones with USB-C (iPhone 15 and newer) and Android phones with USB-C need the USB-C version. Buyers who switch phones during the camera’s life may need to repurchase the matching variant or accept that their attachment will not work with the new device.
This connector lock-in is a real consideration for multi-year ownership planning. Some buyers solve it by keeping an older dedicated phone for thermal work rather than relying on their primary device. The Flir app runs on relatively old iOS and Android versions, so a five-year-old phone is generally still capable of running the camera.
How the Pro LT Compares to the Flir One Pro
The choice between the Pro LT and the Pro is really a question of whether the resolution difference is worth two hundred dollars. The deciding factors:
- How often will the camera be used? Frequent users get more value from the Pro’s higher resolution because they encounter more subtle anomalies.
- What diagnostic depth is needed? Obvious problems do not require the Pro’s resolution. Subtle problems do.
- How much frustration tolerance does the buyer have? The Pro LT’s ambiguous images on subtle problems can be frustrating; some buyers prefer to pay the resolution premium upfront.
- What is the budget actually? The two-hundred-dollar saving on the Pro LT may be meaningful or trivial depending on the buyer’s situation.
For homeowners who are genuinely uncertain about whether they will use thermal imaging more than a few times, the Pro LT is a defensible “try it without overcommitting” choice. For homeowners who are confident they will use the camera regularly, the Pro pays back its premium within the first dozen diagnostic sessions. Our comparison of the Flir One Pro resolution in detail covers the spec implications.
How the Pro LT Compares to Lower-Cost Alternatives
The Pro LT also competes against several thermal cameras at or near its two-hundred-dollar price point. The Klein TI120 at 49×49 is meaningfully lower resolution but offers a standalone form factor. Some Topdon and Hikmicro entry-tier products offer comparable or slightly better resolution at competitive pricing but with less mature app ecosystems. The Pro LT’s advantage over these alternatives is the Flir brand’s mature support network, the well-developed iOS and Android app, and consistency with the broader Flir reporting ecosystem.
For buyers planning to upgrade later to a higher-tier Flir unit, starting with the Pro LT provides app and workflow continuity. For buyers who view this as a one-time purchase, the brand premium matters less and the alternatives become more competitive.
Realistic Use Patterns Over Multi-Year Ownership
Pro LT owners over multi-year ownership tend to follow a few recognizable patterns. The first-year usage is typically heaviest as the new owner explores what the camera can do and applies it to all the questions that have been accumulating about their home. After the initial novelty phase, usage stabilizes at a few diagnostic sessions per year — checking insulation when winter heating bills spike, scanning for leaks when a stain appears, verifying that recent home improvement work performed as expected.
Owners who find themselves repeatedly frustrated by the Pro LT’s resolution tend to upgrade within eighteen to twenty-four months. Owners who find the Pro LT adequate for their actual use patterns tend to keep it for the full useful life of the unit. Both outcomes are reasonable depending on how the camera matches the owner’s diagnostic needs. Our overview of home inspection tools across the broader market covers when the upgrade path makes sense.
Tips for Getting the Most From a Pro LT
Several techniques substantially improve what the Pro LT can deliver. Scan at maximum temperature differential — winter morning scans of cold exterior walls against heated interior produce stronger anomalies than mild-day scans. Hold the camera as close to the target as practical; the Pro LT’s resolution penalizes distance more than higher-resolution cameras do. Capture multiple images of the same area from different angles; one ambiguous frame often becomes clearly diagnostic when combined with two more.
Pre-condition the building envelope by running heating or cooling at the high or low end of its range for thirty minutes before scanning. This forces the envelope to expose its weakest points. Compare scans of the same area across multiple weeks or seasons; thermal patterns that are consistent over time are more diagnostically meaningful than one-time observations.
The Practical Bottom Line on the Pro LT
The Flir One Pro LT thermal camera is a credible entry-tier product that does what its spec sheet promises — usable thermal imaging for obvious problems at a low entry price. It is not the best resolution-per-dollar choice (that goes to the Seek CompactPRO), it is not the best standalone form factor at its price (that goes to the Hikmicro Pocket2), and it is not the highest-resolution unit Flir offers (the Pro and the C5 are both higher). What it is, is the most affordable way into the Flir ecosystem for buyers who want the brand’s app and reporting maturity at the lowest possible price.
Buyers who match the Pro LT to use cases its resolution can handle find it a satisfying tool. Buyers who expect more than 4,800 thermal pixels per frame can deliver will quickly hit its limits and consider it underpowered. As with most thermal cameras, the disappointment usually stems from a mismatch between what was bought and what the buyer actually needed, not from any defect in the camera itself.
Front Range Patterns for Pro LT Owners
Colorado homeowners using a Pro LT report a few recurring patterns worth knowing about. Winter scans of attic access panels reveal whether the access is air-sealed properly — a poorly sealed attic hatch shows up as a clear cold rectangle on the Pro LT even at its limited resolution. Summer scans of west-facing rooms during the late afternoon show whether window shading and insulation are adequate; rooms that overheat in summer almost always reveal a strong thermal pattern through the Pro LT.
Spring scans of basement walls during the snowmelt season show whether moisture is migrating through the foundation. The Pro LT catches obvious wet patches but often misses the subtle, slow seepage that higher-resolution cameras would reveal. For homeowners trying to determine whether they need professional waterproofing, the Pro LT can identify “yes there is a problem” or “no nothing obvious” but cannot reliably distinguish “minor seasonal moisture” from “no moisture issue at all.”
HVAC-related use of the Pro LT in Colorado homes tends to be productive. The camera clearly shows whether forced-air registers are delivering the expected air temperature, whether return-air paths are obstructed enough to show temperature anomalies, and whether ductwork in unconditioned spaces is bleeding heating or cooling into attics and crawlspaces. These are obvious-problem categories that the Pro LT handles well.
Common Mistakes Pro LT Owners Make
A few patterns recur among Pro LT owners that diminish the camera’s usefulness. Scanning during mild weather with minimal interior-exterior temperature differential and then concluding the camera does not work — actually, the conditions for diagnostic scanning are not present. Holding the phone too far from the target and then expecting to see details that 4,800 thermal pixels at that distance cannot resolve. Skipping the MSX overlay in favor of pure thermal display, which produces images that are harder to interpret without the visible-light edge reference.
Avoiding these mistakes turns the Pro LT into a meaningfully more capable tool than first impressions might suggest. The camera is honest about its limits; users who learn to work within them get better diagnostic results than users who fight against them.
References
- Infrared Thermography Principles — International Association of Certified Home Inspectors
- Infrared Inspection Standards — American Society of Home Inspectors
- ENERGY STAR: Seal and Insulate — U.S. Environmental Protection Agency (ENERGY STAR)
- Building Envelope Performance Standards — ASHRAE
Frequently asked questions
How is the Pro LT different from the Flir One Pro?
The Pro LT uses an 80x60 thermal sensor producing 4,800 thermal pixels per frame. The Pro uses 160x120, producing 19,200. The Pro LT is roughly two hundred dollars and the Pro is roughly four hundred. Both include MSX edge-blending and the same app integration.
Is 80x60 resolution enough for home diagnostics?
For obvious problems like major air leaks, missing insulation, and overheating breakers, yes. For subtle anomalies, slow leaks, and detailed building science work, no. The Pro LT is a tool for big problems, not subtle ones.
Should I buy the Pro LT or step up to the Pro?
If you plan to use the camera regularly and care about resolving subtle anomalies, the Pro pays back its premium quickly. If you want a low-risk first thermal camera for occasional use, the Pro LT is a defensible entry point.
Does the Pro LT work on iPhone 15?
Yes, with the USB-C variant. Older Lightning iPhones need the Lightning variant. Buyers should match the connector to their current and likely-next phone.
Thermal imaging cameras
Infrared cameras reveal hidden moisture, missing insulation, and air leaks. Phone-attachment models are the budget entry point; standalone units have higher resolution.
| Product | Why | Buy |
|---|---|---|
 FLIR ONE Pro (phone) FLIR ONE Pro (phone) | Plugs into iPhone/Android; inspector favorite. | Amazon — $349.00 |
 Topdon TC001 Topdon TC001 | High-res phone module at a low price. | Amazon — $199.99 |
 FLIR C5 Compact FLIR C5 Compact | Standalone pocket camera with Wi-Fi. | Amazon — $611.50 |