FLIR ONE Pro Thermal Camera: What Homeowners Need to Know
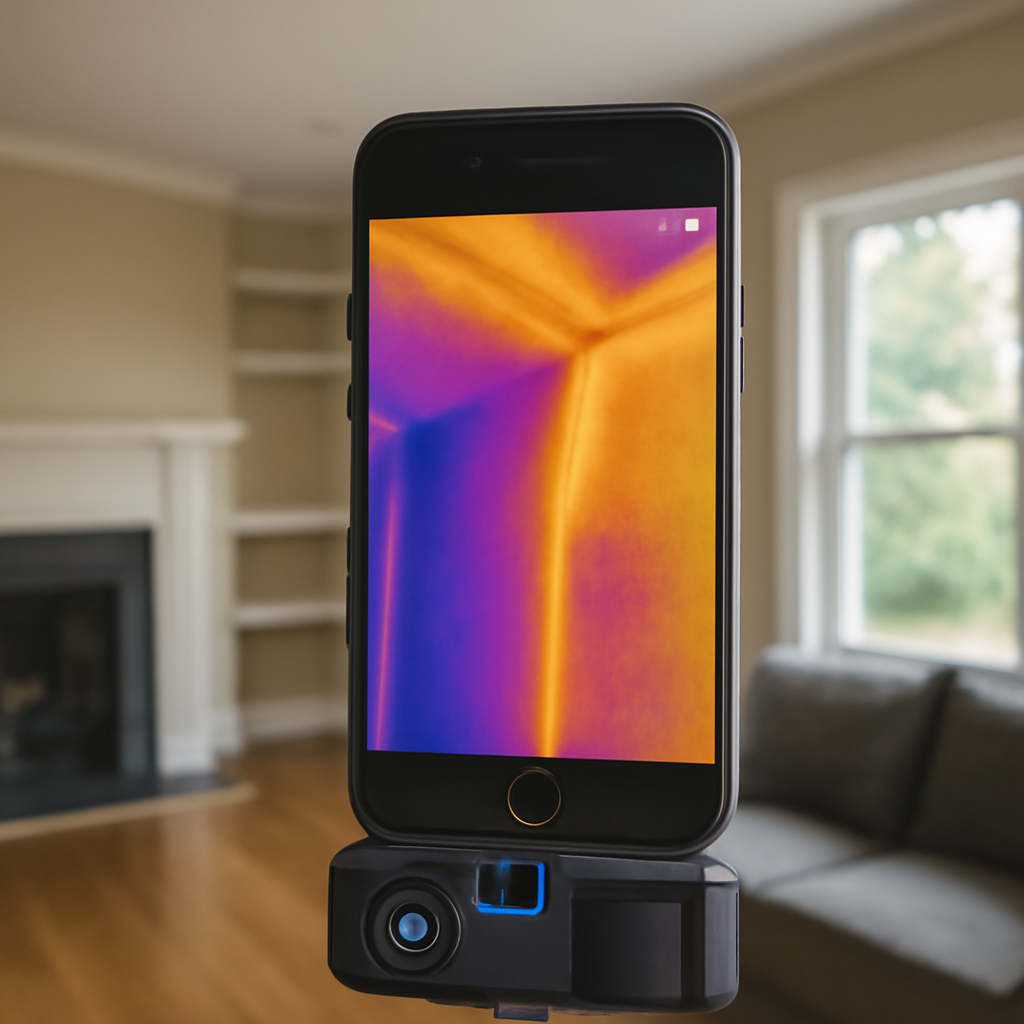
The FLIR ONE Pro is the middle child of the FLIR ONE family — sitting between the entry-level ONE Pro LT at roughly $200 and the discontinued ONE Pro Max. At about $400 retail in 2026, it bundles a 160 by 120 infrared detector, MSX picture-in-picture overlay, and a free companion app onto a hardware module that clips into an iPhone, Android, or Lightning-port device. For a serious DIY homeowner, the FLIR ONE Pro thermal camera is the natural step up from the LT, and the article below covers what the Pro tier actually delivers, where it falls short, and how to think about the connector variants.
What the FLIR ONE Pro is — and how it differs from the LT
The FLIR ONE Pro is a phone-attached thermal camera module. It contains its own infrared microbolometer detector (160 by 120 pixels), a visible-light camera for MSX overlay, an internal battery rated for about an hour of continuous use, and a connector that mates to the phone’s charging port. Once attached, it draws power from its own battery rather than the phone’s, and uses the phone purely as display, storage, and report-builder through the free FLIR ONE app.
The biggest spec difference between the Pro and the LT is detector resolution. The LT runs an 80 by 60 array — 4,800 thermal pixels. The Pro runs 160 by 120 — 19,200 thermal pixels, four times the LT count. In practice, that means the Pro resolves a wet drywall patch with crisper edges, distinguishes two adjacent stud bays with clear contrast, and lets a homeowner zoom in further before the image turns to mush. The Pro also pushes thermal sensitivity (NETD) lower at around 70 millikelvin, making subtler temperature differences visible in low-contrast scenes like envelope leakage on a mild day.
MSX overlay: why edges matter on a low-resolution sensor
Multi-Spectral Dynamic Imaging (MSX) is FLIR’s edge-enhancement feature. The module’s visible-light camera captures sharp edges of objects in the scene — the seam between drywall and a baseboard, the outline of a duct, the lettering on an electrical panel — and overlays those edges onto the thermal image. The result is a thermal frame the eye can interpret quickly: the warm and cool zones still come from the IR detector, but they sit on top of crisp visual landmarks so the viewer knows what they are looking at.
On a low-resolution detector like 160 by 120, MSX is the difference between a vague blob of color and a useful inspection image. Without it, a homeowner trying to identify which wall stud the cold spot lives behind would have to constantly cross-reference the thermal frame against a separate phone photo. With it, the framing becomes self-explanatory. MSX is enabled by default in the FLIR ONE app and runs in real time without user configuration.
Who the FLIR ONE Pro is for
The FLIR ONE Pro suits the serious DIY homeowner who expects to use thermal imaging more than once or twice a year. Typical use cases include winter envelope checks to find drafty stud bays and missing insulation, summer HVAC walkthroughs to spot a disconnected duct or a refrigerant line frosting up, post-storm roof inspections to find a leaked-through ceiling stain before it dries, and electrical panel scans to identify a hot breaker or a loose connection.
It is not the right tool for working home inspectors running multiple jobs per week. The phone-attached form factor is fine for occasional use but slows down a professional workflow. The handheld FLIR E5 or E6 — covered in the home inspection tools pillar guide — is the floor for a working inspector. The FLIR ONE Pro is the floor for a homeowner who wants real thermal capability without committing $1,500 to a dedicated camera body.
Connector variants: USB-C, Lightning, and the legacy 30-pin
The FLIR ONE Pro ships in two current connector variants: USB-C (for most Android phones and recent iPhones from the 15 generation onward) and Lightning (for older iPhones in the 5 through 14 generations). The historical 30-pin variant for very old iPhones is no longer sold new but circulates on the used market. When buying, the connector must match the phone — buyers cannot use a USB-C-to-Lightning adapter, because the module exchanges data and power simultaneously over a single connector and adapters break the protocol.
The USB-C variant pairs with most modern Android phones and the latest iPhones. The Lightning variant pairs with iPhones from the iPhone 5 through iPhone 14. Verifying the phone’s port before ordering is the single most common buyer mistake. Both variants run the same FLIR ONE app and produce the same image quality — the connector is purely a physical interface.
What the FLIR ONE Pro skips compared to a handheld pro camera
The FLIR ONE Pro is not a substitute for a handheld pro camera. It skips swappable batteries (the internal battery is fixed and degrades over time), it skips a dedicated screen (the phone is the screen, and bright outdoor scanning can be hard to read), and it skips polished PDF reporting (the FLIR ONE app exports images but does not build multi-page inspection reports).
The handheld FLIR E-series also offers a wider temperature range, higher thermal sensitivity, and longer continuous run time. For a homeowner doing four or five thermal walkthroughs a year, none of these limitations matter. For an inspector running three commercial roof surveys a week, all of them matter. Picking the right tier means honestly scoping the use case rather than reaching for the most affordable option that bears the FLIR name.
How to set up and use the FLIR ONE Pro
Setup is straightforward. Download the free FLIR ONE app from the App Store or Google Play, plug the module into the phone connector, launch the app, and grant camera and storage permissions. The app prompts a short calibration shutter click on first use and is ready for live thermal imaging within seconds. The module’s internal battery charges via a separate USB-C cable on the side of the unit — most users charge it overnight before a planned inspection day.
For interior wall scanning, ASHRAE building diagnostics guidance recommends running the HVAC for at least 30 minutes before imaging so the wall surfaces reach a stable temperature differential with the conditioned space. Without that delta, thermal imaging cannot reveal stud bays or missing insulation reliably. The Department of Energy infrared thermography page describes the same principle for energy audit work.
Where the FLIR ONE Pro fits in Front Range homeowner workflows
Front Range Colorado homeowners face a specific set of envelope issues that thermal imaging diagnoses well: missing insulation in attic transitions where contractors skipped tricky areas, ice-dam-driven leaks where roof and ceiling temperatures diverge in winter, and basement window-well frost lines where cold air infiltrates around old caulking. The FLIR ONE Pro handles all three at the homeowner-investigation level. For deeper diagnosis or for documentation that will support an insurance claim or a contractor dispute, a working inspector with a handheld pro camera produces stronger evidence.
Winter is the prime season for envelope thermal imaging because indoor-outdoor temperature differential is highest. A January morning with outdoor temperatures in the teens and indoor at 68 degrees creates the 30-plus degree delta that makes envelope defects unmistakable on a 160 by 120 detector. Summer envelope imaging is harder because the delta is smaller and reverses direction. For HVAC duct and refrigerant work, summer is fine — the systems are running and the thermal contrast is internal to the equipment rather than driven by ambient conditions.
Price, warranty, and where to buy
The FLIR ONE Pro retails at $399 in the United States in 2026. Authorized resellers include major electronics retailers, professional tool dealers, and FLIR’s own direct sales channel. The standard warranty is two years on the module and one year on the internal battery. Gray-market units sold through unauthorized channels frequently lack the warranty backing and sometimes ship with older firmware that the FLIR ONE app rejects.
The cost-per-year of ownership for a serious DIY homeowner is reasonable. At a $400 purchase and an expected useful life of four to five years before the internal battery degrades meaningfully, the per-year ownership cost is roughly $80 to $100. That compares favorably with hiring a professional inspector for a single thermal walkthrough at $300 to $500. Homeowners who use the module for at least one full inspection a year recoup the spend quickly.
Reading thermal images: what a wet wall actually looks like
The FLIR ONE app shows thermal data in a chosen palette — Iron, Rainbow, Gray, Lava, Arctic, and others. Most users default to Iron, which paints hot zones yellow-white and cool zones dark purple-black. A wet drywall patch appears as a cool zone (water evaporating off the surface drops the surface temperature by several degrees relative to dry wall nearby), and the color shift is visible immediately on a 160 by 120 detector. The MSX overlay makes the boundary between wet and dry drywall clean enough to mark with painter’s tape and re-check after a dehumidifier runs for 48 hours.
Missing insulation in a stud bay appears as a thermal stripe — warmer than insulated bays in summer, cooler in winter. Air infiltration around a window or door appears as a thin temperature gradient that traces the gap. Electrical hot spots appear as bright points on a breaker or junction box. Each pattern has a different signature, and the FLIR ONE app’s spot meter (a center crosshair that displays the temperature at the pixel under it) lets the user quantify the difference between two adjacent zones rather than guessing from color alone.
Limitations the FLIR ONE Pro cannot work around
Thermal imaging is a surface-temperature tool, not an X-ray. The FLIR ONE Pro cannot see through walls — it sees only the wall’s outer surface, and infers what is behind based on temperature differentials. A small leak deep inside a wall cavity may not show on the surface if the wall material absorbs and redistributes the heat before it reaches the visible face. Active air movement (a running ceiling fan, a recently opened door) disrupts the surface temperature pattern and can hide or fake defects.
Reflective surfaces (polished metal, glass, glossy paint) reflect ambient thermal energy rather than emitting their own, which the IR detector misreads. Emissivity correction in the FLIR ONE app accounts for this only partially. Cold dark surfaces (a black-painted wall) absorb and emit thermal energy efficiently and image well. The FLIR ONE app does not auto-correct for these limitations — the user has to recognize them through experience. The home inspection infrared camera process guide covers the same caveats from a working inspector’s perspective.
References
- Using Infrared Thermography for Energy Audits — U.S. Department of Energy
- ASHRAE Standards and Guidelines — ASHRAE
- InterNACHI Standards of Practice — InterNACHI
- NFPA Codes and Standards Index — National Fire Protection Association
Thermal imaging cameras
Infrared cameras reveal hidden moisture, missing insulation, and air leaks. Phone-attachment models are the budget entry point; standalone units have higher resolution.
| Product | Why | Buy |
|---|---|---|
 FLIR ONE Pro (phone) FLIR ONE Pro (phone) | Plugs into iPhone/Android; inspector favorite. | Amazon — $349.00 |
 Topdon TC001 Topdon TC001 | High-res phone module at a low price. | Amazon — $199.99 |
 FLIR C5 Compact FLIR C5 Compact | Standalone pocket camera with Wi-Fi. | Amazon — $449.00 |