How to Test Popcorn Ceiling for Asbestos DIY
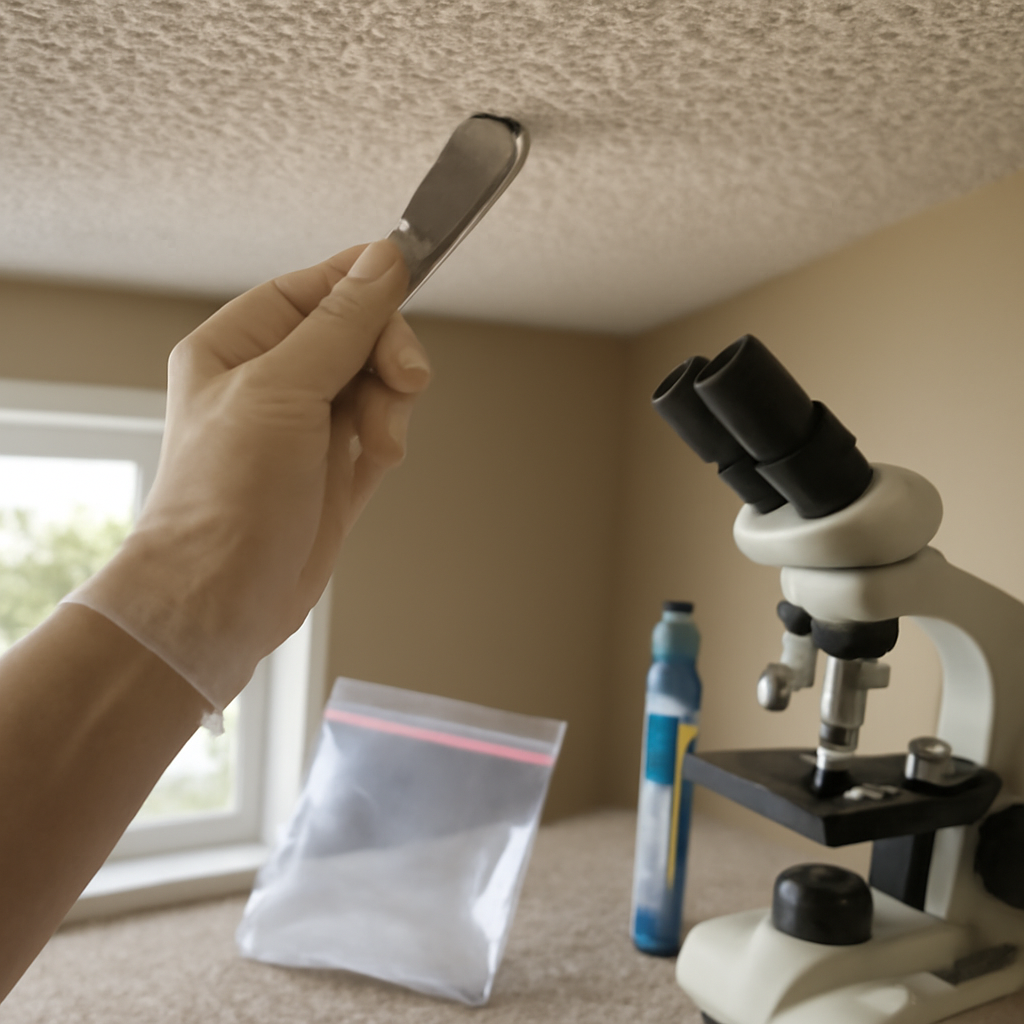
Homeowners planning to remove an old textured ceiling often want to know how to test popcorn ceiling for asbestos DIY before paying for professional sampling. It can be done at home if you follow a careful wet-sampling procedure and use real respiratory protection, then send the sample to an accredited laboratory. The catch is that doing it safely matters, because careless sampling of an asbestos ceiling can release fibers into your living space. This guide summarizes EPA, OSHA, and CDC guidance current as of 2026 for educational purposes only; consult your physician about exposure concerns and a licensed asbestos professional for abatement decisions. The sections below cover the safety setup, the step-by-step wet sampling procedure, the mistakes to avoid, and what to do with your result, so a careful homeowner can sample responsibly or recognize when hiring a pro is the better call.
Is this mold, asbestos, or water damage? Get a free instant screen
Upload a clear photo of the suspect area. You'll get an instant AI screening opinion and what to do next. This is screening guidance, not a professional determination.
Screening guidance only. AI can be wrong. Confirm asbestos, mold type, or lead with lab testing or a licensed professional before acting.
Can You Test a Popcorn Ceiling Yourself?
Yes, collecting a small bulk sample is within reach for a careful homeowner, and the laboratory does the actual identification. The federal rules that strictly govern asbestos work focus on disturbance and removal rather than collecting a single tiny sample, but the safety principles still apply because you are briefly disturbing potentially asbestos-containing material. The decision comes down to comfort with PPE and technique. If you are uneasy, hiring an inspector is the safer path, and this guide covers that decision at the end.
Why test at all? Textured ceilings applied before 1980 may contain asbestos, and you cannot tell by looking. Testing before removal prevents the worst-case scenario of dry-scraping an asbestos ceiling, which can release large quantities of fibers. The closely related overview of asbestos testing for popcorn ceilings explains the lab side in more depth.
Safety and PPE First
Before touching the ceiling, gather protective equipment. This is not optional. Asbestos fibers are inhalation hazards, and a basic dust mask does nothing against them.
Respiratory Protection
Use a respirator with HEPA-grade filters rated N100 or P100, fitted properly to your face. A loose mask or an N95 is inadequate for asbestos. Facial hair breaks the seal, so a clean-shaven face is required for a proper fit.
Body and Area Protection
Wear disposable gloves and disposable coveralls you can discard after. Lay plastic sheeting on the floor directly beneath your sample spot to catch debris. Remove furniture or cover it. Keep children, other people, and pets out of the room entirely.
Shut Down Air Movement
Turn off the HVAC system and any fans, and close vents in the room so you do not circulate fibers through the house. Work with the room sealed off as much as practical.
Step-by-Step DIY Sampling Method
The core principle is the wet method: keep the material damp so it does not generate airborne dust while you take the piece.
Step 1 — Mix a Wetting Solution
Fill a spray bottle with water and add a few drops of dish soap. The surfactant helps water penetrate the texture and bind loose fibers rather than letting them float.
Step 2 — Mist the Target Area
Choose an inconspicuous spot. Lightly mist a small area, roughly the size of a coin, until it is damp but not soaked. Let it absorb for a moment so the texture is no longer dusty.
Step 3 — Collect the Sample
Using a clean putty knife or similar tool, gently scrape a small piece, about a teaspoon of material, into a sealable plastic bag or rigid container held just below the spot. Work slowly to minimize crumbling. Seal the bag, then place it inside a second bag and seal that too.
Step 4 — Clean Up
Wet-wipe the sampled area and the plastic sheeting. Fold the sheeting inward to trap debris, bag it with your gloves and coveralls, and dispose of the waste according to local rules for asbestos-contaminated material. Do not vacuum with an ordinary household vacuum, which can spread fibers.
Step 5 — Label and Submit
Label the sealed sample with the location and date. Send it to a laboratory accredited under NVLAP for asbestos, using the lab’s submission form. The standard analysis for ceiling texture is polarized light microscopy (PLM). Because texture can vary across a ceiling, some homeowners take two or three samples from different areas for a fuller picture.
Reading Your Results
The lab reports whether asbestos is present and, if so, the type and approximate percentage. A negative result means you can remove the texture with ordinary dust precautions, such as wetting and basic cleanup. A positive result changes everything: the material is asbestos-containing, and you should not scrape, sand, or dry-remove it.
With a positive result, the realistic options are leaving the ceiling intact and undisturbed, covering or encapsulating it, or hiring a licensed abatement contractor to remove it. Self-removal of confirmed asbestos is not safe or, in most jurisdictions, permitted for a homeowner doing significant work, because of the dust generated.
Common DIY Sampling Mistakes to Avoid
Several errors turn a careful DIY sample into an exposure event or a useless result. The most dangerous is skipping the wet method and dry-scraping the ceiling, which sends a cloud of potentially asbestos-laden dust into the air. Another is using an inadequate mask; a paper dust mask or N95 does not protect against asbestos fibers, and only a properly fitted HEPA-grade N100 or P100 respirator does. Sampling with the HVAC running circulates any released fibers through the whole house.
On the result side, a frequent mistake is taking a single sample and treating it as definitive when the ceiling was patched or applied in stages. Another is failing to seal the sample properly, which can contaminate the bag’s exterior and your hands. Sending the sample to a lab that is not NVLAP-accredited for asbestos undermines the result’s reliability. Finally, some homeowners proceed to remove a positive ceiling themselves, which is unsafe and often not permitted. Avoiding these mistakes is largely about respecting the wet method, the respirator, the air controls, and the limits of DIY work.
Disposing of Samples and Waste Safely
After sampling, the small amount of waste you generate still needs careful handling. Double-bag the gloves, coveralls, plastic sheeting, and any cleanup cloths used during sampling. Seal the bags and label them according to your local guidance for asbestos-containing waste. Do not place loose asbestos debris in regular household trash, and never sweep or use a standard vacuum, since both spread fibers. Check with your municipality or county, because Front Range jurisdictions have specific rules for asbestos waste disposal and may require it go to a designated facility.
The sample itself, sealed and double-bagged, is mailed to the laboratory in accordance with the lab’s shipping instructions. Keep it sealed; do not reopen it once collected. Wash your hands thoroughly after handling everything, even though gloves were worn. These steps keep the small disturbance from sampling contained, which is the entire point of the wet method and careful cleanup. If the handling of asbestos waste feels daunting, that hesitation is itself a reasonable signal to hire a licensed inspector who manages disposal as part of their service.
What Happens After a Positive Result
A positive result reorients your project. The textured ceiling is now confirmed asbestos-containing material, and your safe options narrow to three: leave it intact and undisturbed, cover or encapsulate it, or hire a licensed abatement contractor to remove it. Leaving it alone is genuinely viable when the ceiling is in good condition, because intact, sealed material does not readily release fibers. Painting an intact ceiling can help bind the surface, though it does not make future disturbance safe.
Covering the ceiling, for example by installing a new ceiling surface beneath the textured one, encloses the asbestos without removing it and is sometimes the most cost-effective route. Removal by a licensed contractor is the path when you want the material gone, and it involves containment, negative air pressure, wet removal, and regulated disposal under EPA NESHAP and OSHA rules. What a positive result rules out is the original DIY plan of scraping the ceiling yourself, which would release significant fibers into your home. Testing first is precisely what prevents that outcome.
When to Hire a Professional Instead
DIY sampling makes sense when the ceiling is in good condition, you are comfortable with respiratory protection, and the result is for your own planning. Hire a licensed inspector when the ceiling is damaged or friable, when you cannot achieve a proper respirator seal, when the result feeds a real estate sale or permit, or when you simply prefer not to disturb the material yourself. A professional samples multiple representative spots and documents chain of custody for a defensible report.
For the removal stage, professional help is not optional. The EPA’s NESHAP regulations and OSHA worker-protection standards make abatement licensed-pro work involving containment, negative air pressure, and controlled disposal. The broader guide to asbestos and lead hazards in older homes puts the testing-then-abatement sequence in context. Front Range homeowners with pre-1980 textured ceilings should test before any remodel and budget for licensed abatement if asbestos is confirmed.
Choosing an Accredited Laboratory
The reliability of a DIY sample depends as much on the lab as on the sampling technique. Select a laboratory accredited under the National Voluntary Laboratory Accreditation Program (NVLAP) for asbestos analysis, since accreditation means the lab’s methods and quality controls have been independently verified. Many mail-in asbestos test kits sold to homeowners include prepaid submission to such a lab, which simplifies the process and ensures the analysis is competent.
When you submit, complete the lab’s chain-of-custody or submission form, noting the sample location and date. Ask whether the standard polarized light microscopy analysis is included and what the turnaround time is, typically a few business days. If you collected multiple samples from different areas, label each clearly so the lab reports them separately and you can act selectively on the results. A clear, accredited lab report is the document that justifies your next decision, so choosing the lab carefully is as important as the careful wet-method sampling that preceded it. If the report will feed into a real estate transaction, a permit application, or a contractor’s bid, the accreditation and clear documentation matter even more, because other parties will rely on the result. Keeping a copy of the report with your home records also gives you a reference point for any future renovation, since it documents exactly which surfaces tested positive and which did not. That record saves you from re-sampling the same ceiling years later and helps any contractor scope the work correctly, whether the result was positive or negative. A documented, accredited result is the difference between a guess and a defensible answer about what is in your home.
References
- EPA on protecting your family from asbestos exposure — EPA
- OSHA asbestos worker-protection standards — OSHA
- CDC/NIOSH asbestos hazard information — CDC
Front Range homeowners who would rather have a licensed pro sample a textured ceiling can request a connection through our contact page before starting any removal.
Asbestos test kits
Asbestos can only be confirmed by a lab. A mail-in kit gets you a sealed sample container and accredited analysis — never sand or disturb suspect material first.
| Product | Why | Buy |
|---|---|---|
 Asbestos Test Kit (mail-in lab) Asbestos Test Kit (mail-in lab) | Includes PPE + sealed mailer. | Amazon — $29.99 |
 Pro-Lab Asbestos Test Kit Pro-Lab Asbestos Test Kit | Widely available; lab fee separate. | Amazon — $45.99 |