Asbestos Tile Testing Kit: 2026 Multi-Sample Floor Survey Guide
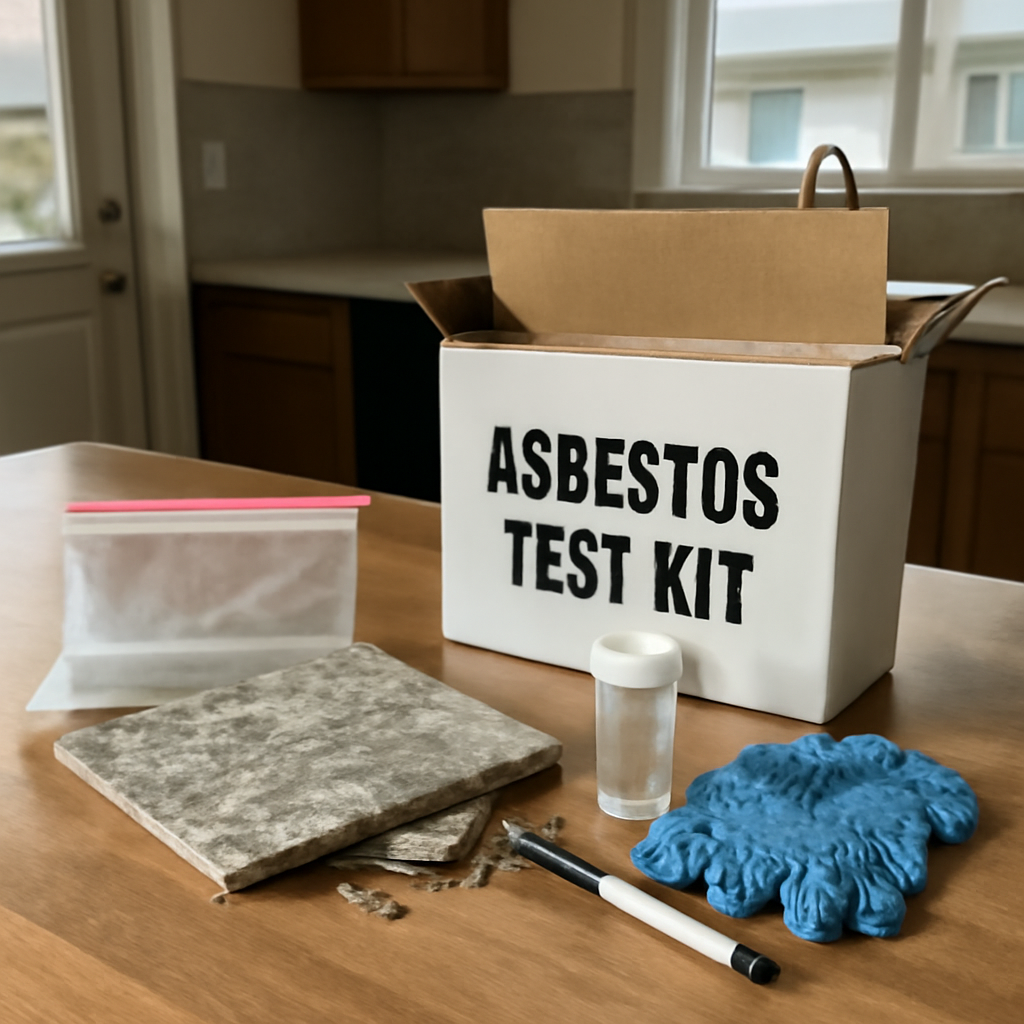
An asbestos tile testing kit is the specialized version of a general-purpose home asbestos kit, with features and pricing tuned for residential floor surveys. This guide summarizes EPA and CDC guidance current as of 2026 — consult a licensed abatement professional before disturbing suspected asbestos, and a physician for any exposure concerns. Sampling intact tile is OK to DIY with proper precautions; abatement is licensed-professional-only per EPA NESHAP. This article walks through the kit options designed for tile sampling, why multi-sample kits matter for whole-floor surveys, how to sample the tile and the mastic together, and what the 2026 cost landscape looks like.
Is this mold, asbestos, or water damage? Get a free instant screen
Upload a clear photo of the suspect area. You'll get an instant AI screening opinion and what to do next. This is screening guidance, not a professional determination.
Screening guidance only. AI can be wrong. Confirm asbestos, mold type, or lead with lab testing or a licensed professional before acting.
What makes a tile testing kit different
Generic single-sample asbestos kits include one sample bag and assume the homeowner needs only one analysis. Tile-specific kits adjust three things: they include multiple sample bags (typically 3-6), they offer a pry tool or scraper appropriate for lifting tile and scraping mastic, and they price the included multi-sample lab analysis at a discount to single-sample submission. The premise is that tile floors are rarely uniform — different rooms, different installation eras, different mastic batches — and a meaningful survey requires multiple samples.
Pro-Lab, EMSL, and Aerobiology all sell multi-sample kits framed for tile and other multi-room sampling. Prices: 3-sample kits run $80-$120 all-in; 6-sample kits run $150-$220. Per-sample cost drops from roughly $50 to $25-$35.
Why one tile sample is usually not enough
A basement floor in a 1965 home might have three distinct tile installations: an original 9×9 vinyl-asbestos tile from construction, a 12×12 vinyl overlay from a 1985 remodel in part of the space, and a peel-and-stick patch over a damaged section from 2005. Each was installed with different mastic. A single sample from one corner of the room could miss two-thirds of the actual conditions.
The same logic applies across rooms. Kitchen tile is often installed at a different time than basement tile. Laundry-room and entryway tiles may date to original construction even when the main living-area floor has been replaced. A whole-floor survey takes a sample from each visually distinct area. The companion test tile for asbestos guide covers single-sample procedure; this article focuses on the multi-sample workflow.
How to plan a tile sampling survey
Walk through every space with hard-surface flooring. Note each distinct tile pattern, size, and apparent age. Sketch a simple floor plan with letters marking each area to sample (A, B, C, etc.). This becomes the chain-of-custody documentation when samples are mailed.
Sample size: each sample is a single small tile fragment plus a scraping of the mastic underneath. For a typical 3-bedroom 1970s ranch with original tile in the basement, kitchen, and entryway plus a remodel section in one bedroom, four samples cover the survey. Multi-sample kits at this tier price out around $120-$180 all-in.
The wet-method procedure for each sample
The sampling protocol is identical to single-sample work — only repeated. Turn off the HVAC. Lay plastic sheeting around the sampling spot. Put on a P-100 respirator, nitrile gloves, eye protection, and disposable coveralls. Mix detergent-water in a fine-mist sprayer.
For each sample location: mist the target tile thoroughly. Slide a putty knife or chisel under one edge of a tile until a clean fragment lifts. Scrape some of the exposed mastic into the sample bag along with the tile fragment. Seal, double-bag, label with the location code from your floor plan (Area A, B, etc.), and place in the lab mailer. Wet-wipe the sampling site, dispose of the wipe in a sealed bag, and move to the next location. Cover the empty spot with a temporary patch until results return.
Do not change PPE between samples in the same survey. Clean PPE is for entering and exiting the work zone, not between sample points. Remove coveralls outside the sampled area and shower before handling other clothing.
Reading multi-sample reports
The lab returns one report covering all submitted samples, with each labeled by the location code you provided. A typical result might show: “Area A (basement tile): Layer 1 vinyl 6% chrysotile, Layer 2 black mastic 10% chrysotile. Area B (kitchen tile): not detected. Area C (entryway tile): Layer 1 vinyl 4% chrysotile, Layer 2 mastic not detected. Area D (bedroom remodel tile): not detected, not detected.”
This result tells the homeowner which floors have ACM and which can be removed conventionally. Areas A and C have asbestos-containing material; abatement is required if the floor is removed. Areas B and D are clear. Abatement cost can be scoped specifically to the affected areas, often saving thousands compared to assuming the whole house needs full abatement. See the residential asbestos removal guide for next-step planning.
When to upsize to professional sampling
Multi-sample DIY kits work well for intact tile in good condition. Several scenarios push the decision toward a professional inspector instead:
Damaged or crumbling tile — friable material releases fibers during sampling, and kit PPE cannot match what a licensed inspector brings to a site. Real-estate transaction documentation — buyers’ agents and underwriters prefer chain-of-custody from a credentialed inspector. Areas larger than 500 square feet — professional sampling becomes cost-competitive at that scale, and the inspector can sample with much less project-time investment from the homeowner. Children or asthmatic occupants in the home — the safety margin matters more.
For broader context on the DIY-versus-pro decision, see the DIY asbestos test kit decision framework.
Cost ranges in 2026
3-sample DIY kit (Pro-Lab, EMSL, Aerobiology): $80-$120 all-in including lab analysis. 6-sample kit: $150-$220. Lab-direct orders without the kit branding (you supply your own bags and chain-of-custody form): roughly $25-$35 per sample at most NVLAP-accredited labs.
Professional inspector sampling: $150-$400 per sample for the first 1-3 samples, with volume discounts on larger surveys. A 6-sample whole-floor professional survey typically runs $800-$1,500 including site visit, sampling, lab fees, and a written report. Rush turnaround adds 50-100% to either DIY or professional pricing.
What to do while waiting for results
Lab turnaround is 5-7 business days standard. During the wait: do not disturb any sampled or surrounding area, avoid vacuuming the floor (a household vacuum disperses fibers from any disturbance that occurred during sampling), and consider running a HEPA-filtered air purifier in the room as a precaution. If the household includes anyone with asthma, COPD, or other respiratory conditions, restrict access to the sampled area until results return.
If results come back positive, contact a licensed asbestos abatement contractor for bids. Two to three bids is reasonable. Verify each contractor’s state license and EPA AHERA training, ask for proof of insurance, and confirm that the bid includes containment, removal, wet-method procedures, sealed disposal, and post-abatement air clearance testing if required. The asbestos removal quote reading guide covers what to expect in the bid breakdown. For the broader pillar context, see asbestos and lead in your home.
Bag, label, ship — getting samples to the lab
Each sample bag must be labeled with the sample ID, the room or material description, the date collected, and the homeowner’s contact information. The chain-of-custody form in the kit captures the same information in a structured format. Place the sealed sample bags into the prepaid mailer and ship via the carrier the kit specifies (usually USPS Priority Mail or UPS Ground).
Most labs send tracking confirmation when samples are received. Results are delivered by email PDF, with a paper copy available on request. Save the PDF — it is the documentation of record for future use.
Identifying tile patterns and installation eras
Distinguishing tile installation eras helps target the sampling. Several visual cues separate eras. Original 1945-1965 installations typically used 9×9 inch tiles in muted colors (gray-green marbled, mustard yellow, faded red), often with a thicker profile and slight surface texture. 1965-1980 installations stayed at 9×9 but offered brighter colors and smoother surfaces. The 1980-1985 transition era saw 9×9 phased out and 12×12 introduced, often in faux-stone patterns. Post-1990 installations are almost exclusively 12×12 or larger with all-vinyl construction.
If a room has tiles that visually differ in size, color, or texture, those are different installations and warrant separate samples. A basement laundry area with original 9×9 in faded green plus a patch of 12×12 in faux-marble from a later remodel needs two samples — one of each era.
Common multi-sample kit scenarios
Three scenarios drive most multi-sample kit purchases. The pre-renovation whole-floor survey: a homeowner planning to tear out and replace flooring across multiple rooms wants to know which areas need abatement and which do not. Three to six samples cover most homes. The estate or inherited-property survey: an heir taking possession of a pre-1985 home wants documented asbestos status across all hard-surface flooring before deciding what to renovate. The real-estate disclosure survey: a seller of a pre-1985 home tests proactively to provide a clean disclosure, or a buyer tests during the inspection contingency to support negotiation. Each of these scenarios benefits from coordinated multi-sample submission rather than piecemeal single-sample buys.
How long the documentation matters
The lab result becomes a permanent property record. Future owners, future renovation contractors, and future real-estate disclosures all benefit from documented asbestos testing history. Save the PDF reports, the chain-of-custody forms, and the sampling location floor plan in a folder labeled with the property address. If the home is sold, hand the folder to the buyer at close. If the home is renovated, give the contractor a copy. The documentation often pays for itself by preventing redundant testing during future projects.
References
- EPA asbestos NESHAP regulations — U.S. Environmental Protection Agency
- OSHA asbestos exposure standards — Occupational Safety and Health Administration
- NIOSH asbestos health resources — CDC
- Vinyl-asbestos floor tile reference — Asbestos.com
Front Range homeowners planning a flooring renovation that may involve asbestos-containing tile can connect with a vetted local inspector here.
Asbestos test kits
Asbestos can only be confirmed by a lab. A mail-in kit gets you a sealed sample container and accredited analysis — never sand or disturb suspect material first.
| Product | Why | Buy |
|---|---|---|
 Asbestos Test Kit (mail-in lab) Asbestos Test Kit (mail-in lab) | Includes PPE + sealed mailer. | Amazon — $34.99 |
| Pro-Lab Asbestos Test Kit | Widely available; lab fee separate. | Amazon — $34.99 |