How to Vet a Mold Removal Company Before You Hire
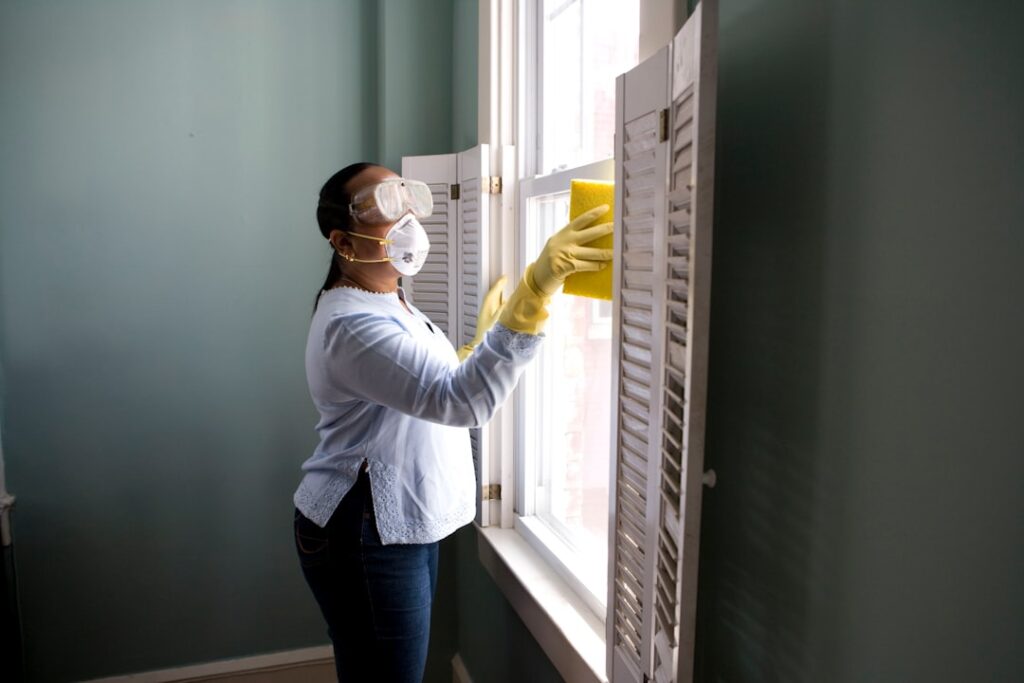
Searching for “mold removal companies” usually means one thing: you have visible mold or a recent water problem, and you are about to hand a stranger a check and access to your house. The hard part is not finding a company — it is telling a competent, insured remediator from a high-pressure sales operation. This page is a vetting checklist: the credentials that matter, the process a legitimate firm follows, what different company sizes actually get you, and the red flags that should end a conversation.
Part of our Mold Removal & Remediation guide — start there for the full picture →
Is this mold, asbestos, or water damage? Get a free instant screen
Upload a clear photo of the suspect area. You'll get an instant AI screening opinion and what to do next. This is screening guidance, not a professional determination.
Screening guidance only. AI can be wrong. Confirm asbestos, mold type, or lead with lab testing or a licensed professional before acting.
Colorado does not license mold remediators — so credentials are on you
Some states (Texas and Florida among them) require mold contractors to hold a state license. Colorado does not. There is no state exam, no registry, and no federal certification for mold removal — the EPA does not certify or approve mold companies. That means the burden of verification falls entirely on the homeowner. The credentials worth checking are private-industry ones:
- IICRC firm certification. The Institute of Inspection, Cleaning and Restoration Certification publishes the S520 consensus standard that professional mold remediation follows. Firm certification is verifiable on the IICRC website by company name.
- An AMRT-certified supervisor on site. The Applied Microbial Remediation Technician credential is the individual certification that maps to S520. Ask which person holding it will actually be on your job, and confirm by certificate number.
- General liability insurance with a pollution endorsement. Standard contractor liability policies often exclude mold and other “pollutants.” Ask for a certificate of insurance that explicitly names mold or microbial coverage, and confirm it with the broker by phone, not just the paper the salesperson hands you.
- Workers’ compensation. Without it, an injury on your property can become your liability.
A solo operator who holds all four beats a national brand that skips any of them.
The one rule that protects you most: separate testing from removal
EPA and most industry guidance recommend keeping assessment and remediation financially independent. The company that tells you how much mold you have should not be the same company you pay to remove it — the conflict of interest is obvious, and it is the single most common way homeowners get oversold scope they do not need. Hire an independent inspector for the initial evaluation and, more importantly, for the post-remediation clearance test that verifies the job worked. If a removal company insists on doing its own clearance, treat that as a warning, not a convenience. Our mold inspection hub and guide on how to find an independent mold inspector cover how to line this up.
What a legitimate remediation process looks like
A firm that follows S520 will describe roughly the same sequence regardless of size. If a company cannot walk you through these steps, it is a signal:
- Fix the moisture source first. EPA is blunt about this — if you do not correct the water problem, the mold comes back. Any bid that starts with removal and never mentions the leak, humidity, or drainage is incomplete.
- Containment. Plastic sheeting and negative-air pressure to keep spores from spreading to clean areas during demolition.
- HEPA filtration and air scrubbing during the work, and HEPA vacuuming of surfaces afterward.
- Removal of porous materials that can’t be cleaned — soaked drywall, carpet, and insulation are typically discarded rather than treated.
- Drying to a documented moisture target before any rebuild, verified with a meter.
- Independent clearance before the containment comes down.
Note what is not on that list: fogging or “encapsulation” as a standalone fix, or ozone treatment. The CDC notes that dead mold can still cause allergic reactions, so spraying a biocide over mold you leave in place is not remediation. Removal of the material is the job.
Company size: what each tier actually buys
“Mold removal companies” spans everyone from a two-person crew to a national franchise. Bigger is not better or worse — it changes the trade-offs. Match the tier to the job.
| Company type | Best fit | Trade-off |
|---|---|---|
| Solo / small crew (IICRC-certified) | Single-room jobs, no HVAC or sewage involvement, out-of-pocket or simple claims | Lower overhead and price; single point of failure if the operator is unavailable mid-job |
| Regional firm (roughly 5–30 staff) | Multi-room contamination, HVAC involvement, documented insurance claims | Enough crew and equipment to hold a timeline; documentation quality varies by owner |
| National franchise | Large-loss events, multi-property claims, carrier preferred-vendor billing | Consistent process and paperwork; premium pricing, more transactional, crews may be subcontracted |
Whatever the tier, ask one blunt question: will the technicians who show up be W-2 employees of your company, or subcontracted labor? Subcontracted crews are not automatically worse, but accountability for damage or a redo gets murky when the brand on the truck did not employ the people who did the work.
What it costs — and why bids vary so much
Residential mold remediation commonly runs a few hundred dollars for a small, contained job to several thousand for multi-room or HVAC work; large-loss and whole-structure jobs go higher. Identical scopes routinely produce bids that differ 30 to 50 percent across tiers, with franchises at the top and solo operators at the bottom. That spread reflects overhead and equipment cost, not necessarily quality. Get at least two or three bids, and compare them line by line rather than by bottom-line total — a cheap number that omits containment or clearance is not actually cheaper. For the testing side of the budget, our mold testing cost breakdown shows what independent assessment runs.
Red flags that should end the conversation
- Door-to-door or storm-chasing solicitation after a Front Range hail or snowmelt event.
- Demand for full payment up front.
- Refusal to provide a certificate of insurance or to show IICRC/AMRT credentials.
- Pressure to sign an assignment-of-benefits (AOB) form that hands your insurance claim to the contractor.
- Resistance to independent, third-party clearance testing.
- A “free inspection” from the same company that wants to do the removal.
Any one of these is disqualifying on its own, regardless of how large or well-reviewed the company is.
When you actually need a company at all
EPA’s general guidance is that mold covering more than about 10 square feet — roughly a 3-by-3-foot patch — is where a homeowner should consider a professional. So is any mold inside HVAC ductwork, contamination following a sewage backup, ongoing water intrusion you cannot stop, or mold in a home being prepared for sale. Smaller patches on hard surfaces can often be handled yourself with proper PPE and by fixing the moisture, per EPA. If you are unsure who to even call first, start with this guide on who to contact about household mold.
Frequently asked questions
Does Colorado license mold removal companies?
No. Colorado has no state license or registry for mold remediators. Rely on IICRC firm certification, an AMRT-certified supervisor, and verified insurance instead of assuming a “licensed” claim means a state credential.
Should the company that tests for mold also remove it?
Ideally not. EPA recommends keeping assessment and remediation separate to avoid a conflict of interest, and you want an independent party running the clearance test that confirms the removal worked.
Is a bigger, national company safer than a local one?
Not inherently. Size predicts equipment access and process consistency, not quality. A properly credentialed solo operator often outperforms a larger firm without the same certifications, at a lower price.
What single question filters out most bad actors?
“Can you send a certificate of insurance showing mold/pollution coverage, and will you allow independent third-party clearance testing?” A legitimate firm says yes to both without hesitation.
This page reflects EPA, CDC, and Colorado Department of Public Health and Environment guidance current as of 2026; verify credentials directly and consult a physician about health symptoms. Front Range homeowners comparing scope-matched bids can reach us through our contact page. Authoritative references: EPA mold cleanup guidance, CDC mold and health, OSHA mold worker protection, and CDPHE mold and indoor air quality.
Mold removal & cleanup picks
For a small, contained patch (under ~10 sq ft) these EPA-friendly removers handle surface mold. Larger or recurring growth warrants a professional assessment first.
| Product | Why | Buy |
|---|---|---|
 RMR-86 Instant Mold Stain Remover RMR-86 Instant Mold Stain Remover | Fast-acting on stains; ventilate and wear PPE. | Amazon — $29.99 |
 Concrobium Mold Control Concrobium Mold Control | No-bleach formula that also helps prevent regrowth. | Amazon — $11.26 |
 Mold Armor Mold & Mildew Remover Mold Armor Mold & Mildew Remover | Widely stocked bathroom/surface remover. | Amazon — $22.98 |