Lead and Asbestos Testing: A Homeowner’s Guide
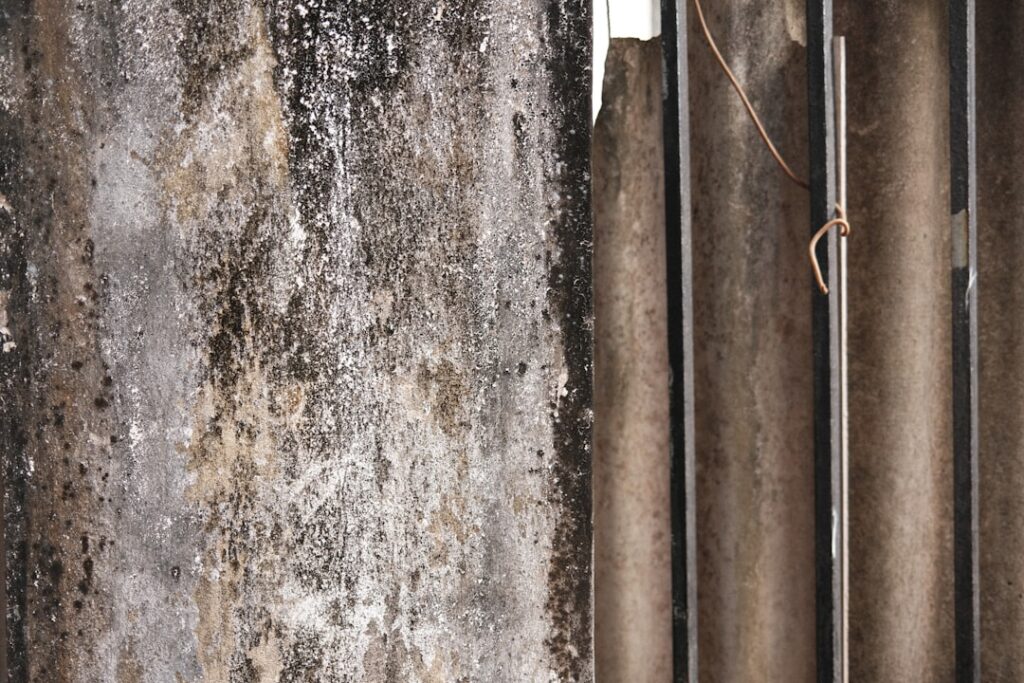
Two of the most common hidden hazards in older homes, lead and asbestos, often appear together, which is why combined lead and asbestos testing has become a standard step before renovating a pre-1978 property. Both materials were widely used for decades, both are invisible to the naked eye, and both can be disturbed by the same demolition or remodeling work. Testing for them together is efficient and gives you a complete picture before you swing a hammer. This guide explains how the testing process works, why both matter, and how to choose a qualified tester. The information reflects EPA, HUD, and CDC guidance current as of 2026; consult a certified professional before disturbing suspect materials.
Part of our Lead Paint & Lead Testing guide — start there for the full picture →
Is this mold, asbestos, or water damage? Get a free instant screen
Upload a clear photo of the suspect area. You'll get an instant AI screening opinion and what to do next. This is screening guidance, not a professional determination.
Screening guidance only. AI can be wrong. Confirm asbestos, mold type, or lead with lab testing or a licensed professional before acting.
Why test for lead and asbestos together
Homes built before about 1980 frequently contain both hazards, often in overlapping locations. Lead-based paint may coat the same walls and trim that sit beside asbestos floor tile or asbestos-containing joint compound. A single renovation project, pulling up flooring, scraping walls, removing siding, can disturb both at once.
Testing for them in one visit saves time and money. The same certified inspector can collect paint chips, dust wipes, and bulk material samples in a single appointment, then send each to the appropriate accredited laboratory. You get a unified understanding of what is present and where, which makes planning safer and cheaper than discovering a second hazard mid-project. For the broader context on why pre-1978 homes carry these risks, see the asbestos and lead housing hazard guide.
The combined approach also protects your household during the work itself. Knowing both hazards up front lets your contractor plan proper containment and lead-safe, asbestos-safe work practices rather than reacting to a surprise.
The age of the home is the strongest signal that combined testing is warranted. Lead-based paint was banned for residential use in 1978, and asbestos use in home products declined through the 1980s, so homes built before about 1980 are the prime candidates for both hazards. The older the home, the higher the likelihood. If your property dates to the 1960s or earlier, the question is less whether these materials are present and more where they are and what condition they are in. Testing answers that precisely, replacing assumptions with documented facts you can plan around.
How lead testing works
Lead testing comes in a few forms, and the right one depends on your goal. The two professional methods are XRF analysis and laboratory paint-chip testing.
XRF analysis
An X-ray fluorescence (XRF) analyzer is a handheld device that reads lead content through layers of paint without damaging the surface. A licensed lead inspector passes the device over painted components and gets near-instant readings. It is non-destructive and covers many surfaces quickly.
Paint-chip and dust-wipe sampling
For confirmation or where XRF is impractical, inspectors collect paint-chip samples or dust wipes and send them to an accredited lab. Dust wipes are especially useful for assessing lead-dust hazards on floors and windowsills, which are a primary exposure route for children. Our guide to lead testing methods covers the options in detail.
DIY swab kits exist, but they only indicate presence, not quantity, and are prone to false results. For decisions about abatement or real-estate transactions, professional testing is the reliable standard. A swab might tell you lead is somewhere on a surface, but it cannot quantify the hazard or distinguish a stable coating from a dust problem, which is exactly the information you need to make a sound decision.
How asbestos testing works
Asbestos cannot be identified by sight, so confirmation always requires laboratory analysis of a physical sample. A certified inspector or asbestos professional collects a small bulk sample of the suspect material, drywall, floor tile, insulation, siding, using wet methods and protective measures to avoid releasing fibers.
The sample goes to an accredited lab, where technicians examine it under polarized light microscopy (PLM), or transmission electron microscopy for more sensitive analysis, to identify and quantify asbestos fibers. Because sampling itself can disturb the material, this is not a DIY job; improper collection can spread fibers through your home. Our overview of asbestos sampling methods explains the safety steps involved.
Common materials inspectors sample include floor tile and adhesive, pipe and boiler insulation, vermiculite attic insulation, cement siding, popcorn ceilings, and joint compound. A thorough survey catalogs each suspect material and its condition.
What the results tell you
A combined testing report does more than answer yes or no. For lead, it identifies which surfaces contain lead-based paint, at what concentration, and whether dust-wipe samples show a lead-dust hazard. That distinction matters because intact, well-maintained lead paint poses a different risk than chipping paint or contaminated dust on floors and sills.
For asbestos, the report names which materials contain asbestos, which type, and the percentage present, along with the condition of each material. Intact, bonded asbestos in good condition is often best left in place, while damaged or friable material flagged in the report calls for action. Together, the two assessments give you a prioritized list: which hazards demand immediate attention, which can be managed in place, and which require professional abatement before your renovation proceeds. Armed with that, you and your contractor can plan containment, sequencing, and budget with confidence rather than guesswork. Our lead inspection guide explains how findings translate into next steps, and the pre-1978 housing hazard guide puts the whole picture in context.
The combined testing process step by step
A typical combined lead and asbestos assessment follows a clear sequence:
- Walkthrough and planning. The inspector reviews the home’s age, your renovation plans, and the areas to be disturbed, then identifies suspect materials.
- Lead assessment. Using XRF and, where needed, paint-chip and dust-wipe samples, the inspector evaluates painted surfaces and lead-dust hazards.
- Asbestos sampling. The inspector collects bulk samples of suspect materials using wet, controlled methods.
- Lab analysis. Samples go to accredited laboratories for confirmation and quantification.
- Report and recommendations. You receive a written report identifying what was found, where, and at what levels, with guidance on containment, abatement, or safe management.
Turnaround for lab results typically ranges from a few days to about a week, though rush analysis is often available for an added fee when a project timeline is tight.
The number of samples drives both the thoroughness and the cost of the assessment. Each distinct suspect material generally needs its own sample, because a negative result on the floor tile says nothing about the joint compound or the siding. A tightly scoped project that disturbs only one or two materials needs few samples, while a full renovation touching floors, walls, ceilings, and insulation warrants a broader survey. A good inspector matches the sampling plan to your actual project rather than over- or under-testing, so you pay for the information you need and nothing you do not.
Choosing a certified tester
Credentials matter because both lead and asbestos testing are regulated. For lead, look for an EPA- or state-certified lead inspector or risk assessor. For asbestos, look for a state-licensed or accredited asbestos inspector. Some professionals hold both, which makes combined testing seamless. Confirm that samples are sent to accredited laboratories, NLLAP-accredited for lead and NVLAP-accredited for asbestos.
Ask for proof of certification, a sample report, and clarity on what the quoted price includes, the number of samples, lab fees, and turnaround. A bid that limits the sample count too tightly may miss hazards, while a thorough survey samples each distinct suspect material. For homeowners planning to act on results, a clear assessment is the foundation of every safe next step.
Be wary of any provider who pressures you toward immediate, expensive abatement before testing is complete, or who cannot clearly explain their sampling plan and lab accreditation. Reputable testers separate assessment from removal, or at least disclose clearly when they offer both, so the recommendation to abate is driven by data rather than a sales incentive. A good assessor is comfortable telling you that an intact material is best left in place, because that honest answer reflects the actual guidance from health agencies.
It also helps to prepare for the visit. Clear access to the areas being tested, note any past renovations or known problem spots, and have your renovation plans on hand so the inspector can target the materials your project will disturb. The more context you provide, the more precisely the assessment can be scoped, which keeps both your costs and your risks in check. A well-planned combined test, in the end, is one of the smartest small investments a pre-1980 homeowner can make before opening up walls. The result is a documented, prioritized plan that lets you renovate with confidence instead of crossing your fingers. For an older home, that plan is the foundation every safe project is built on, turning two invisible hazards into a clear, manageable checklist. It also gives you documentation to keep on file, which proves valuable both for guiding contractors and for reassuring a future buyer that the home’s hazards were identified and properly handled.
Test before you renovate, not after. The whole value of combined testing is knowing what you are dealing with before disturbance, so you can budget, contain, and proceed safely. Discovering a hazard mid-demolition is the expensive and dangerous alternative.
When combined testing is worth it
Not every situation calls for a full lead-and-asbestos survey, so it helps to know when the investment pays off. The clearest case is any renovation or demolition in a pre-1980 home, where the work will disturb painted surfaces, flooring, ceilings, walls, or insulation. Here, testing first is both a safety measure and a budgeting tool.
It is also worth it during a real-estate transaction. A buyer purchasing an older home gains real leverage and peace of mind from documented testing, and a seller who tests proactively can address or disclose hazards rather than letting them derail a deal. Families with young children in older homes have a strong reason to test for lead specifically, since children are most vulnerable to lead exposure and the hazard is invisible. And anyone who has noticed damaged or deteriorating materials, crumbling pipe insulation, peeling paint, water-stained tile, should test before the situation worsens.
Where testing is less urgent is in a newer home with no planned disturbance, or for intact materials you have no intention of touching. Even then, knowing what is present has value, but the cost-benefit calculation shifts. The guiding principle is straightforward: if you are going to disturb it, or if children could be exposed, test it. The relatively modest cost of testing is dwarfed by the expense and risk of mishandling a hazard you did not know was there.
References
- Lead Inspection, Risk Assessment, and Abatement — U.S. EPA
- Protect Your Family From Exposure to Asbestos — U.S. EPA
- Lead Hazard Control Resources — U.S. Department of Housing and Urban Development
- About Asbestos and Health — Centers for Disease Control and Prevention
Frequently asked questions
Should I test for lead and asbestos at the same time?
Yes, if your home predates 1980 and you plan to renovate. Both hazards often appear together and can be disturbed by the same work. Combined testing in one visit is efficient and gives a complete picture before demolition.
Can I test for lead and asbestos myself?
DIY lead swabs only indicate presence, not quantity, and are unreliable for decisions. Asbestos must never be sampled without proper precautions, as it can release fibers. Professional, lab-based testing is the reliable standard.
How long do lab results take?
Most accredited labs return lead and asbestos results within a few days to about a week. Rush analysis is often available for an added fee when a renovation timeline is tight.
What certifications should a tester have?
For lead, an EPA- or state-certified inspector or risk assessor. For asbestos, a state-licensed or accredited asbestos inspector. Confirm samples go to accredited laboratories and ask for proof of certification.
Front Range homeowners planning a renovation in an older home can connect with a vetted local inspector for combined lead and asbestos testing by reaching out through our contact page.