Asbestos Testing Cost: What Homeowners Pay
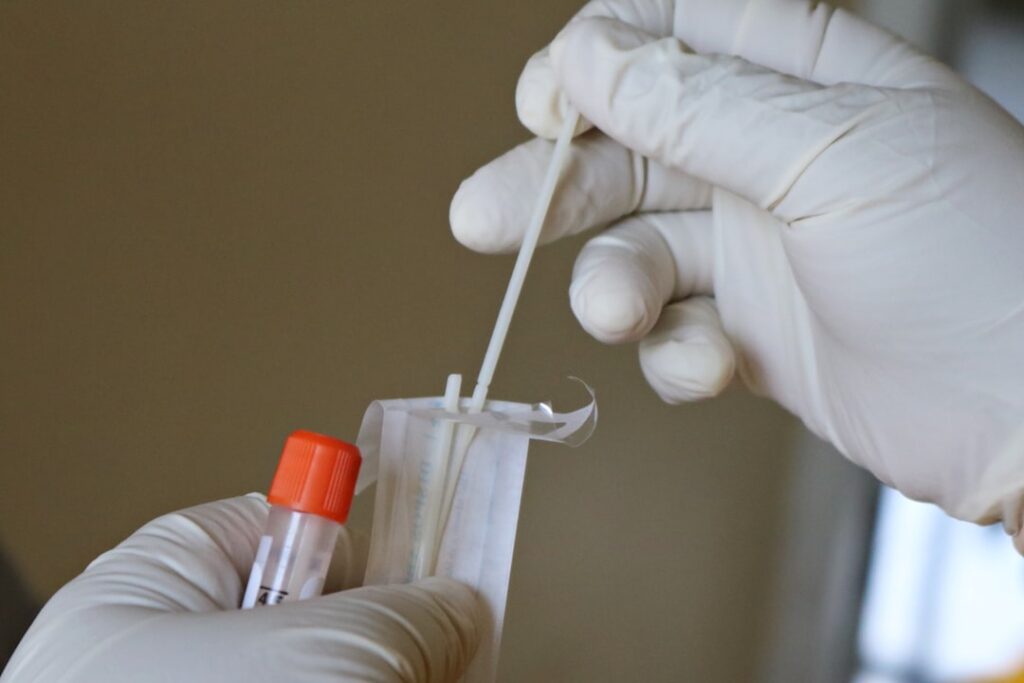
Before you renovate a pre-1980 home, confirming whether asbestos is present is a small expense that prevents a large one. Asbestos testing cost is modest compared with the price of abatement or, worse, the health consequences of disturbing the material unknowingly. Still, prices vary based on how you test, how many samples you collect, and who does the work. This guide breaks down what asbestos testing actually costs, what drives the price, and how to budget sensibly. The figures here are industry estimates current as of 2026; always confirm pricing with a certified local professional, and never disturb suspect material to test it yourself.
Part of our Asbestos in the Home guide — start there for the full picture →
Is this mold, asbestos, or water damage? Get a free instant screen
Upload a clear photo of the suspect area. You'll get an instant AI screening opinion and what to do next. This is screening guidance, not a professional determination.
Screening guidance only. AI can be wrong. Confirm asbestos, mold type, or lead with lab testing or a licensed professional before acting.
What asbestos testing typically costs
Asbestos testing cost falls into two broad models: per-sample lab fees and full professional inspections. A single bulk sample analyzed by an accredited laboratory generally costs a modest per-sample fee, often in the low tens of dollars when you mail in your own sample. A professional inspection, where a certified inspector visits, collects multiple samples safely, and provides a report, runs higher, commonly a few hundred dollars depending on home size and sample count.
The gap between those two figures reflects what you are paying for. The lab fee covers only analysis. The professional fee covers safe sample collection, expert identification of suspect materials, and a written report you can act on or hand to a buyer. For most homeowners facing a renovation, the professional route is worth the difference because improper sampling is itself a hazard. The pre-1978 housing hazard guide explains why caution pays off in older homes.
It also helps to understand where asbestos testing fits in the larger spending picture. Testing is the cheap part. Abatement, if it turns out to be needed, is where the real money goes, and it can run from a few hundred dollars for a small, contained job to many thousands for whole-house work. Viewed that way, the testing fee is not really a cost at all but a screening step that tells you whether the larger expense is even necessary. Plenty of homeowners test, learn that a material is intact and safe to leave alone, and spend nothing further. Skipping the test does not save money; it just trades a known small cost for an unknown, potentially large one.
What drives asbestos testing cost
Several factors push the price up or down. Knowing them helps you read a quote and decide how many samples you actually need.
Number of samples
Each distinct suspect material, floor tile, joint compound, popcorn ceiling, pipe insulation, siding, generally needs its own sample, since one negative result does not clear the rest of the house. More materials mean more samples and a higher lab bill. A focused project disturbing one surface costs far less to test than a whole-house survey.
DIY mail-in versus professional collection
Mailing your own sample to a lab is the cheapest path on paper, but it shifts the risk to you. Professional collection costs more because a certified inspector uses wet methods and containment to avoid releasing fibers, then knows exactly what and where to sample.
Lab method and turnaround
Standard polarized light microscopy (PLM) is the routine, lower-cost analysis and is suitable for most bulk materials like tile, siding, and joint compound. More sensitive transmission electron microscopy (TEM) costs more and is used when greater accuracy is needed or when PLM is inconclusive. Rush turnaround, results in 24 to 48 hours instead of several days, typically carries a premium, so if your renovation timeline has slack, standard turnaround keeps costs down.
Home size and access
Larger homes have more materials to assess. Hard-to-reach areas like crawl spaces and attics add labor to a professional inspection.
Asbestos testing versus a combined survey
Many older homes carry both asbestos and lead, and the two are often tested together because the same demolition disturbs both. Combining the assessments in a single visit usually costs less than booking two separate appointments, since the inspector’s time and trip are shared. If you are planning a renovation in a pre-1980 home, it is worth asking about a bundled price for combined lead and asbestos testing rather than pricing asbestos alone.
The decision comes down to your home’s age and your project. A pre-1978 home almost certainly warrants checking for lead-based paint as well, especially if children live there, while a home built in the early-to-mid 1980s may justify asbestos testing without lead. A good inspector will help you scope the assessment so you pay for the hazards that are actually plausible in your home’s vintage, not a one-size template. The savings from bundling are real, but the right scope matters more than the headline price. Ask the inspector to explain which hazards your home’s age makes likely, then build the sampling plan around that rather than testing everything by default.
DIY test kits versus professional testing
DIY asbestos test kits are widely sold and tempting on price. The kit itself is inexpensive, and you mail your sample to a lab for analysis. The catch is the sampling step. Collecting a sample disturbs the very material you are worried about, and without proper wetting, containment, and protective equipment, you can release asbestos fibers into your home, exactly the outcome you are trying to avoid.
DIY testing may be acceptable for an isolated, intact material a knowledgeable homeowner can sample carefully outdoors, but it is risky and not advisable for friable materials like crumbling insulation. Professional testing removes that risk and adds expert judgment about which materials to sample and how to interpret results. Our overview of asbestos sampling methods details the safety steps a professional follows. If you also suspect lead, combined testing in one visit is more economical than separate appointments.
If you do consider a DIY kit, weigh the false economy carefully. The kit price looks attractive, but a sample collected without proper wetting, sealing, and protective equipment can contaminate the very room you are trying to clear, turning a small testing decision into a far larger cleanup problem. For friable materials, crumbling pipe insulation, deteriorating popcorn ceilings, damaged tile, DIY sampling is simply not worth the risk at any price. The modest premium for professional collection buys both safety and confidence that the result reflects the right material, sampled the right way.
What you get for the cost
Paying for professional testing buys more than a yes-or-no answer. A certified inspection includes a walkthrough to identify all suspect materials, safe collection of samples, accredited lab analysis, and a written report documenting what was found, where, and at what concentration. That report has real value beyond your own peace of mind.
It guides safe renovation planning, since you and your contractor know exactly what must be contained or abated. It supports real-estate transactions, giving buyers documented evidence of the home’s condition. And it creates a record for future reference. When weighed against the cost of unknowingly disturbing asbestos and contaminating your home, the testing fee is one of the better values in home maintenance. A clean result can also remove a renovation roadblock entirely, letting you proceed without containment for materials confirmed asbestos-free.
The report’s detail matters as much as its conclusion. A quality report identifies each material sampled, its location, whether asbestos was detected, the type, and the percentage present, along with the material’s condition. That granularity lets you and your contractor make surface-by-surface decisions: leave intact tile in place, contain and abate damaged insulation, replace deteriorating siding. A bare yes-or-no answer is far less useful than a documented map of what is where and in what state, which is part of what separates a professional assessment from a single DIY swab.
How to budget for asbestos testing
Start by scoping your project. If you are disturbing a single material, you may only need one or two samples, keeping costs low. A full renovation that touches floors, ceilings, walls, and insulation warrants a broader survey with more samples. Match the test to the work.
Get a clear quote that itemizes the number of samples, lab fees, and turnaround time, and confirm the inspector is state-licensed or accredited and uses an accredited laboratory. Ask whether rush analysis is available if your timeline is tight, and whether the price includes a written report. For homeowners who expect to find asbestos, it is worth understanding abatement costs in advance; our guide to asbestos removal services covers what comes next.
Watch for a few quote red flags. A provider who quotes a single flat fee without explaining how many samples it covers may surprise you with per-sample charges later. One who pressures you toward immediate abatement before the lab results are even back is selling, not assessing. And a price that seems far below the market may signal cut corners on safety or an unaccredited lab. The goal is a transparent quote you can compare against others on equal terms: same sample count, same lab accreditation, same deliverables. With that clarity, asbestos testing remains exactly what it should be, an affordable, sensible screening step rather than an open-ended expense.
The smartest budgeting move is simply to test before you renovate. Spending a few hundred dollars to know what is in your walls is far cheaper than the cleanup, health risk, and project delays that follow disturbing asbestos blind.
For Front Range homeowners, the older housing in many established Denver-area neighborhoods makes asbestos a realistic consideration during remodels, so factor testing into your renovation budget from the start. Treat it as a line item alongside permits and materials rather than an afterthought. A few hundred dollars early in the planning process buys certainty and keeps your project on schedule, while a mid-demolition discovery can halt work, trigger emergency abatement, and inflate costs well beyond what proactive testing would ever have run. The cheapest asbestos surprise is the one you find before the sledgehammer comes out.
Viewed across the whole project, asbestos testing is not a cost to minimize but a step to get right. Spend a modest amount to know exactly what is in your walls, and you protect both your budget and your household from the far larger expense and risk of disturbing the material unknowingly. That is the calculation behind every professional’s advice to test first, and it holds true for homes of every size and vintage built before the mid-1980s. Approached this way, the testing fee stops looking like a cost and starts looking like what it is: the cheapest, smartest insurance available against a hazard you cannot see, cannot smell, and cannot afford to disturb by accident.
References
- Protect Your Family From Exposure to Asbestos — U.S. EPA
- Learn About Asbestos — U.S. EPA
- About Asbestos and Health — Centers for Disease Control and Prevention
- Asbestos Testing Overview — The Mesothelioma Center
Frequently asked questions
How much does asbestos testing cost?
A single mail-in lab sample often costs a modest per-sample fee, while a professional inspection with multiple samples and a report commonly runs a few hundred dollars. The total depends on sample count, home size, and turnaround.
Are DIY asbestos test kits worth it?
They are cheap, but the sampling step is risky because disturbing the material can release fibers. They may suit an isolated, intact material, but professional collection is safer and includes expert judgment on what to sample.
How many samples do I need?
Each distinct suspect material generally needs its own sample, since one negative result does not clear other materials. A single-surface project may need one or two samples; a full renovation needs more.
How long do asbestos test results take?
Standard lab analysis typically returns results within a few days. Rush turnaround of 24 to 48 hours is often available for an added fee when a renovation timeline is tight.
Front Range homeowners planning work in a pre-1980 home can connect with a vetted local inspector for asbestos testing before renovating by getting in touch through our contact page.