FLIR Tools: What Homeowners Need to Know
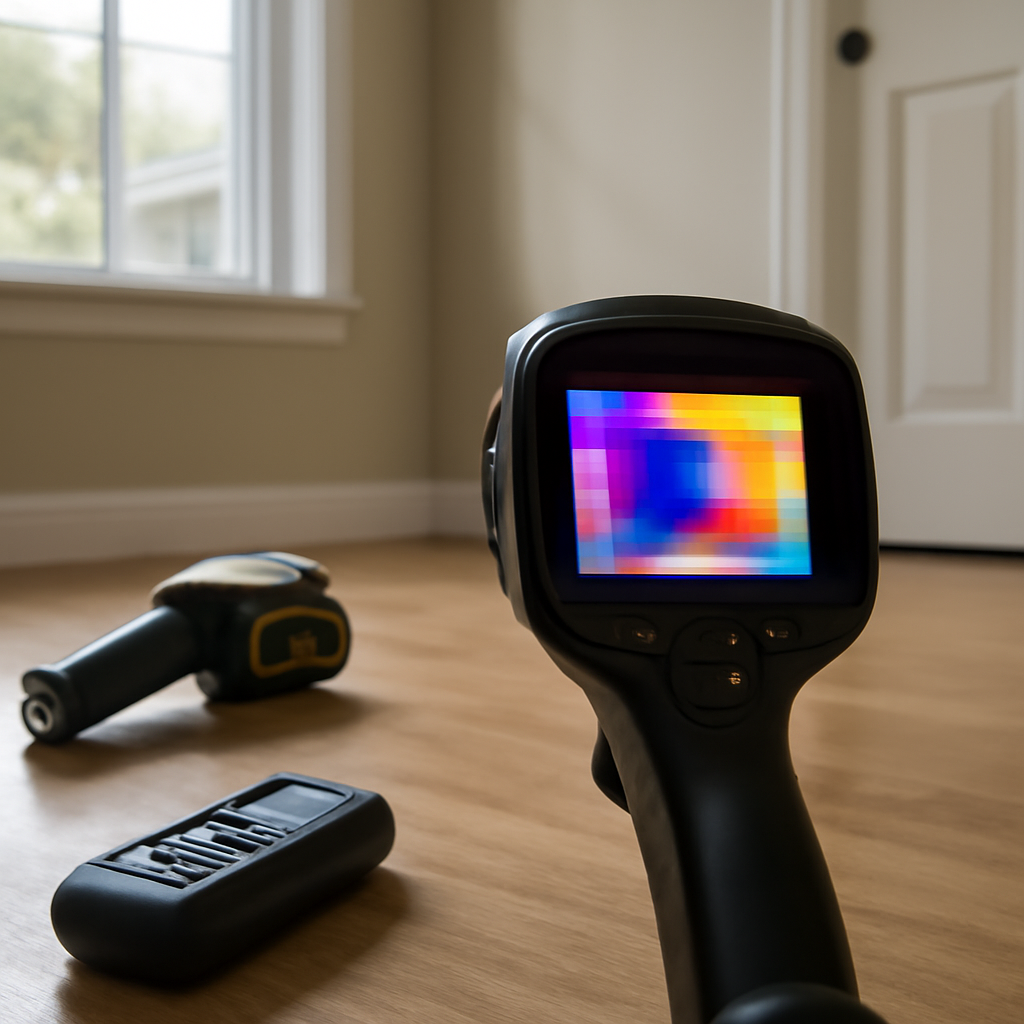
FLIR Tools is not a camera, it is the desktop software that turns the images a thermal camera captures into measured, annotated, report-ready documents. Many homeowners and new inspectors buy a thermal camera, fill a memory card with colorful images, and then realize the real work, measuring temperatures, adjusting analysis parameters, and producing a client-facing report, happens on a computer afterward. That is the role FLIR Tools fills. Understanding what the software does, what it does not, and how it fits an inspection workflow clarifies why thermal imaging is a two-part process: capture in the field, analyze at the desk. This guide treats FLIR Tools as the software it is.
Part of our Thermal Imaging for Homes guide — start there for the full picture →
What FLIR Tools actually is
FLIR Tools is a free desktop application for Windows and macOS that imports radiometric thermal images and video from compatible thermal cameras and lets the user analyze and document them. Because many thermal images are radiometric, meaning every pixel carries a recorded temperature value, the software can do far more than display a picture: it can measure the temperature at any point, add spot markers and measurement boxes, change the color palette, adjust emissivity and reflected-temperature settings that affect accuracy, and lay the results into a structured report.
The key distinction for buyers is that the camera captures data and FLIR Tools interprets it. A field thermal image looks finished on the camera’s small screen, but the meaningful analysis, confirming a spot’s actual temperature, comparing anomalies, and assembling findings into a deliverable, happens in the software. This mirrors how the broader thermal ecosystem works, where the camera and its companion software are designed to operate together. Our explainer on what thermal imaging is covers the radiometric data that makes desktop analysis possible.
What FLIR Tools lets you do
The software’s value sits in a handful of functions. Temperature measurement: drop spot meters, area boxes, or line profiles onto an image to read maximum, minimum, and average temperatures, which is how an inspector quantifies how much hotter a suspect breaker runs than its neighbors. Parameter correction: adjust emissivity (how efficiently a surface radiates heat) and reflected apparent temperature after the fact, because a wrong emissivity setting in the field skews the measured value. Image enhancement: switch palettes, adjust the thermal span and level to bring out subtle contrast, and use blending where the camera recorded a matching visible image.
Reporting: arrange selected thermal and visible images with their measurements, notes, and annotations into a formatted report a client can read, which is the deliverable that turns a scan into a documented finding. For inspectors, that report is the product; an impressive-looking thermal image with no measurement and no context does not support a recommendation. The reporting function is why software belongs in any serious thermal workflow, alongside the field tools described in our home inspection tools guide.
Why post-capture parameter editing matters
One underappreciated reason desktop software matters is emissivity and reflected-temperature correction. A polished metal surface radiates heat differently than matte drywall, and if the field measurement used the wrong emissivity, the displayed temperature is off. With radiometric data, FLIR Tools lets the analyst correct those parameters after the fact and recompute the true temperature, something impossible with a flat image file. This is the difference between a guess and a defensible measurement, and it is a core argument for shooting radiometric and analyzing in software rather than relying on the camera’s on-screen reading alone.
System requirements and the FLIR Tools family
FLIR Tools runs on mainstream Windows and macOS computers and is offered as a free download, with a paid tier historically adding features like advanced reporting and more measurement tools. A higher-capability successor, FLIR Thermal Studio, targets professional thermographers with batch processing, advanced analysis, and more flexible reporting on a subscription basis; our guide to FLIR Thermal Studio covers that professional tier. For a homeowner or part-time inspector, the free or basic FLIR Tools level usually covers the need to measure, annotate, and report.
Compatibility is worth checking: the software reads radiometric files from FLIR cameras, and a camera that only saves flat JPEGs without embedded temperature data limits what the software can recompute. Buyers planning to rely on desktop analysis should confirm their camera records radiometric images and that the software supports that camera’s file format.
A typical analysis workflow, step by step
Walking through how the software is actually used makes its role concrete. After an inspection, the technician transfers the captured radiometric images, by cable, card, or wireless, into FLIR Tools on a computer. The first pass is selection: from dozens of field images, the analyst picks the ones that show genuine findings and discards redundant or poorly framed shots. For each kept image, the analyst confirms the surface material and sets the correct emissivity and reflected apparent temperature, because the field capture may have used default values that skew the measured temperature.
Next comes measurement. The analyst drops spot meters on the hottest point of a suspect electrical connection, or an area box over a cool patch on a ceiling, and the software reports the temperatures, often the maximum, minimum, and average within the selected region. Comparing a suspect spot against a nearby reference area quantifies the anomaly: a connection running well above its neighbors, or a wall area measurably cooler than dry surroundings. The analyst then adjusts the palette and the thermal span to make the contrast legible, adds notes explaining each finding, and finally assembles the chosen images, measurements, and notes into a report the client can read. That report, not the raw image, is the deliverable.
Emissivity and reflected temperature, briefly explained
The two correction parameters that FLIR Tools exposes are worth understanding because they directly affect whether a measured temperature is right. Emissivity describes how efficiently a surface radiates thermal energy compared to a perfect emitter; matte, non-metallic surfaces like painted drywall or wood have high emissivity and are easy to measure, while shiny metals have low emissivity and radiate poorly, so a thermal camera can badly misread their true temperature unless the emissivity value is set correctly. Reflected apparent temperature accounts for heat from surrounding objects bouncing off the surface into the camera, which matters most on reflective materials.
In the field, a technician may not have time to dial in these values for every shot, so they capture radiometric images with defaults and correct them later in the software. That is one of the strongest arguments for desktop analysis: with the temperature data preserved per pixel, FLIR Tools recomputes the corrected temperature once the right parameters are applied, turning an approximate field reading into a defensible measurement. Without that post-capture correction, a shiny electrical bus bar or a polished pipe could be reported at a temperature far from reality, the kind of error that undermines a finding rather than supporting it.
Comparison to two alternatives
Against FLIR Thermal Studio, FLIR Tools is simpler and free but lacks the batch processing and advanced analysis a high-volume professional thermographer needs; most home inspectors do not need that depth. Against third-party and general image software, the advantage of FLIR Tools is that it reads the radiometric temperature data embedded in the file, while a generic photo editor sees only the colors and cannot measure temperature or correct emissivity. For inspectors using non-FLIR cameras, the equivalent manufacturer software fills the same role; the principle is that analysis software must understand the camera’s radiometric format to be useful.
Why the report is the real product
For a working inspector, the value of thermal imaging is realized only when findings reach the client in a form they can act on, and that is the report FLIR Tools assembles. A vivid thermal image with no measurement, no reference comparison, and no explanation is not evidence; it is a picture. The report turns it into evidence by pairing the thermal image with its matching visible photo, the measured temperatures, a note on what the anomaly likely represents, and a recommendation for follow-up. That package is what supports a recommendation to investigate a wall, service an electrical connection, or add insulation.
A report also protects the inspector. Home inspection carries real legal exposure, and a documented thermal finding, with measurements and context, shows the inspector exercised diligence and communicated the finding clearly. Trade associations such as InterNACHI and ASHI emphasize clear reporting as a core professional standard, and structured thermal documentation fits that expectation. The software is what makes producing such documentation efficient enough to do on every relevant finding rather than only the obvious ones, which is why serious thermal work treats the camera and FLIR Tools as one continuous process from capture to client.
Getting images into the software and common pitfalls
Before any analysis can happen, the radiometric files have to reach the software intact, and this is where new users most often stumble. FLIR Tools imports images by direct USB cable from the camera, from a memory card, or over a wireless transfer depending on the model. The pitfall is format: only files that preserve the per-pixel temperature data carry the information the software needs to measure and recompute temperatures. Exporting or sharing an image as an ordinary photo, screenshotting it, or routing it through a messaging app frequently strips the radiometric layer, leaving a flat picture the software can display but not analyze. Keeping the original files untouched until they are in FLIR Tools avoids quietly discarding the very data that justifies the workflow.
A second common mistake is assuming the software can rescue a poorly captured frame. It cannot. An image shot out of focus, framed so the anomaly sits at the edge, or taken with no temperature difference present gives the analyst nothing to work with, because the desk cannot add detail the sensor never recorded. The parameters FLIR Tools corrects after the fact, emissivity and reflected temperature, are recoverable; focus, framing, and a missed anomaly are not. The practical lesson is that disciplined field capture and clean file handling are prerequisites, and the software rewards good input rather than compensating for bad. Confirming the camera saves radiometric files and that its format is supported, ideally before the inspection rather than after, prevents the disappointment of a folder full of images that will not measure.
Limitations, workflow tips, and who needs it
FLIR Tools has clear limits. It only adds value when the source images are radiometric; a flat thermal JPEG gives it little to work with. It does not improve a poorly captured image, blur, wrong focus, or a missed anomaly cannot be fixed at the desk, so field technique still matters most. And it is tied to compatible cameras and file formats rather than being universal.
For workflow, capture radiometric images in the field with attention to focus and framing, note the surface materials so emissivity can be set correctly, import to FLIR Tools, add measurements and annotations, correct parameters as needed, and export a clean report. Who needs it: anyone producing thermal findings for a client, a documented file, or a defensible recommendation. A homeowner doing a one-time personal scan may never open it, but for inspection work the software is where a thermal image becomes evidence. Treat the camera and FLIR Tools as a paired system, capture then analyze, rather than expecting the camera alone to deliver a report.
References
- Infrared Thermography for Inspectors — International Association of Certified Home Inspectors
- Standard of Practice — American Society of Home Inspectors
- ENERGY STAR: Seal and Insulate — U.S. Environmental Protection Agency (ENERGY STAR)
- Electrical Hazard Identification — Occupational Safety and Health Administration
Frequently asked questions
Is FLIR Tools a camera or software?
It is desktop software, not a camera. FLIR Tools imports the thermal images and video a FLIR camera captures and lets you measure temperatures, adjust analysis parameters, annotate, and build reports on a Windows or macOS computer. The camera captures the data; the software interprets it.
What can you do with FLIR Tools?
You can add spot, area, and line temperature measurements, correct emissivity and reflected-temperature settings after capture, switch palettes and adjust contrast, blend thermal with visible images, and assemble findings into a formatted client report. That report is the deliverable that turns a scan into documented evidence.
Is FLIR Tools free?
FLIR Tools is offered as a free download for Windows and macOS, with a paid tier historically adding advanced reporting and measurement features. The more advanced FLIR Thermal Studio targets professional thermographers on a subscription with batch processing and deeper analysis.
Do I need radiometric images to use FLIR Tools?
To get full value, yes. Radiometric images store a temperature value for every pixel, which lets the software measure temperatures and correct emissivity after the fact. A flat thermal JPEG without embedded data limits what FLIR Tools can recompute.
Thermal imaging cameras
Infrared cameras reveal hidden moisture, missing insulation, and air leaks. Phone-attachment models are the budget entry point; standalone units have higher resolution.
| Product | Why | Buy |
|---|---|---|
 FLIR ONE Pro (phone) FLIR ONE Pro (phone) | Plugs into iPhone/Android; inspector favorite. | Amazon — $349.00 |
 Topdon TC001 Topdon TC001 | High-res phone module at a low price. | Amazon — $249.00 |
 FLIR C5 Compact FLIR C5 Compact | Standalone pocket camera with Wi-Fi. | Amazon — $611.50 |