Sub Slab Radon Mitigation System: A Clear Guide
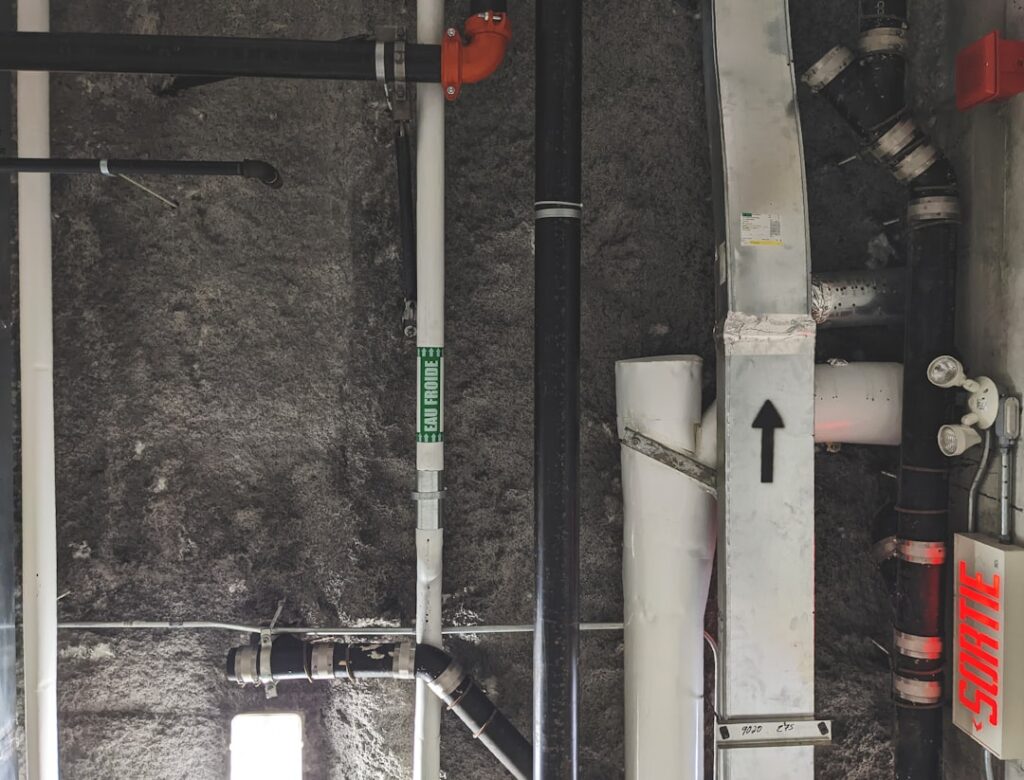
When a radon test comes back above the EPA’s 4.0 pCi/L action level, the most common and most effective remedy is a sub slab radon mitigation system. It works by reversing the pressure that pulls radon-laden soil gas into the house, capturing that gas beneath the foundation and venting it safely above the roofline. For the slab-on-grade and basement homes common across the Colorado Front Range, this approach routinely drops radon levels by 80 to 99 percent. This guide summarizes EPA and CDPHE guidance current as of 2026; it is educational and not a substitute for a certified mitigation contractor or medical advice from your physician.
Part of our Radon Mitigation Systems guide — start there for the full picture →
What a Sub Slab Radon Mitigation System Does
A sub slab system, technically called sub-slab depressurization (SSD), removes radon before it enters living space. A small fan creates negative pressure in the gravel or soil beneath the concrete slab, so soil gas flows into a collection point rather than seeping up through cracks. A sealed pipe carries that gas up and out above the roof, where it disperses harmlessly into the outdoor air.
The physics is simple and reliable. Houses act like chimneys, drawing air upward and creating a slight vacuum at the lowest level that sucks radon out of the soil. SSD interrupts that suction by giving the soil gas an easier path out, so it follows the pipe instead of the cracks. This is why the EPA identifies it as the most dependable mitigation technique for homes with a slab foundation. For the full decision context, our hub on radon testing in Colorado covers when mitigation becomes necessary.
The Core Components
Every SSD installation shares the same basic parts, regardless of the contractor, and understanding them helps you read a quote and spot a missing piece.
- Suction point: a hole cored through the slab into the gravel or soil below.
- Collection pit: material removed beneath the slab to create a void where soil gas gathers.
- PVC piping: sealed pipe routing the gas from the suction point up through the house or along an exterior wall.
- Inline fan: a continuously running fan, mounted in an attic or outside, that maintains negative pressure.
- Manometer: a U-tube pressure gauge that lets you confirm the system is running.
- Roof or eave termination: the discharge point, positioned away from windows and the roof edge.
Our explainer on the radon system fan covers how the fan is sized and why it must run around the clock.
How the System Is Installed
A typical installation takes a single day. The contractor selects a suction point, often near the center of the slab or in a utility area, then cores a hole and excavates a small pit beneath it. The size of that pit matters, because it determines how far the fan’s suction reaches across the sub-slab area. The PVC pipe is fitted into the slab and sealed, then routed either up through interior chases to the attic and roof, or along the outside of the house.
The fan is installed in a non-living area, an attic or the exterior, never inside conditioned space, so that any leak vents outdoors rather than back into the home. Finally, the installer seals visible foundation cracks, the sump pit, and other openings to maximize the suction’s reach. After the system runs for at least 24 hours, a follow-up radon test confirms the result.
Sealing Is Part of the System
Sealing cracks alone does not solve a radon problem, but it dramatically improves how well the fan performs by reducing the air it has to move. The combination of active depressurization plus sealing is what delivers the large reductions homeowners expect. A well-sealed foundation lets a modestly sized fan achieve a strong vacuum, while a leaky one may require a more powerful fan to compensate.
Diagnostic Testing Before Installation
A good contractor does not guess at suction-point placement. A diagnostic step called a communication test, or pressure field extension test, measures how readily air moves under the slab. The installer drills a small test hole, applies suction, and checks whether the vacuum reaches distant points. Strong communication means one suction point can serve the whole slab; weak communication means the home needs more than one. This diagnostic is the difference between a system designed for the house and a generic install that may underperform.
What a Sub Slab System Costs
For a typical single-family home, a professionally installed sub-slab system generally falls in the range of $800 to $2,500, with most Front Range installations landing in the middle of that band. Price depends on the foundation type, the number of suction points needed, the pipe routing distance, and whether the run is interior or exterior. Larger homes or those with multiple foundation sections may need more than one suction point, which raises the cost.
Operating cost is modest. The fan uses electricity comparable to a low-wattage light bulb running continuously, and it may slightly increase heating or cooling load by drawing a small amount of conditioned air. Our detailed look at radon system installation cost breaks down the variables in more depth.
Verifying the System Works
Installation is not the finish line; verification is. Two checks confirm success. First, the manometer should show a pressure difference, meaning the fan is pulling a vacuum under the slab. A level reading on both sides of the gauge signals a stalled fan or a blockage.
Second, and more important, a post-mitigation radon test must show levels below 4.0 pCi/L, ideally as low as reasonably achievable. The EPA recommends retesting after installation and then every two years thereafter, plus after any major renovation that could disturb the foundation. Knowing how to read a radon meter helps homeowners interpret that confirmation test rather than relying solely on the contractor’s word.
Maintenance and Long-Term Care
Sub-slab systems are low-maintenance but not zero-maintenance. Check the manometer monthly; if the liquid levels equalize, the fan has likely failed. Radon fans typically last 5 to 10 years and are replaceable without redoing the whole system. Keep the vent stack clear, watch for condensation that could pool and restrict flow, and never switch the fan off, since radon levels rebound within hours of losing depressurization. A small label noting the install date and fan model makes future service straightforward.
What to Expect on Installation Day
Knowing the rhythm of the work helps homeowners prepare. The crew typically arrives in the morning and begins by confirming the suction-point location and protecting the surrounding area from concrete dust. Coring the slab is the noisiest, dustiest phase, lasting a short while, after which the crew excavates the small pit beneath. Running and sealing the pipe, mounting the fan, and sealing foundation openings fill out the day.
Most installations finish within a single workday, and the home remains livable throughout. The crew should clean up concrete debris and leave the manometer where you can see it. Before they go, ask them to walk you through the gauge reading, the fan location, and the maintenance schedule. A reputable installer treats this handoff as part of the job, since a homeowner who understands the system is far more likely to keep it running properly for years.
Signs You May Need More Than One Suction Point
Most homes are served by a single suction point, but some are not, and recognizing the signs prevents an underperforming system. Large floor plans spread radon entry over a wide area that one point cannot fully reach. Foundations divided by interior footings or grade beams can block air movement, isolating sections from a single suction location. Tight, low-permeability soil under the slab limits how far the vacuum extends.
A contractor diagnoses this with a communication test before installation, but the symptoms can also show up afterward as a post-mitigation reading that remains above the action level despite a working fan. When that happens, adding a second suction point usually solves it. This is one reason the performance guarantee matters: a reputable installer who finds the first attempt fell short will add a point at no charge rather than leaving the home above 4.0 pCi/L.
Why Sub-Slab Depressurization Beats the Alternatives
Homeowners sometimes wonder why the standard fix is depressurization rather than simply sealing cracks or adding ventilation. The answer is in the physics. Radon enters because the house is at slightly lower pressure than the soil, so it actively pulls gas in. Sealing reduces the openings but cannot eliminate them all, and ventilation dilutes the gas only while it runs and only modestly.
Sub-slab depressurization attacks the pressure difference itself. By putting the soil under the slab at lower pressure than the house, the system reverses the flow: soil gas now moves toward the suction point and out the pipe instead of up into living space. This is why it consistently achieves 80 to 99 percent reductions where sealing alone might manage a fraction of that. It treats the cause, not the symptom, which is the defining advantage of the method.
The Role of the Vent Stack and Termination
The discharge end of the system matters as much as the suction end. Code requires the vent to terminate above the roofline and a set distance away from windows, doors, and other openings, so that the expelled soil gas disperses outdoors rather than drifting back inside. A vent that ends too low, or too close to a window, can recirculate radon and undermine the whole installation.
Routing also affects performance. The pipe should slope so that any condensation drains back toward the suction point rather than pooling and restricting airflow. A clean, properly pitched run with a correct termination is part of what separates a code-compliant professional install from a problematic improvised one, and it is a detail a careful homeowner can check after the work is done.
Living With a Sub-Slab System
Day to day, a sub-slab system is unobtrusive. The fan hums quietly in the attic or outside, the pipe occupies a corner of the basement, and the manometer sits where you can glance at it. Most homeowners forget the system is there, which is exactly the goal. The small habit worth keeping is a monthly look at the manometer to confirm the fan is still pulling a vacuum.
Energy impact is minor. The fan draws a small, continuous load, and it removes a modest amount of conditioned air, which can slightly raise heating and cooling costs in extreme weather. Against the health benefit of cutting radon by up to 99 percent, that cost is negligible, and it is far smaller than many homeowners assume before they install a system.
When to Call a Professional
Sub-slab mitigation is not a typical DIY project. Improper fan sizing, poor suction-point placement, or routing the vent below a window can leave radon levels high or pull the gas back indoors. Hire a certified radon mitigation contractor, listed by Colorado’s program, who can run the diagnostic communication test, install to code, and provide a post-mitigation test that documents success. That documentation matters for resale and for peace of mind, and it is the proof that the system actually lowered your radon rather than merely looking the part.
References
- A Consumer’s Guide to Radon Reduction — U.S. Environmental Protection Agency
- Radon Mitigation in Colorado — Colorado Department of Public Health and Environment
- Reducing Radon in Your Home — American Lung Association
Frequently asked questions
How much does a sub slab radon mitigation system cost?
For a typical single-family home, professional installation generally runs $800 to $2,500, with most Front Range jobs landing in the middle. Cost depends on foundation type, the number of suction points, pipe routing distance, and whether the run is interior or exterior.
How effective is sub-slab depressurization?
It is the most reliable radon fix for slab and basement homes, routinely cutting radon levels by 80 to 99 percent. A continuously running fan reverses the pressure that pulls soil gas indoors, venting it above the roofline.
Does the radon fan need to run all the time?
Yes. Radon levels rebound within hours if the fan stops, so the system runs continuously. The fan uses electricity comparable to a low-wattage bulb and typically lasts 5 to 10 years before needing replacement.
How do I know my radon system is working?
Check the manometer gauge, which should show a pressure difference indicating the fan is pulling a vacuum. More importantly, run a post-mitigation radon test to confirm levels are below 4.0 pCi/L, and retest every two years thereafter.
Front Range homeowners facing an elevated radon result and weighing a sub-slab system can get in touch with a vetted local inspector here for guidance before hiring a contractor.
Radon mitigation fans & parts
If a sub-slab depressurization system is the fix, the inline fan is the heart of it. Match the fan to your soil and pipe diameter — or have a certified installer size it.
| Product | Why | Buy |
|---|---|---|
 RadonAway RP145 Inline Fan RadonAway RP145 Inline Fan | Common 4-in. SSD workhorse fan. | Amazon — $152.00 |
 Fantech Rn2 Radon Fan Fantech Rn2 Radon Fan | Quiet operation; energy-efficient. | Amazon — $153.89 |
 Radon U-Tube Manometer Radon U-Tube Manometer | Confirms the system is pulling suction. | Amazon — $8.95 |