New Construction Home Inspection Checklist Guide
A brand-new home is not a defect-free home. Builders work fast, subcontractors juggle many sites, and municipal inspectors verify code compliance rather than workmanship — which is exactly why an independent inspection still matters before closing. A solid new construction home inspection checklist organizes the walkthrough into phases and systems so nothing gets missed, from the foundation poured early to the finishes installed last. This guide breaks the process into the standard inspection phases, the systems worth scrutinizing, the defects that show up most often in new builds, and how to use the findings to get items fixed while the builder is still on the hook.
Part of our Home Inspections Explained guide — start there for the full picture →
What should a new construction inspection checklist cover?
At a high level, the checklist spans the same systems as any home inspection — structure, roof, exterior, electrical, plumbing, HVAC, insulation, and interior finishes — plus a few new-build specifics like grading and drainage around fresh fill, sealed penetrations, and the function of every newly installed appliance and fixture. The difference is timing: new construction is best inspected in phases, because some of the most consequential work gets buried behind drywall and is impossible to evaluate once the house is finished.
Municipal code inspections confirm a home meets minimum legal standards; they do not catch every cosmetic flaw, sloppy install, or skipped detail. An independent inspector works for the buyer and reports on quality, not just legality. For the full picture of what a general inspection includes, see our guide to what is included in a home inspection, which applies to new and resale homes alike.
The three inspection phases for a new build
Pre-pour / foundation phase
The earliest inspection happens before the foundation concrete is poured, while footings, rebar placement, and any under-slab plumbing are still visible. This is the only chance to verify these elements directly. Reinforcement spacing, vapor barrier placement, and plumbing rough-ins matter because errors here are extremely costly to correct later.
Pre-drywall / framing phase
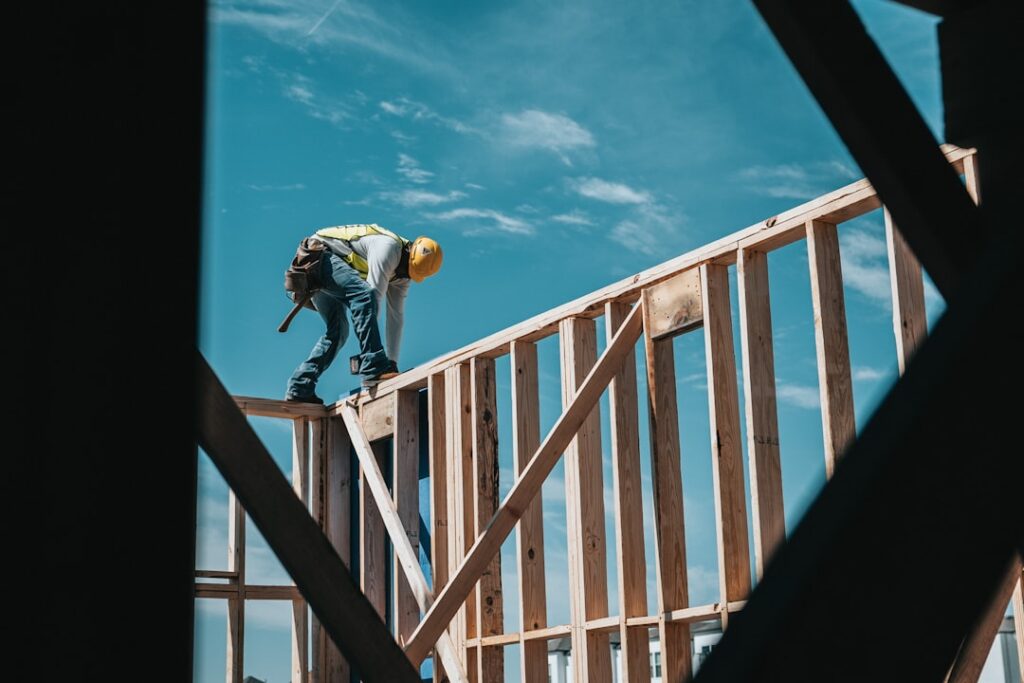
The most valuable phase for most buyers is the pre-drywall inspection, done after framing, electrical, plumbing, and HVAC rough-ins are installed but before insulation and drywall cover them. An inspector checks framing connections, nailing patterns, window and door flashing, plumbing supply and drain lines, electrical wiring runs, ductwork, and fire blocking. Anything hidden behind finished walls becomes a guess after this point, so catching defects now saves enormous trouble.
Final / pre-closing phase
The final inspection mirrors a standard home inspection on a finished house. The inspector tests every system, operates fixtures and appliances, checks finishes, confirms grading and drainage, and documents cosmetic and functional defects for the builder’s punch list before closing.
Not every buyer can access all three phases, and that is worth planning for. Builders sometimes restrict access for liability reasons, and a home already under construction may have passed the pre-pour stage before the buyer was even involved. When a phase is unavailable, the buyer should at minimum secure the pre-drywall and final inspections, since the pre-drywall window is the one chance to evaluate the hidden structural and mechanical work. Discussing inspection access with the builder early, ideally written into the contract, prevents being shut out of the most valuable phase.
Timing each phase requires coordination with the build schedule. The pre-pour inspection must happen in the narrow window after rebar and rough plumbing are set but before concrete arrives. The pre-drywall inspection has to land after rough-ins pass municipal inspection but before insulation crews start. Missing these windows means losing the chance entirely, so the inspector and buyer should stay in contact with the builder’s superintendent about the schedule.
Systems and items to check in detail
Exterior and grading: confirm the ground slopes away from the foundation, downspouts discharge away from the house, and siding, flashing, and caulking are complete. Fresh fill around a new home can settle and create negative drainage. Roof: check for proper shingle installation, sealed penetrations, and complete flashing at valleys and chimneys.
Electrical: verify the panel is labeled, breakers are sized correctly, GFCI and AFCI protection is present where required, and outlets are wired correctly. Plumbing: run fixtures, check for leaks under sinks, confirm water heater installation and pressure relief, and test drainage. HVAC: confirm the system heats and cools, ducts are sealed and supported, and registers deliver airflow. Interior: operate every window and door, check for drywall and paint defects, and confirm safety devices like smoke and carbon-monoxide alarms are installed. Many of these checks overlap with what a buyer should expect generally — our guide on what to expect from a home inspection covers the walkthrough flow.
Insulation and energy details deserve attention at the pre-drywall stage, because they vanish behind finishes. The inspector checks that insulation fills cavities without gaps or compression, that the air barrier is continuous, and that exterior penetrations are sealed. In a climate like Colorado’s Front Range, where heating loads are significant, gaps in insulation translate directly into higher energy bills and cold spots that are nearly impossible to fix once drywall is up. Catching these during the framing phase is far cheaper than chasing comfort problems later.
Appliance and fixture testing at the final phase is more involved in a new home than buyers expect. Every appliance the builder provides should be run through a cycle: the dishwasher, range, oven, microwave, disposal, and any laundry hookups. Faucets, toilets, showers, and tubs all get operated, and the inspector watches for slow drains, weak flow, and leaks at new connections that have never carried water. New does not mean tested, and first-use failures are common.
Common new-construction defects
Even quality builders leave defects. The most common include improper grading and drainage that sends water toward the foundation, missing or poorly installed flashing around windows and roof penetrations, gaps in insulation, unsealed duct joints that waste energy, plumbing connections that weep, electrical outlets wired with reversed polarity or missing GFCI protection, and cosmetic drywall and paint flaws. Rushed schedules and many hands on one project make these predictable rather than rare.
Some defects are cosmetic and easy to fix; others, like drainage problems or hidden framing issues, can cause real damage if left alone. A phased inspection catches the structural and mechanical issues early, when they are cheapest to correct, and documents the cosmetic items for the punch list. Buyers sometimes assume a new home needs no scrutiny — our look at how to prepare for a home inspection applies even when the home has never been lived in.
Confused by your home inspection report? Decode it free in plain English
Upload your inspector's PDF and get a plain-English summary, what actually matters, rough repair costs, and negotiation talking points. Educational only — not a professional re-inspection. Your file is analyzed and discarded, never stored.
Educational summary only. AI can be wrong and cost figures are rough estimates. This is not a professional re-inspection, appraisal, or legal/financial advice — confirm major items with your inspector or a licensed contractor.
Using the findings: warranty and the punch list
New homes typically come with a builder’s warranty — often one year on workmanship and materials, with longer terms on major systems and structure. The inspection report becomes the buyer’s leverage to get items addressed under that warranty before and after closing. Submitting a clear, documented list with photos makes it harder for a builder to dismiss legitimate defects.
Schedule the final inspection before the closing walkthrough so any items can be added to the builder’s punch list. Re-inspect after repairs to confirm the work was done. Buyers who keep the report and warranty paperwork organized are far better positioned to enforce fixes during that first year, when most warranty claims arise.
The eleven-month inspection is a tactic seasoned buyers use. Because most builder workmanship warranties run one year, scheduling an independent inspection at around eleven months catches defects that surfaced after move-in — settling cracks, drainage problems that only appeared after a heavy season, or systems that faltered with use — while the warranty still applies. Submitting that report to the builder before the warranty lapses can recover thousands of dollars in repairs the buyer would otherwise absorb.
Documentation discipline makes the warranty enforceable. Photographs with dates, written descriptions tied to the original report, and a clear paper trail of repair requests and builder responses turn vague complaints into actionable claims. Builders are more responsive to organized, specific documentation than to general grievances, and good records protect the buyer if a dispute arises later.
Why hire an independent inspector for a new home
The builder’s interest is finishing and selling; the municipal inspector’s interest is code compliance. Neither is the buyer’s advocate for quality. An independent inspector reports only to the buyer and has no stake in the home closing, which is why an outside inspection routinely finds items both the builder and the city missed. The modest inspection fee is small against the cost of a buried framing or drainage defect discovered after the warranty lapses.
Choosing the right inspector matters as much for new construction as for resale; our guide on questions to ask a home inspector helps buyers find one experienced with new builds and phased inspections. The broader hiring a home inspector hub ties the decision into the rest of the purchase process.
How code inspections differ from a private inspection
It helps to understand exactly what the municipal inspector does and does not do. Code officials verify that the work meets the adopted building code at specific milestones — footing, framing, electrical, plumbing, mechanical, and a final occupancy check. They confirm legal minimums, not craftsmanship, and they move quickly across many sites. A code inspector signing off means the home is legal to occupy, not that every detail was executed well.
A private inspector, by contrast, works only for the buyer and evaluates quality and function against the buyer’s interest. The two roles complement each other rather than overlap. A home can pass every municipal inspection and still have unsealed ducts, insulation gaps, sloppy flashing, or a dozen cosmetic defects that the code does not address. The private inspection fills exactly that gap.
This distinction is why an independent inspection is worthwhile even on a home the city has approved. The modest fee buys an advocate whose only job is to find problems before closing, while they are still the builder’s responsibility to fix. For a major purchase, that second set of eyes — answering to the buyer alone — is sound protection.
Regional considerations for Front Range new builds
Colorado’s Front Range adds specific concerns to a new-construction checklist. Expansive clay soils in parts of the region can heave and stress foundations, so grading, drainage, and foundation detailing deserve close attention. The area’s freeze-thaw cycles and intense sun test exterior finishes and roofing, making proper flashing and sealing especially important. And because much of the region sits in elevated-radon territory, buyers should confirm whether the builder included a passive radon-resistant system and plan to test the finished home.
Energy performance carries weight in a climate with significant heating loads. Insulation completeness, air-sealing, and duct sealing checked at the pre-drywall stage pay off in comfort and lower utility bills for years. Buyers in Denver, Douglas, Jefferson, and surrounding counties benefit from an inspector familiar with how local soils, weather, and radon shape what a new home needs.
Drainage deserves a second look on Front Range new builds because the lot is freshly graded and the soil has not yet settled. Backfill around a new foundation compacts over the first year or two, and if the original grading was marginal, settling can reverse the slope and direct water toward the house. An inspection that confirms positive drainage at the final phase, and an eleven-month check that re-evaluates it after a season of settling, protects against one of the region’s most common new-home problems.
Buyers should also document the home’s as-built features for their records. Noting the foundation type, whether a passive radon system was installed, insulation values, and the locations of shutoffs and panels creates a reference that helps with future maintenance, warranty claims, and any later mitigation or testing. A thorough phased inspection naturally captures much of this information, turning the report into a long-term reference rather than a one-time checklist.
References
- New Construction Inspection Guidance — InterNACHI
- Standard of Practice for Home Inspections — ASHI
- Residential Code and Building Standards — International Code Council
Frequently asked questions
Does a new construction home need an inspection?
Yes. Municipal code inspections confirm only minimum legal compliance, not workmanship, and builders working on tight schedules leave defects. An independent inspection works for the buyer and routinely finds items both the builder and the city missed.
What is a pre-drywall inspection?
It is an inspection done after framing, electrical, plumbing, and HVAC rough-ins are installed but before insulation and drywall cover them. It is the only chance to evaluate work that becomes hidden once walls are finished, making it the most valuable phase for many buyers.
What defects are most common in new homes?
Improper grading and drainage, missing or poor flashing, insulation gaps, unsealed duct joints, plumbing leaks, electrical wiring errors such as missing GFCI protection, and cosmetic drywall flaws. Rushed schedules and many subcontractors make these predictable.
How does the inspection help with the builder warranty?
New homes usually carry a one-year workmanship warranty with longer terms on structure and systems. A documented inspection report with photos gives the buyer leverage to get defects fixed under warranty, ideally added to the builder's punch list before closing.