Mold Remediation Air Quality Testing: Clearance Testing Explained
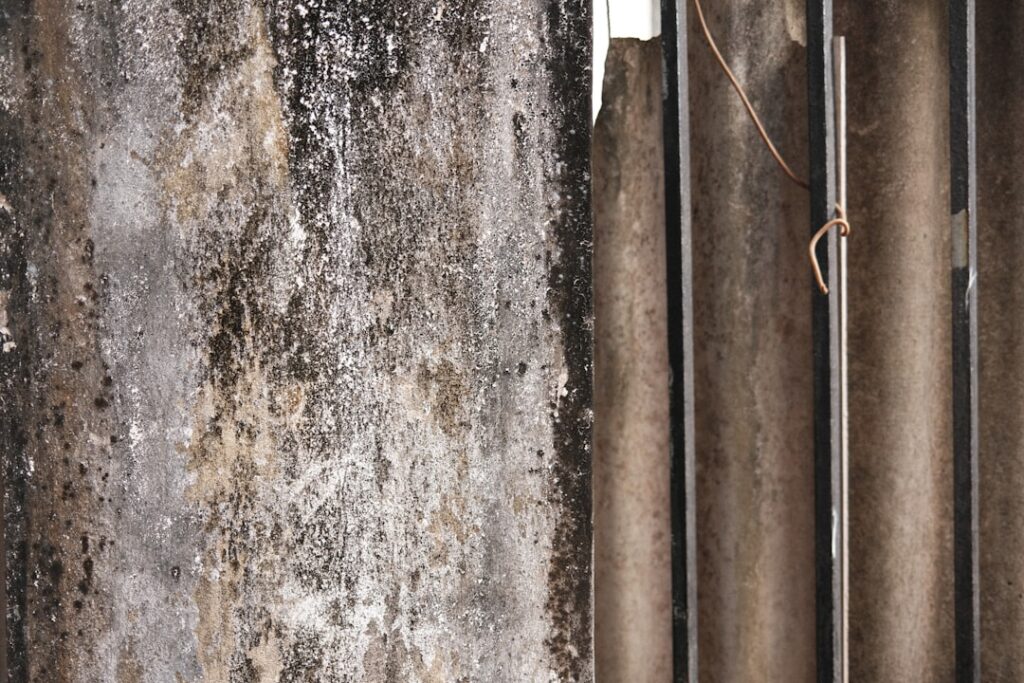
Mold remediation air quality testing is the bookend that decides whether a cleanup project is actually finished. Pre-remediation samples document the starting condition; post-remediation clearance samples verify the work was effective. Done well, this testing protects homeowners, insurers, and future buyers. Done poorly — by the same company that performed the cleanup, or without proper containment protocols — it amounts to certifying your own homework. This guide summarizes EPA, CDC, and IICRC S520 guidance current as of 2026 and is general information; consult your physician for symptom evaluation and a credentialed third-party assessor for clearance decisions on your specific project.
Is this mold, asbestos, or water damage? Get a free instant screen
Upload a clear photo of the suspect area. You'll get an instant AI screening opinion and what to do next. This is screening guidance, not a professional determination.
Screening guidance only. AI can be wrong. Confirm asbestos, mold type, or lead with lab testing or a licensed professional before acting.
What Air Quality Testing in Remediation Actually Verifies
Two different questions get answered. The pre-remediation test establishes baseline conditions: which genera are elevated, by how much, and against what outdoor reference. This baseline is the comparator the post-remediation test will be measured against. The post-remediation clearance answers a single yes-or-no question: has the airborne fungal profile inside the remediated area returned to a state consistent with normal indoor air, judged by comparison to the same-day outdoor control and to non-affected indoor reference areas?
IICRC S520, the dominant industry standard for mold remediation, specifies post-remediation verification (PRV) as a required step before reconstruction. Insurance carriers commonly require PRV documented by a third-party assessor before reimbursing the project.
The IICRC S520 Sequence in Practice
Phase 1: Containment Setup
Before any demolition begins, the remediator establishes containment with 6-mil polyethylene barriers, negative air pressure machines (HEPA filtered, exhausting outdoors), and decontamination chambers at entry and exit points. The goal is to prevent spore migration into clean areas of the home during demolition. A pre-remediation air sample inside containment documents the starting condition.
Phase 2: Removal of Porous Materials
Contaminated porous materials — paper-faced drywall, fibrous insulation, carpet pad, ceiling tiles — go into sealed disposal bags and out through the decontamination chamber. Semi-porous materials (framing lumber, masonry) are HEPA-vacuumed and treated; full removal is reserved for cases where contamination has penetrated the substrate.
Phase 3: HEPA Vacuuming and Surface Cleaning
All remaining structural surfaces inside containment receive HEPA vacuum passes followed by detergent or antimicrobial wipe-down. The cleaning targets settled spores and surface biofilm. Antimicrobial choice matters: EPA-registered products designed for the substrate are appropriate, while broad fogging with biocides is generally not endorsed by EPA as a primary remediation method.
Phase 4: Drying Verification
Before clearance testing, all materials must read at acceptable moisture content. For framing lumber, that typically means under 16% by pin meter. Drywall assemblies need to be dry per the relative scale of a calibrated pinless meter. Skipping this step risks new colonization within weeks of remediator demobilization.
Phase 5: Post-Remediation Clearance Testing
Containment stays up while a third-party assessor performs a visual inspection (no visible dust, debris, or moisture), surface checks (moisture meter and sometimes ATP swabs), and air sampling inside the work area, in adjacent unaffected areas, and outdoors. Lab analysis is the same spore-trap microscopy used in pre-remediation testing. Results are compared to outdoor controls and to baseline reference samples.
Pass/Fail Criteria — What Clearance Actually Looks For
There is no federal regulatory threshold for indoor mold; pass/fail is comparative. Three conditions must be met for a passed clearance under most assessor protocols:
First, no visible dust, debris, or moisture inside containment. Visual sign-off comes before sampling. Second, indoor air spore counts inside the work area do not exceed a same-day outdoor control or a non-affected indoor reference, in either total counts or in indicator-genera percentages. Third, indicator genera that defined the original problem (Stachybotrys, Chaetomium, or markedly elevated Aspergillus/Penicillium) are absent or present only at levels consistent with the outdoor profile. Failed clearance triggers re-cleaning and re-testing — the project does not progress to reconstruction until clearance passes.
Why Third-Party Clearance Matters
Self-clearance — where the remediator tests their own work — has an obvious conflict. The remediator profits from passing clearance and loses from failing it. EPA, IICRC S520, and most insurance carriers all recommend or require third-party post-remediation verification by an independent assessor. This is the same logic that separates auditors from the companies they audit. Front Range homeowners should treat third-party clearance as non-negotiable, even when remediators offer “free” clearance bundled with their service. A short overview of related provider-vetting questions sits on the mold inspection hub.
Pre-Remediation Testing: Worth It or Not?
Pre-remediation testing is required when scope or insurance documentation depends on it, recommended when occupant symptoms are involved, and optional when the situation is clear-cut visible mold. EPA’s stance is consistent: do not test pre-remediation if the cleanup is going to happen anyway and the scope is straightforward. Test when the data will inform a decision — for example, when the remediation scope is contested or when baseline data will be needed for clearance comparison.
What Insurance Carriers Look For
Insurance claims involving mold remediation typically require documentation of: the cause (sudden water event vs. long-term seepage), the date discovered, third-party pre-remediation assessment, scope of work aligning with IICRC S520, and third-party clearance with passing PRV. Carriers commonly cap mold coverage; review the policy before the project begins. Submit reports as PDFs with the lab’s AIHA-LAP accreditation page attached and the assessor’s credential certificate included.
The Cost of Air Quality Testing in Remediation
Pre-remediation assessment by an independent assessor runs $400 to $900, similar to a standard professional mold inspection. Post-remediation clearance testing typically costs $300 to $700 depending on the number of samples (work area, adjacent reference, outdoor control) and the size of the contained zone. Multi-room or large commercial projects scale higher. Beware “$0 clearance” offered by the remediator — the cost is bundled into the remediation invoice and the conflict undermines the result.
Common Failure Modes During Clearance
Five reasons projects fail clearance recur. Containment was breached during demolition, allowing spores to settle outside the work area. Drying was incomplete and re-amplification began before sampling. HEPA vacuuming was rushed and settled spore burden remained on horizontal surfaces. Indicator genera identified pre-remediation are still present at elevated levels, suggesting the source was not fully removed. The outdoor control is unusually low and the indoor count looks elevated by contrast — an assessor judgment call. Each failure mode points to a specific corrective action rather than a binary “fail and start over.”
The Reconstruction Sequence After Clearance Passes
Reconstruction does not begin until clearance passes. The order is: tear down containment, replace removed porous materials with new (drywall, insulation, baseboard, carpet pad), prime and paint, and re-occupy. The water source identified during the original investigation must have been corrected before clearance — building back over an unfixed leak guarantees the mold returns. For homeowners new to this sequence, the parallel coverage in testing a house for mold walks through the diagnostic steps that lead into remediation.
Front Range Considerations
Colorado’s dry climate generally helps drying timelines after remediation; relative humidity in the Front Range often sits below 40% indoors during winter, which speeds substrate drying compared to coastal regions. That said, sealed crawl spaces and unconditioned basements in Denver, Douglas, and Jefferson counties can hold elevated moisture long after the visible water event ends. Inspectors who account for these microclimates produce more accurate clearance results than those running coastal-style protocols without adjustment.
Five Questions for Any Clearance Assessor
What standard will the clearance follow — IICRC S520 PRV is the expected answer. Will the lab be AIHA-LAP accredited — yes is the only acceptable answer. Will an outdoor control be collected the same day — yes is non-negotiable. Will the report include both indicator-genera analysis and a narrative interpretation — yes filters out boilerplate reports that recite raw numbers without context. Will the assessor have any financial relationship with the remediator on this project — the cleanest answer is no, with no referral fee or markup.
What Homeowners Should Save
Six documents become important later: the pre-remediation assessment report, the remediation scope of work, the project’s daily logs and photographs, the moisture-content drying logs, the post-remediation clearance report, and the lab accreditation pages. Save them as PDFs in a single folder. They are essential at resale, when an insurer asks for proof, or if a future occupant raises a concern. Insurance and disclosure laws vary by state; in Colorado, sellers must disclose known material defects, which can include past mold remediation.
Timeline From Identification to Reconstruction
A typical residential mold remediation project runs three to six weeks from initial assessment to reconstruction. Week one: pre-remediation assessment, scope development, insurance authorization. Week two: containment setup, demolition, removal of porous materials. Week two to three: cleaning, drying, antimicrobial application, drying verification. Week three to four: third-party post-remediation clearance testing and lab turnaround. Week four to six: reconstruction (drywall, insulation, paint, baseboard, carpet pad). Larger projects with multiple rooms or extensive structural drying can extend to eight or more weeks. Front Range scheduling typically runs faster in shoulder seasons than during the April–July real-estate peak when remediator availability tightens.
References
- EPA Mold Remediation Guidance — U.S. Environmental Protection Agency
- CDC Mold Cleanup After Disasters — Centers for Disease Control and Prevention
- OSHA Mold Standards and Worker Protection — Occupational Safety and Health Administration
- InterNACHI Mold Remediation Resources — International Association of Certified Home Inspectors
Front Range homeowners planning a remediation project benefit from independent third-party clearance testing to protect resale value and document the work. Reach out through our contact page for a connection to a qualified local assessor.