Infrared Camera: A Complete Buyer and User Guide
An infrared camera is a device that captures infrared radiation and converts it into a visible image showing temperature patterns. The technology sits at the intersection of physics (Planck’s radiation law), detector engineering (uncooled microbolometers and cooled cryogenic arrays), and practical building diagnostics. This comprehensive guide explains how infrared cameras work, the four main types on the market, the four price tiers buyers should know about, what homeowners and professionals actually use them for, and how to decide whether to rent, buy entry-tier, or invest in pro equipment. References lean on the U.S. Department of Energy, EPA, ASHRAE, and InterNACHI.
Part of our Thermal Imaging for Homes guide — start there for the full picture →
What is an infrared camera?
An infrared camera detects radiation in the infrared portion of the electromagnetic spectrum and translates it into a visible image. Every object above absolute zero emits infrared radiation; the amount and wavelength depend on the object’s temperature. By measuring that emitted radiation pixel-by-pixel across a detector array, the camera produces a “thermal image” — colors representing temperatures rather than visible light. Warmer regions appear in one palette color (often white, yellow, or red), and cooler regions appear in another (often blue, purple, or black).
The U.S. Department of Energy describes infrared thermography as a high-value tool for finding hidden building defects — missing insulation, air leakage paths, and moisture intrusion — when paired with proper interpretation training. For the broader inspection toolkit context, see our home inspection tools buyer’s guide.
How does an infrared camera work?
Consumer and pro-handheld infrared cameras use a long-wave infrared (LWIR, 8 to 14 micrometer) microbolometer detector. The detector is an array of tiny resistors coated to absorb LWIR radiation. Each resistor warms slightly when struck by infrared photons, and the change in resistance is read out as a pixel value. The full array — common sizes are 160×120, 240×180, 320×240, and 640×480 — produces a thermal image at 8 to 60 frames per second.
Onboard software converts the raw radiometric data into a false-color image using a chosen palette (Iron, Rainbow, Grayscale, etc.), overlays spot temperature measurements, and either displays the result on a built-in screen or sends it to a connected phone or tablet. Storage is on internal memory or a removable card; the file format is typically a radiometric JPEG that retains the underlying temperature data alongside the visible image.
What types of infrared cameras are available?
Smartphone attachments
Pocketable devices that plug into a phone’s Lightning or USB-C port. Examples include the Seek CompactPRO, FLIR ONE Pro, and Hikmicro Mini2. Detector resolutions of 160×120 to 256×192 are common. Prices range from $250 to $700. The phone handles display and storage.
Standalone handhelds
Battery-powered cameras with built-in displays. The category includes entry units from $700 and pro-grade units up to $15,000. Detector resolutions span 160×120 to 640×480. This is the dominant category for working home inspectors and energy auditors.
Drone-mounted thermal cameras
Enterprise drones (DJI Mavic 3 Thermal, Autel EVO Max 4T) integrate a thermal camera with a flight platform. Used for roof surveys, solar panel inspection, and large-property assessment. Prices typically run $5,000 to $20,000+.
Fixed-mount and process-monitoring systems
Industrial cameras installed permanently for continuous monitoring of furnaces, electrical substations, perimeter security, and similar applications. Not relevant to residential buyers.
What are the price tiers in 2026?
The market breaks into four tiers. Consumer attachments at $200 to $500 cover diagnostic use. Mid-tier handhelds at $500 to $2,000 cover light-professional and serious-DIY use. Pro inspection handhelds at $2,000 to $10,000 cover full-time inspection and energy-audit businesses. Commercial and research-grade systems at $5,000 to $50,000+ serve industrial, scientific, and aerospace markets.
Rental is available across most tiers. Front Range tool rental houses stock 320×240 handhelds at $50 to $150 per day and $200 to $450 per week. The break-even point against ownership is roughly four to six rentals.
What can homeowners do with an infrared camera?
Find drafts and insulation gaps
Cold air leaking around windows, doors, and electrical penetrations creates distinctive thermal patterns on the interior wall surface. Missing insulation batts in exterior walls show up as cold patches (in winter) or hot patches (in summer). A $250 smartphone attachment is enough to find both kinds of defects in a typical home.
Confirm moisture suspicions
Wet drywall, saturated insulation, and active leaks cool through evaporation, appearing as cooler patches on the camera. The EPA’s mold guidance notes that finding hidden moisture is the first step in preventing mold problems. The thermal camera does not diagnose moisture by itself; a pin-style moisture meter confirms the thermal finding.
Spot electrical hot spots
Loose connections in panels, overheating breakers, and overloaded circuits run hotter than properly functioning components. A homeowner scan can flag potential issues before calling an electrician.
Check HVAC distribution
Uneven temperatures between rooms, weak airflow from certain registers, and blocked supply ducts all show up in thermal patterns. Combined with simple measurements like supply and return temperatures, the diagnostic story usually becomes clear.
What do professionals use them for?
Working home inspectors include thermal imaging as either a standard part of every inspection or as a premium upgrade option. Energy auditors use thermal cameras alongside blower-door testers, duct-leakage testing equipment, and combustion analyzers to produce comprehensive audit reports. Electrical contractors use thermal scanning for predictive maintenance on industrial and commercial panels. HVAC technicians diagnose duct leakage and refrigerant issues with thermal imaging.
InterNACHI’s infrared-certified inspector credential is the most widely recognized residential-inspection credential in the United States. Energy auditors typically pursue BPI or RESNET certifications. ASHRAE’s commissioning standards describe how thermal imaging fits into formal building diagnostics.
DIY versus professional applications
DIY use is appropriate for diagnostic questions where the answer guides a homeowner action — adding insulation, sealing drafts, repairing a leak. A smartphone attachment in the $250 to $700 range covers nearly all DIY needs. The image quality is enough for the homeowner to act on findings but not enough to support legal, real estate, or commissioning reports.
Professional use is required when the report itself is the deliverable — pre-purchase inspections, commercial commissioning, insurance claims, legal disputes, formal energy audits. The image resolution, calibration documentation, and operator credentials matter at that point. Homeowners facing a real estate decision should hire an infrared-certified inspector rather than relying on their own smartphone-tier scan.
What are common pitfalls?
Misinterpreting reflections
Shiny surfaces (polished metal, glass, glossy paint) reflect ambient infrared radiation rather than emitting their own. Without emissivity correction, the camera reads the reflected temperature rather than the surface temperature. Emissivity tape applied to the surface gives the camera a known reference.
Solar loading on exterior walls
An exterior wall in afternoon sun shows a strong heat pattern unrelated to the building’s actual envelope performance. Thermal surveys of exterior walls should happen before sunrise or after sunset.
Evaporative cooling on damp surfaces
A damp surface cools as moisture evaporates. The cooling can look like a thermal anomaly. A moisture meter rules out the dampness explanation.
Confusing NIR with LWIR
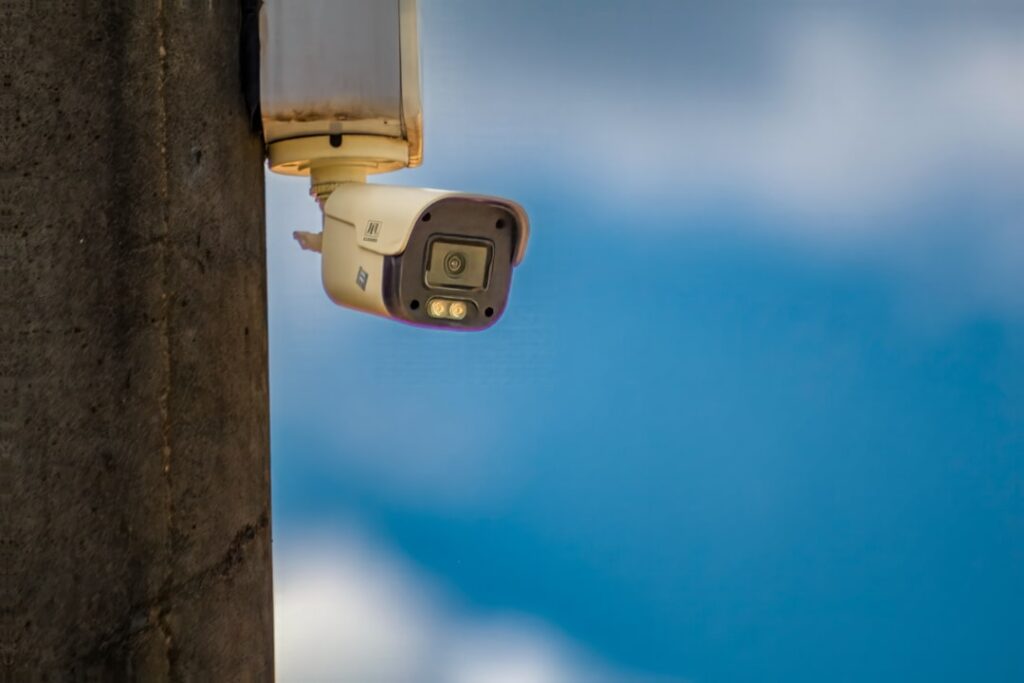
A security camera with “infrared night vision” uses near-infrared (NIR) and detects reflected light, not heat. It will not find missing insulation. Building inspection requires a long-wave infrared (LWIR) camera.
How to choose your first infrared camera
Start with the highest-value job. If it is a single curiosity scan, rent at $50 to $150 per day. If it is recurring annual energy audits on your own home, buy a smartphone attachment in the $250 to $700 range. If it is paid home inspection services, budget $3,000 to $6,000 for a 320×240 pro-handheld plus $500 to $1,000 for IR-certification training. If it is commercial energy auditing, budget $7,000 to $15,000 for a 640×480 unit and the corresponding software suite. Brand selection — Fluke, FLIR, Hikmicro, Seek — comes last; within a price tier the major brands are functionally close.
How does the camera detect temperature differences?
Every object above absolute zero (-273.15 degrees Celsius) emits infrared radiation. The amount and spectral peak of that radiation depend on the object’s temperature, described by Planck’s radiation law. For objects at room temperature (around 290 K), peak emission lands at roughly 10 micrometers — squarely in the LWIR band where uncooled microbolometer cameras operate. The detector array captures these photons pixel by pixel, converts them into electrical signals, and the camera’s onboard processor renders them as a false-color image.
The smallest temperature difference the detector can resolve is described by NETD (noise equivalent temperature difference), expressed in millikelvin (mK). Consumer-tier cameras land at 70 to 100 mK NETD. Pro inspection cameras achieve 50 mK or below. Research-grade cooled MWIR systems achieve 15 to 25 mK. The lower the NETD, the subtler the patterns the camera can resolve.
What palettes and color tables are common?
Captured thermal data is rendered using false-color palettes. Iron (white-hot fading through yellow, red, purple, and black) is the default and most widely recognized in inspection reports. Rainbow uses the visible spectrum. Grayscale produces a more clinical-looking image. Lava emphasizes hot spots over cool spots. Most cameras offer 6 to 12 palette options, and reporting software allows post-capture palette switching on radiometric files.
Different palettes reveal different patterns. A subtle moisture anomaly that is barely visible in Iron might be obvious in Rainbow because the color discontinuities highlight the temperature gradient differently. Experienced inspectors typically capture in radiometric mode (which preserves the underlying temperature data) and switch palettes during analysis to find the best presentation for each finding.
How does image fusion improve report quality?
Most pro-handhelds include a parallel visible-light camera that captures the same scene as the thermal sensor. Image fusion blends the two streams in software — using the visible image for edge detection and the thermal image for color overlay — producing a hybrid image where heat patterns appear superimposed on a recognizable photograph. Fluke calls this IR-Fusion; FLIR calls it MSX; Hikmicro calls it Image Detail Enhancement.
The fusion mode is genuinely useful for client reports. A raw thermal image of a wall shows colored blobs without spatial reference; a fusion image shows the same colored blobs over a photograph of the wall with the window and outlets visible. Reports built from fusion images communicate findings to non-technical clients far more effectively. Most inspectors capture both raw thermal and fusion versions of each frame.
What environmental factors affect image quality?
Three environmental factors matter most. First, indoor-outdoor temperature differential — the larger the gap (20 to 40 degrees Fahrenheit is ideal), the clearer the patterns. Second, solar loading — exterior surfaces in direct sun show heat patterns unrelated to envelope performance, so exterior scans should happen before sunrise or after sunset. Third, surface moisture — wet surfaces cool through evaporation, creating false-positive cold patterns. Moisture meters confirm or rule out the dampness explanation.
Wind and humidity also matter, though less dramatically. Strong wind cools exterior surfaces unevenly through convection; high humidity can produce subtle near-surface temperature variations from evaporative cooling on damp materials. Inspectors typically schedule thermal-focused work for calm, dry conditions when possible. ASHRAE’s commissioning guidance covers environmental factors in detail.
How does emissivity affect readings?
Emissivity describes how efficiently a material emits infrared radiation. Most building materials (wood, painted drywall, concrete, fabric) have emissivity values in the 0.85 to 0.98 range and behave predictably. Polished metals (aluminum, copper, stainless steel) have emissivity values as low as 0.05 to 0.10 and reflect ambient infrared radiation rather than emitting their own.
A camera pointed at a shiny aluminum HVAC duct reads the reflection of whatever the duct is “looking at” — often the ceiling above — rather than the duct’s actual temperature. Emissivity tape (a known-emissivity material applied to the surface) gives the camera a corrected reading. For homeowners encountering this issue with shiny appliances, the workaround is to image a piece of tape applied to the surface rather than the bare metal.
What does the post-capture workflow look like?
Captured radiometric files transfer from the camera to a desktop or phone via USB-C, Wi-Fi, or Bluetooth. Desktop reporting software (Fluke SmartView, FLIR Thermal Studio, HIKMICRO Analyzer) opens each file, displays the underlying temperature data, and allows post-capture adjustments — palette switching, emissivity correction, region-of-interest markers, isotherms, and spot temperature readings. The software exports PDF reports or pushes images into inspection-report platforms like Spectora, HomeGauge, or Horizon.
For a 30-frame residential inspection capture set, expect 15 to 30 minutes of processing time once the inspector is familiar with the workflow. For broader background on the toolkit, see the what is a thermal camera guide.
How long do infrared cameras last?
Well-maintained pro-handhelds typically deliver 7 to 12 years of service. Detectors do not “wear out” in a conventional sense, but pixel defects accumulate slowly over time. The most common failure modes are physical damage from drops, moisture exposure, or direct sun pointing (which can permanently damage the detector). Battery life on the original battery typically degrades to 60 to 70 percent of new capacity after 4 to 5 years; spare batteries are inexpensive and extend useful camera life.
Smartphone attachments typically last as long as the phone they attach to. Lightning-port attachments became less useful once Apple moved iPhones to USB-C; users were left holding compatible adapters or buying replacements. Buyers should consider port-compatibility risk when choosing between attachment formats.
References
- ENERGY STAR: Seal and Insulate — U.S. Environmental Protection Agency (ENERGY STAR)
- Infrared-Certified Inspector Training — InterNACHI
- ASHRAE Standards and Guidelines — ASHRAE
- Mold and Moisture Guidance — U.S. EPA
Thermal imaging cameras
Infrared cameras reveal hidden moisture, missing insulation, and air leaks. Phone-attachment models are the budget entry point; standalone units have higher resolution.
| Product | Why | Buy |
|---|---|---|
 FLIR ONE Pro (phone) FLIR ONE Pro (phone) | Plugs into iPhone/Android; inspector favorite. | Amazon — $349.00 |
 Topdon TC001 Topdon TC001 | High-res phone module at a low price. | Amazon — $199.99 |
 FLIR C5 Compact FLIR C5 Compact | Standalone pocket camera with Wi-Fi. | Amazon — $611.50 |