How to Remove Mold From Ceiling: A Plain Guide
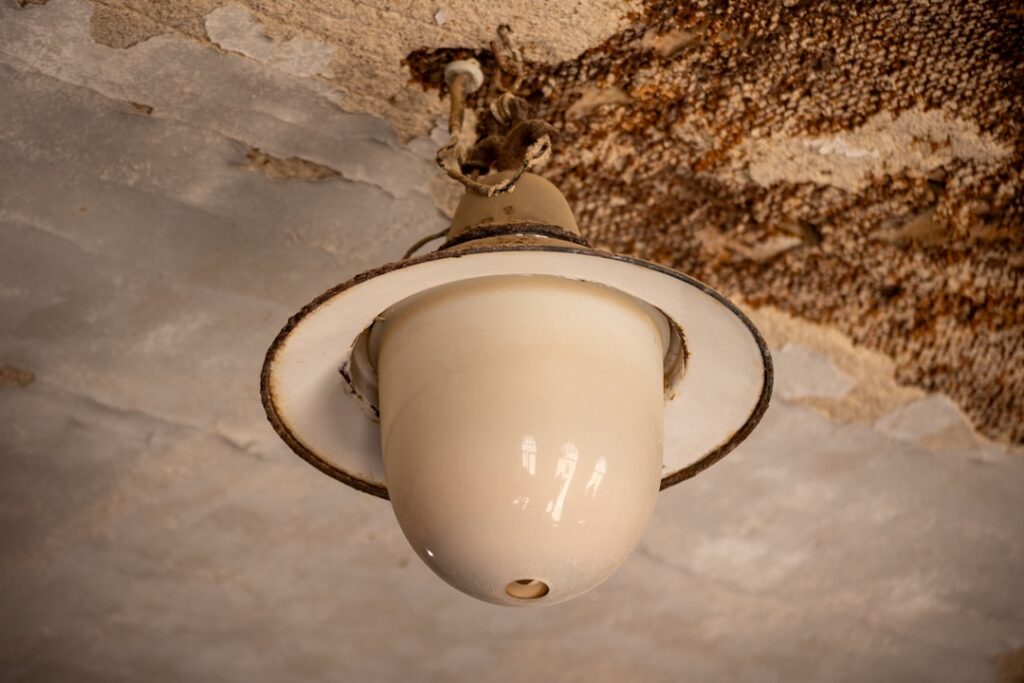
Mold overhead is easy to ignore until the spots multiply and the room takes on a musty smell. Ceiling mold shows up most often in bathrooms above the shower, in corners with poor airflow, and on ceilings directly below an attic or roof that has leaked. Knowing how to remove mold from ceiling surfaces safely matters, but so does understanding why it appeared, because overhead growth frequently signals moisture coming from above. This guide summarizes EPA and CDC guidance current as of 2026 and is educational only; it is not a substitute for a certified mold professional and offers no medical diagnosis. Below is a practical, safety-first walkthrough plus the warning signs that mean you should stop and call for help.
Part of our Mold Removal & Remediation guide — start there for the full picture →
Is this mold, asbestos, or water damage? Get a free instant screen
Upload a clear photo of the suspect area. You'll get an instant AI screening opinion and what to do next. This is screening guidance, not a professional determination.
Screening guidance only. AI can be wrong. Confirm asbestos, mold type, or lead with lab testing or a licensed professional before acting.
How to Remove Mold From a Ceiling, Step by Step
For a small area of surface mold, under roughly the ten square feet the EPA considers a reasonable do-it-yourself threshold, removal follows a clear sequence. Start with protection, since working overhead means debris and spores fall toward your face. The CDC recommends an N95 respirator, gloves, and eye protection, ideally goggles that seal rather than open safety glasses.
Prepare the room. Lay drop cloths or plastic to catch drips and falling debris, and run the exhaust fan or open a window for ventilation. Then treat the surface: distilled white vinegar sprayed on and left for at least an hour kills many mold species, and three percent hydrogen peroxide both kills mold and fades the dark staining. Scrub gently with a sponge or soft brush on an extension pole to keep your face out of the fallout, wipe the area clean, and dry it thoroughly. If staining lingers on a painted, non-porous finish after the mold is gone, a follow-up pass with hydrogen peroxide usually lifts it.
Work in small sections so cleaner does not drip into your eyes, and resist the urge to soak the ceiling, since adding water to drywall can do more harm than the mold did. Bag and discard sponges and rags when finished.
Working overhead introduces ergonomic and safety wrinkles that wall cleaning does not. A stable platform matters: a proper step ladder set on a level surface beats balancing on furniture, and keeping one hand free for stability reduces the risk of a fall while the other works. Goggles that seal around the eyes are worth the small cost because cleaner and debris fall directly downward toward your face. Taking breaks helps too, since craning the neck and reaching upward fatigues the arms quickly and tired arms lead to sloppy, rushed scrubbing. None of this is dramatic, but overhead mold removal causes more minor injuries than people expect, and a few precautions keep a cleaning project from becoming an urgent-care visit.
Why Mold Grows on Ceilings
Ceiling mold is almost always a moisture story, and the source falls into two broad camps. The first is condensation. In a bathroom, rising shower steam hits the cooler ceiling and condenses, feeding mold above the shower. In rooms below an unheated attic, warm interior air can condense on a cold ceiling in winter, especially where insulation is thin. The second camp is a leak from above: a roof problem, a failed flashing, an attic condensation issue, or a plumbing line in the floor above that drips into the ceiling cavity.
The distinction is important because it changes the fix. Condensation responds to ventilation and humidity control. A leak responds only to repairing the leak, and cleaning the visible mold without finding that leak guarantees it returns, often larger. Front Range homeowners see both patterns, with bathroom condensation common year-round and attic or roof moisture more likely after heavy snow or ice damming.
Which Ceiling Materials Can Be Saved
Painted drywall with intact paint and only surface growth can often be cleaned, because the paint film keeps mold on top. Once mold has penetrated the paper facing of the drywall, or once the drywall has gotten wet and soft, surface cleaning will not save it; the EPA notes porous materials with significant growth often must be removed and replaced. Acoustic ceiling tile is highly porous and usually cannot be salvaged once moldy. Plaster behaves more like a hard surface and is often cleanable if it has not absorbed water. Our guide on cleaning mold off a bathroom ceiling goes deeper on these material judgments.
The Hidden-Leak Warning You Should Not Miss
The single most important judgment with ceiling mold is whether you are looking at surface condensation or the visible edge of a leak soaking the cavity above. Several clues point to a leak: a brown or yellow water stain ringing the mold, sagging or bubbling drywall, mold that keeps returning in the same spot after cleaning, a soft or spongy feel when pressed, or growth on a ceiling that is not in a steamy room. Any of these means moisture is likely sitting inside the ceiling assembly, and the mold you see is a fraction of what may be hidden.
In that situation, cleaning the surface is the wrong first move. The leak has to be found and stopped, the cavity dried, and the extent of hidden growth assessed before any cosmetic repair. The CDC and EPA both stress that controlling moisture is the only durable mold control, and a wet ceiling cavity will defeat any surface treatment.
Preventing Ceiling Mold
Prevention tracks the cause. For condensation-driven growth, the fix is airflow and humidity. Run the bathroom exhaust fan during and for twenty to thirty minutes after showers, and confirm it vents outdoors rather than into the attic, a surprisingly common defect. Keep indoor humidity below 60 percent. In rooms under a cold attic, adequate insulation and attic ventilation reduce the cold-surface condensation that feeds ceiling mold.
For leak-driven growth, the prevention is maintenance: inspect the roof and flashing periodically, keep gutters clear so water does not back up, and address ice dams in winter. Catching a small roof leak early is far cheaper than replacing a section of ceiling and remediating a cavity full of mold. Our guide on removing mold from painted surfaces shares cleaning techniques that apply to painted ceilings as well.
Bathroom Ceilings Versus Other Rooms
Where the mold appears on a ceiling tells you a great deal about its cause and how to respond. A bathroom ceiling above or near the shower is almost always a condensation story, driven by steam that the exhaust fan failed to remove. The fix leans heavily on ventilation: a properly sized fan that vents outdoors, run during and after every shower, usually solves the recurring problem once the existing growth is cleaned. The ceiling material is often painted drywall that can be cleaned if the paint is intact and the growth is shallow.
A ceiling stain in a bedroom, hallway, or living room is a different signal entirely, because those rooms do not generate shower steam. Mold there points either to a leak from above, such as a roof, a bathroom on the floor above, or a plumbing line, or to attic condensation dripping down. These cases almost always involve hidden moisture in the cavity and warrant investigation rather than a quick surface clean. Treating a living-room ceiling stain like bathroom condensation, by simply wiping and repainting, misses the leak that will keep feeding it.
Attic and Roof Connections
Top-floor ceilings are uniquely exposed to attic and roof problems. In winter, warm moist household air that leaks into a cold attic can condense on the underside of the roof deck and drip onto the insulation and the ceiling below, producing mold without any obvious roof leak. Ice dams, where snow melts and refreezes at the eaves, can force water back under shingles and into the ceiling. A roof leak around a vent, chimney, or flashing does the same. Because these sources sit above the visible ceiling, the moisture often spreads across a wide area before it shows, which is why top-floor ceiling mold deserves a look in the attic, not just a wipe-down below.
Drying and Repainting After Removal
Once growth is removed and any leak fixed, the ceiling must dry completely before cosmetic repair, and drying overhead surfaces takes patience because warm air and moisture rise into them. A fan and a dehumidifier help. Only after the surface is confirmed dry and mold-free should it be primed and repainted, ideally with a quality stain-blocking primer to seal residual discoloration and a mildew-resistant topcoat. Painting too soon traps moisture and invites the mold straight back, so resisting the urge to rush the cosmetic finish protects the work.
When to Call a Professional
Bring in a certified inspector or remediation contractor when ceiling mold covers more than about ten square feet, when there is a water stain or sagging that signals a leak in the cavity, when growth returns repeatedly, or when the affected ceiling material is porous and saturated. A roof or plumbing leak feeding the ceiling needs the source fixed before any remediation, and that often involves trades beyond mold cleanup. Households with anyone who has asthma, allergies, or a weakened immune system should also seek help sooner rather than disturbing overhead mold themselves. Knowing how to remove mold from ceiling surfaces handles the small jobs; recognizing when overhead mold means a hidden leak is what protects the home.
The single most valuable habit with ceiling mold is to pause and ask where the moisture is coming from before reaching for a sponge. A bathroom ceiling above a shower points to condensation and a ventilation fix. A stained, sagging, or soft ceiling in any other room points to water entering from above, and that demands finding the leak first. Making that determination at the outset decides whether the job is a quick clean or the visible tip of a larger repair, and it prevents the common and costly mistake of repeatedly cleaning and repainting a spot that a hidden leak keeps feeding. Read the ceiling first, then clean, and the work will actually hold. That habit, diagnosing the moisture before reaching for the sponge, is what separates a ceiling repair that lasts from one that has to be redone every few months as a hidden leak keeps feeding the same spot.
Tools and Materials for the Job
Removing ceiling mold safely is easier with the right kit assembled before starting. The protective basics are an N95 respirator, gloves, and sealed goggles, since debris falls toward the face. A stable step ladder rated for the height beats improvising on furniture. An extension-pole sponge or brush keeps your face out of the immediate fallout zone while letting you reach the ceiling without overreaching. Drop cloths or plastic sheeting protect the floor and furniture from drips and falling growth, and a spray bottle of vinegar or three percent hydrogen peroxide handles the cleaning.
Have disposal materials ready too: sturdy bags for sponges, rags, and any removed material, plus a bucket for rinse water that you can empty and clean afterward. A fan or dehumidifier set up nearby speeds the critical drying step. For the cosmetic finish later, a stain-blocking primer and a mildew-resistant topcoat complete the job once the surface is fully dry and mold-free. Gathering all of this in advance means the work proceeds without trips up and down the ladder, which reduces both the time spent overhead and the chance of a misstep.
One judgment call deserves attention before any cleaning begins: confirm the power situation if the mold is near a light fixture, fan, or vent. Working around electrical fixtures with liquid cleaners calls for caution, and switching off the relevant circuit while cleaning around a fixture avoids a hazard that overhead work makes easy to overlook. If the growth surrounds a recessed light or an exhaust fan, cleaning carefully around the fitting rather than soaking it protects both the homeowner and the fixture.
References
- Mold Cleanup in Your Home — U.S. Environmental Protection Agency
- About Mold and Health — Centers for Disease Control and Prevention
- A Brief Guide to Mold, Moisture and Your Home — U.S. Environmental Protection Agency
Frequently asked questions
What kills mold on a ceiling?
For small surface areas, distilled white vinegar left on for at least an hour, or three percent hydrogen peroxide, both kill mold on painted, non-porous ceilings. Scrub gently and dry thoroughly. Porous ceiling tile and water-soaked drywall usually must be replaced rather than cleaned.
Does ceiling mold mean there is a leak?
Sometimes. A water stain, sagging, soft spots, or mold returning in the same place point to a leak soaking the ceiling cavity. Bathroom-ceiling mold above a shower is often condensation instead. A leak must be found and fixed before any surface cleaning will last.
Is it safe to remove ceiling mold myself?
Small areas under about ten square feet are a reasonable do-it-yourself job with an N95, gloves, and sealed eye protection, since debris falls toward your face. Larger growth, saturated drywall, or a suspected leak in the cavity call for a professional.
If ceiling mold keeps returning or a water stain suggests a hidden leak, a vetted Front Range inspector can locate the source; reach out through our contact page to connect with one.
Mold removal & cleanup picks
For a small, contained patch (under ~10 sq ft) these EPA-friendly removers handle surface mold. Larger or recurring growth warrants a professional assessment first.
| Product | Why | Buy |
|---|---|---|
 RMR-86 Instant Mold Stain Remover RMR-86 Instant Mold Stain Remover | Fast-acting on stains; ventilate and wear PPE. | Amazon |
 Concrobium Mold Control Concrobium Mold Control | No-bleach formula that also helps prevent regrowth. | Amazon — $12.81 |
 Mold Armor Mold & Mildew Remover Mold Armor Mold & Mildew Remover | Widely stocked bathroom/surface remover. | Amazon — $22.98 |