Garage Door Seal: Bottom Seals, Weatherstripping and Fixes
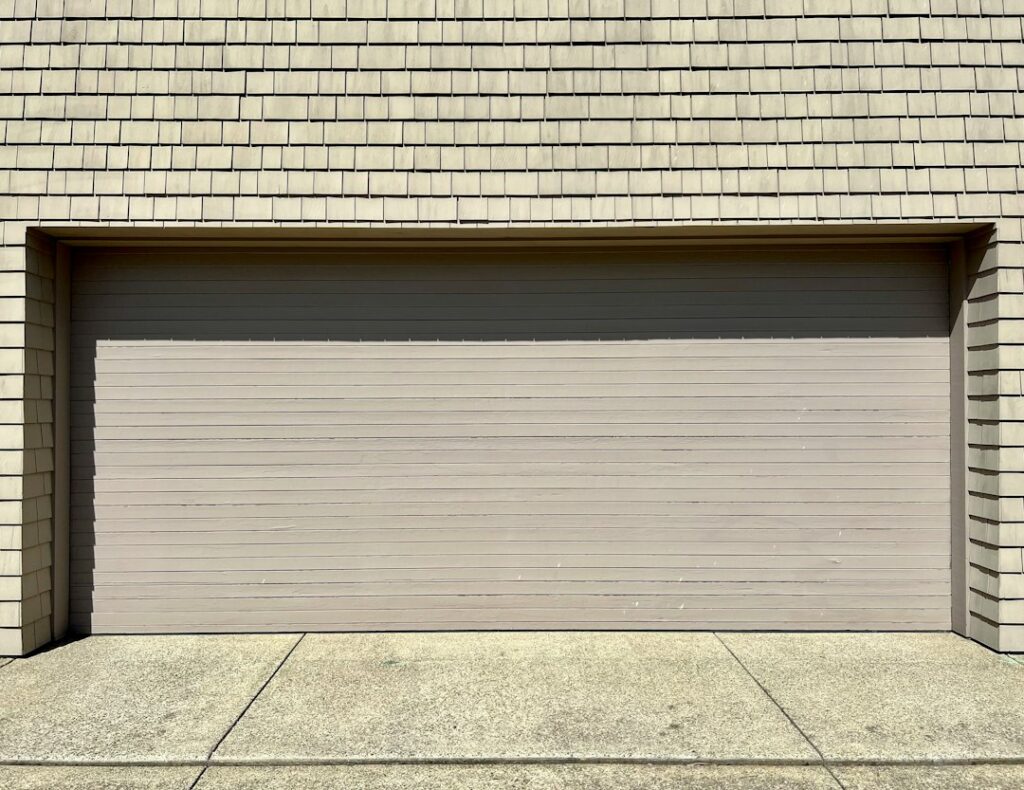
A gap under the garage door looks harmless until snow drifts across the floor, leaves pile up in the corners or a mouse moves in for the winter. The rubber and vinyl strips that close those gaps are inexpensive, but they wear out, tear, harden in the cold and get crushed by years of opening and closing. Along the Colorado Front Range, where temperatures swing widely and wind-driven snow is common, a worn garage door seal is one of the easier home problems to spot and one of the cheaper ones to fix. This guide covers the main types of bottom seals and the retainers that hold them, side and top weatherstripping, threshold seals for uneven floors, the signs that a seal has failed, step-by-step replacement and typical costs. Prices are broad estimates rather than quotes.
Part of our Structure & Exterior guide — start there for the full picture →
What a Garage Door Seal Does
A garage door seal is the flexible weatherstripping that closes the gaps between the door and the opening around it. A complete seal system usually has three parts:
- Bottom seal: a rubber or vinyl strip on the bottom edge of the door that presses against the floor when the door closes.
- Side and top seals (door stop): strips mounted on the jambs and header that press against the face of the door.
- Threshold seal (optional): a raised strip fastened to the floor under the door that the bottom seal closes against.
Together, they keep out drafts, rain, snowmelt, dust, leaves and pests. In an attached garage they also reduce how much cold air reaches the walls and door shared with the house. ENERGY STAR lists installing weather stripping on doors among the simple fixes for sealing a home, and the same principle applies to the largest door on the house.
Types of Garage Door Bottom Seals
Bottom seals come in several profiles. The right one depends on how the door’s bottom edge is built and what kind of retainer, if any, it has. Bringing a short piece of the old seal to the store, or measuring its profile, avoids buying the wrong one.
Bulb Seals
A bulb seal has a rounded, hollow bottom that compresses against the floor. The tops of the strip slide into a two-channel retainer on the bottom of the door. Bulb seals are common on residential steel doors, conform reasonably well to small dips in the floor and are widely available.
T-Style Seals
T-style (or T-end) seals have a T-shaped edge on each side that slides into matching slots in an aluminum retainer. The seal hangs below the door as a loop or flat strip. Several major garage door manufacturers use T-style retainers, so this profile is common on newer doors.
J-Type Seals
J-type seals have hooked edges that fit a different retainer shape. They look similar to T-style seals once installed but are not interchangeable. Compare the edge profile carefully before ordering.
Beaded and Other Proprietary Profiles
Some doors use beaded edges or brand-specific shapes. Replacement seals for these doors may only be available from door dealers or online suppliers that list seals by manufacturer.
Brush Seals
Brush seals use dense nylon or polypropylene bristles instead of rubber. They are more common on commercial roll-up doors and on doors over very uneven floors, where bristles conform to gaps that a rubber strip cannot. They block debris and many pests but generally seal less tightly against air and water than a good rubber seal.
Nail-On Seals for Wood Doors
Older wood doors often have no retainer. A flat or beaded rubber strip is nailed or screwed directly to the bottom edge. These are inexpensive and simple to replace, but the strip can tear around fasteners over time.
Best Garage Door Seal: our top 3 picks
| Product | Best for | Key features | Price | Buy |
|---|---|---|---|---|
| Holikme EPDM T-end 17 ft | Best retainer bottom seal |
| $28.49as of Nov 19, 2026 6:02 pm GMT+0000 | Buy now →Check current price |
| Jobon 16.5 ft kit with track | Best complete bottom seal kit |
| $59.99as of Nov 19, 2026 6:02 pm GMT+0000 | Buy now →Check current price |
| Jin and Bao yellow threshold 20 ft | Best floor threshold for water |
| $45.99as of Nov 19, 2026 6:02 pm GMT+0000 | Buy now →Check current price |


Prices are Amazon’s listed prices as of the time shown and change often; check Amazon for today’s price. As an Amazon Associate we earn from qualifying purchases.
Retainers: The Part That Holds the Seal
On most steel doors, the bottom seal slides into an aluminum or steel retainer fastened to the bottom of the bottom panel. The retainer can fail too:
- Bent or crushed retainers from the door closing on an object make it hard or impossible to slide in a new seal.
- Corroded retainers, common where road salt and snowmelt collect, can trap the old seal and tear the new one.
- Loose retainers let the seal sag or pull out at the ends.
Replacement retainers are available for many doors, often sold as kits with a new seal. If the retainer is part of the bottom panel’s construction rather than a separate piece, a dealer may need to supply the matching part.
Side and Top Weatherstripping
The perimeter seal, often called the door stop, runs up both jambs and across the header. On most residential doors it is a vinyl or composite strip with a flexible flap or bulb that presses against the door face when closed. It is typically nailed or screwed to the wood jambs.
Perimeter seals fail in predictable ways. Vinyl can become brittle in the sun and cold, flaps curl outward, and the stop may have been installed too far from the door, leaving a visible gap. Replacement involves pulling the old stop, positioning the new one so the flap lightly contacts the door face, and fastening it in place. Pressing the stop too tightly against the door can make the door bind and strain the opener, so a light, even contact is the goal.
The top seal also matters. Warm air rises, and a gap across the header can let a surprising amount of heated air escape from a heated garage.
Threshold Seals for Uneven Floors
Garage slabs settle, crack and wear. A bottom seal can only stretch so far, so a low spot or slope across the opening may leave a gap even with a new seal. A threshold seal is a raised rubber or vinyl strip glued, or sometimes bolted, to the floor under the closed door. It gives the bottom seal something higher to close against and helps block water from running in.
Threshold seals have trade-offs. They create a small bump that cars, mowers and wheeled tools roll over, they can trap water on the inside if the slab slopes inward, and adhesives need a clean, dry, reasonably warm surface to bond. Colorado installers often recommend doing the job on a mild day rather than in midwinter.
If the floor itself is deteriorating, the seal may be treating a symptom. Spalled concrete, wide cracks or a sunken section near the door may need repair before any seal works well. The garage floor epoxy guide covers slab preparation, crack repair and coatings, and an even, sealed floor gives a threshold seal a better surface to adhere to.
Signs Your Garage Door Seal Has Failed
Most seal problems are easy to spot. Close the door on a sunny day, turn off the garage lights and look for:
- Daylight under the door, at the corners or along the jambs and header.
- Water or snow on the floor inside the door after storms.
- Drafts you can feel with a hand near the gaps on a windy day.
- Leaves, dirt and debris collecting just inside the door.
- Pests such as insects, mice or other rodents in the garage.
- Cracked, flattened, torn or missing sections of rubber, especially at the corners.
- A seal that sticks to the floor in winter or pulls out of its retainer.
ENERGY STAR’s guidance on sealing around doors and windows lists similar warning signs for house doors, including drafts around closed doors, visible gaps and pests and dust entering through gaps or holes. It also describes a paper test: close the door on a sheet of paper, and if the paper slides out easily, the seal could be tighter.
Rodents that get into a garage do not always stay there. Mice and rats can travel along wall cavities and plumbing chases into the rest of the house, and the rats in attic guide covers signs, risks and cleanup when that happens. EPA describes prevention as the first line of pest control in integrated pest management, and sealing entry points is a straightforward example.
Persistent water at the door can also contribute to damp corners, stained drywall and musty smells. The mold in garage guide explains common moisture sources and when cleanup is a DIY task.
How to Replace a Garage Door Bottom Seal
Replacing a bottom seal on a typical residential steel door is a manageable DIY job for many homeowners. The general steps:
- Identify the profile and measure. Check whether the seal is bulb, T-style, J-type or another shape, and measure the door width. Buy a seal a little longer than the door so it can be trimmed.
- Raise the door to a comfortable working height and secure it so it cannot move. Unplug the opener, or engage its lock-out, and clamp locking pliers on the track just below a roller on each side to keep the door from coming down.
- Remove the old seal. Slide it out of the retainer. If it is stuck, a little lubricant or soapy water may help. Some retainers have crimped or screwed ends that need to be opened first.
- Clean the retainer channels. Remove dirt, corrosion and old rubber with a brush and a putty knife.
- Lubricate and feed the new seal. Soapy water or a silicone spray helps the seal slide. Feeding it from both ends with a helper is easier, especially in cold weather when rubber is stiff.
- Center and trim. Center the seal, trim the ends with a utility knife, leaving a small overhang if the manufacturer recommends it, and close any crimped or screwed ends.
- Test. Remove the clamps, restore the opener and close the door. Check for daylight and confirm the seal contacts the floor evenly without making the door bounce back.
After replacing a seal, test the opener’s automatic reversal by placing an object such as a piece of wood in the door’s path. A thicker seal changes where the door meets the floor, and the opener’s close-force and travel limits may need adjustment per the opener manual.
When to Leave It to a Pro
Do not loosen or remove the bottom bracket on a door with torsion or extension springs. On many doors, the cables attach to the bottom brackets and are under high tension. If the seal job requires touching those brackets, or the retainer is part of a damaged bottom section, call a garage door technician.
Choosing Seal Materials for Cold Weather
Seal material matters more in Colorado than in milder climates:
- EPDM rubber generally stays flexible in cold temperatures and resists sun damage, which makes it a common choice for cold climates.
- Standard vinyl (PVC) is inexpensive but can stiffen and crack in very cold weather and degrade in strong UV.
- Thermoplastic rubber (TPR) and other cold-rated compounds are marketed for low-temperature flexibility; check the manufacturer’s stated temperature range.
To reduce freezing to the floor in winter, keep the slab in front of the door clear of snow and ice, and some homeowners apply a thin coat of silicone spray to the seal. If the door freezes down, do not force it with the opener, which can tear the seal or strain the opener and springs. Free it gently with warm water, then dry the area.
Seasonal Seal Maintenance
A few minutes of attention twice a year can stretch the life of a set of seals and catch problems before they let in a winter’s worth of snowmelt.
- Fall: clean the bottom seal and retainer, check for daylight around the whole perimeter, and replace cracked or flattened sections before the first snow. Clear leaves and debris from the slab where the seal lands.
- Winter: keep snow and ice from building up against the door, and watch for the seal sticking to the floor after warm days followed by cold nights.
- Spring: look for tears caused by ice, salt residue on the retainer and gaps that opened as the slab moved through freeze-thaw cycles. Rinse road salt off the bottom of the door.
- Summer: check vinyl stops on south- and west-facing doors for sun damage, curling or brittleness.
While checking the seals, it is a good time to look at the rest of the door. Frayed lift cables, rollers that wobble in the track, a door that slams or drifts when stopped halfway and an opener that strains are all worth a technician’s attention. These are often signs of spring or balance issues rather than seal problems, and they are safer to address early.
How Much Does a Garage Door Seal Cost?
As broad estimates rather than quotes:
- Bottom seal (single or double door), DIY: often about $20 to $60 for the strip.
- Bottom seal with new retainer kit: commonly $50 to $150 in parts.
- Side and top stop molding, DIY: often $30 to $100 depending on door size and material.
- Threshold seal: roughly $30 to $80 for the strip and adhesive.
- Professional replacement: many garage door companies charge a service call plus parts, often somewhere around $100 to $300 for a bottom seal, or more for a full perimeter job.
Seals, Insulated Doors and Home Inspections
Seals and insulation work together. A new insulated garage door loses much of its benefit if the bottom and perimeter seals leak, while new seals on an uninsulated door mainly reduce drafts, water and pests rather than conducted heat. For attached garages with living space above, addressing both is usually the most effective approach.
The ASHI Standard of Practice includes garage vehicle doors and garage vehicle door operators among the items a home inspector inspects. Inspectors often note worn or missing seals, gaps, water staining and damaged panels as part of that review. The home inspector hiring guide explains what a standard inspection covers, and the structure and exterior hub collects related topics.
References
- Seal and Insulate with ENERGY STAR — ENERGY STAR (U.S. EPA)
- Sealing Behind Window and Door Trim — ENERGY STAR (U.S. EPA)
- Introduction to Integrated Pest Management — U.S. Environmental Protection Agency
- ASHI Standard of Practice for Home Inspections — American Society of Home Inspectors
Frequently asked questions
How do I know which garage door bottom seal to buy?
Check the shape of the edges that slide into the retainer, such as bulb, T-style or J-type, and measure the door width. Bringing a short piece of the old seal to the store or searching by door manufacturer helps avoid mismatches.
Can I replace a garage door seal myself?
Many homeowners can replace a bottom seal and side stops with basic tools. Secure the door, unplug the opener and never loosen the bottom brackets, which are often connected to cables under spring tension. Call a technician if that work is required.
How do I seal a gap under a garage door on an uneven floor?
A taller bottom seal or a threshold seal glued to the floor can close small gaps. Larger dips, cracks or a sunken slab may need concrete repair first so the seal has an even surface to close against.
Why does my garage door seal freeze to the floor?
Snowmelt and water collect under the seal and refreeze overnight. Keeping the slab clear, choosing a cold-flexible material such as EPDM and applying a light silicone spray can help. Avoid forcing a frozen door open with the opener.
How often should garage door seals be replaced?
There is no fixed schedule. Replace seals when they crack, flatten, tear or let in daylight, water or pests. Seals exposed to strong sun, road salt and cold winters may need replacing more often.
Seeing daylight under the garage door, water stains on the slab or signs of rodents in a home you are considering? Let us know and we can help you schedule a Front Range inspection that documents the garage, its door and the areas around it.