Thermal Imaging App for iPhone: What Homeowners Need to Know
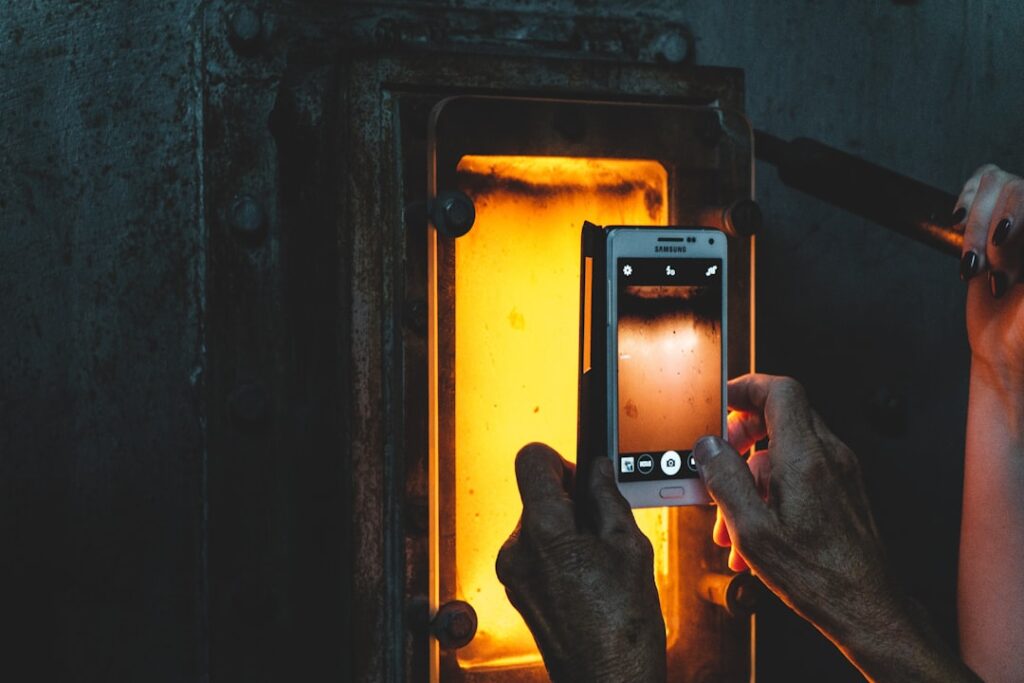
A search for a thermal imaging app for iPhone usually produces a list of camera-manufacturer apps that pair with external hardware. The iPhone itself does not contain a thermal sensor. The app provides the display, recording, and image-processing software; the actual long-wave infrared sensor lives in a small accessory that plugs into the Lightning or USB-C port. Understanding this split between phone and hardware matters before buying anything, because the apps without compatible hardware are demonstrations rather than working thermal cameras. This guide covers the common iPhone-paired thermal accessories, what their apps actually do, and how the iOS workflow compares with Android equivalents and dedicated handheld units.
Part of our Thermal Imaging for Homes guide — start there for the full picture →
Why the iPhone needs external hardware
Thermal imaging measures emissive long-wave infrared radiation (8 to 14 micrometers) from surfaces at typical building temperatures. Detecting that radiation requires a microbolometer sensor with germanium or chalcogenide optics, neither of which fits inside a standard smartphone. Apple has not integrated a thermal sensor into any consumer iPhone model. The thermal imaging app on the App Store therefore depends on an external accessory that contains the sensor and lens, with the iPhone serving as the screen, processor, and storage device. Some apps include emulators or training modes that demonstrate the interface without hardware attached, which is useful for evaluation but does not produce real thermal images.
Common iPhone-paired thermal accessories
Three families of iPhone-paired thermal accessories dominate the market. The first family attaches to the Lightning port on older iPhones (or via a Lightning-to-USB-C adapter on newer models). The second family attaches directly to USB-C on iPhone 15 and later. The third family communicates wirelessly via Wi-Fi from a self-contained battery-powered camera, which is technically not iPhone-paired in the physical sense but uses the phone as a display through the manufacturer’s app. Each family has tradeoffs in resolution, sensitivity, battery life, and price.
Lightning-port and USB-C cameras
Direct-attach cameras plug into the iPhone’s data port and draw power from the phone, which keeps the accessory compact and battery-free. Typical sensor resolutions range from 80×60 pixels at the budget end to 320×240 or 384×288 at higher tiers. Direct-attach cameras work only with the manufacturer’s iOS app, which provides live thermal display, image and video recording, and basic measurement tools like spot temperature and isotherm overlays.
Wi-Fi cameras
Wi-Fi cameras are larger handheld units with their own batteries and screens that also broadcast their feed to a phone over Wi-Fi. The phone app becomes a remote display and recording surface rather than the primary interface. This category suits inspectors who want a standalone camera that occasionally pairs with a phone for client demonstrations or report annotation.
What the apps actually do
Most manufacturer apps provide live thermal display, image capture, video recording, basic temperature measurement (spot temperature at the cursor location, area temperature, line-profile temperature), isotherm overlays, color-palette selection, and report-generation tools. The advanced apps include image fusion (overlaying thermal data on a visible-light reference image from the same accessory or from the iPhone’s main camera), emissivity adjustment, and cloud sync. The exact feature set varies by manufacturer and tier, but the core thermal workflow is consistent across the category.
Common iPhone thermal accessories by tier
The entry tier covers $200 to $400 accessories with 80×60 or 160×120 sensors, suitable for hobbyist building diagnostics and occasional energy-loss surveys. The mid tier covers $400 to $800 accessories with 160×120 or 256×192 sensors, suitable for serious homeowner use and entry-level professional inspection. The professional tier covers $800 to $2,000+ accessories with 320×240 or higher sensors, suitable for commercial energy auditing and detailed inspection work. The price gap between tiers reflects sensor resolution, thermal sensitivity (NETD value, where lower is better), and frame rate.
How iPhone thermal compares with Android
Android phones have similar accessory categories with similar price points. Our thermal imaging app for Android guide covers the Android side in detail. The major differences are connector compatibility (Android phones use USB-C exclusively, simplifying accessory selection) and app availability (some thermal accessories support only one platform). Buyers committed to one phone ecosystem should confirm the accessory’s compatibility before purchasing.
How iPhone thermal compares with dedicated handheld cameras
Dedicated handheld thermal cameras (typically $400 to $5,000) are self-contained units with built-in screens, batteries, and storage. They do not need a phone. The advantages are independence from phone software updates, longer continuous run time on dedicated batteries, and ruggedized casings designed for jobsite use. The disadvantages are larger form factor and higher upfront cost for a similar sensor specification. iPhone-paired accessories suit homeowners who want occasional thermal capability without buying a second handheld device; dedicated cameras suit users who run thermal surveys daily. Our broader home inspection tools hub covers the camera categories side by side.
Common iPhone thermal use cases
Energy-loss surveys identify air leakage around windows, doors, electrical penetrations, and recessed lights. Moisture detection finds cool spots where evaporation indicates active moisture intrusion. Electrical panel inspection identifies hot circuit breakers or connections that suggest overloaded circuits or failing components. Plumbing-leak detection finds slow leaks under floors or behind walls through the temperature differential between wet and dry materials. Pest or animal detection in attics or crawlspaces uses body heat signatures. Each use case has limits worth understanding before relying on the thermal image.
What the camera cannot do
Thermal cameras measure surface temperature, not what is behind the surface. They do not see through walls, even if marketing copy suggests otherwise. The image shows what the wall surface is doing thermally, which often correlates with what is behind the wall but is not a direct view. The camera also does not measure absolute temperatures accurately without emissivity correction. Surfaces with low emissivity (polished metal, glass, glossy paint) reflect ambient radiation and give misleading readings unless calibrated.
App compatibility and iOS updates
Thermal camera apps occasionally lag iOS updates. A new iPhone model or major iOS version can break compatibility with older accessories until the manufacturer publishes an update. Before buying an older accessory, confirm the manufacturer is still actively maintaining the iOS app and that the accessory has been tested with the current iOS version. Apps abandoned by their manufacturers can become unusable when iOS deprecates the API they depend on, which strands the accessory hardware.
Battery life and heat management
Direct-attach Lightning and USB-C cameras draw power from the iPhone battery, which depletes phone battery faster during extended thermal sessions. A two-hour energy-loss survey can deplete a phone from full charge to twenty percent depending on the model. Carry an external battery pack for extended work. The accessory itself can warm up during long sessions, which marginally affects the thermal calibration; manufacturers note this in the spec sheet and the app usually applies a thermal-drift correction in real time.
Image storage and sharing
Thermal images saved through the manufacturer’s app include radiometric data (temperature values per pixel) embedded in the file. Standard photo viewers display the image but cannot read the radiometric data. Sharing thermal images for review or reporting usually means using the manufacturer’s report-generation tool or exporting through a specialized format the receiving party can read. Plain JPEG exports lose the radiometric data, which limits later analysis. For homeowners passing thermal findings to a contractor or insurer, exporting through the manufacturer’s report tool preserves the temperature data that backs up the visual claim.
Report-generation features
Many manufacturer apps include report-generation tools that combine the thermal image, an optional visible-light reference image, location and date metadata, and operator notes into a PDF document. Reports are useful for clients, insurers, or contractors who need documentation. The level of customization varies by app: some allow company logos and report templates, others produce a fixed format. Homeowners using thermal imaging for personal projects rarely need the report tool, but anyone using thermal data to support a contractor scope or an insurance claim benefits from generating a formal report that captures the conditions at the time of the survey.
Best practices for energy-loss surveys
Energy-loss surveys produce clearer images when conducted with a meaningful temperature differential between indoors and outdoors. The Department of Energy and ASHRAE thermography guidance recommend at least a fifteen-to-twenty-degree-Fahrenheit difference between inside and outside temperatures for residential surveys. Survey from inside the house with the heating or cooling system running normally. Cooler exterior walls during winter heating make air leakage and missing insulation visible as cold streaks. Hotter exterior walls during summer cooling reverse the pattern but reveal the same defects. Surveys on mild days with little temperature differential produce less informative images.
Choosing the right resolution
Sensor resolution determines how much detail the thermal image preserves. An 80×60 sensor produces a coarse image suitable for spotting large heat-loss areas but struggles with small details like a single missing fastener or a narrow water trail. A 160×120 sensor doubles the linear detail and is the practical minimum for serious building work. A 256×192 or 320×240 sensor handles detailed electrical-panel inspection and finer moisture patterns. Higher resolutions also let the operator stand further from the target without losing detail, which matters for tall walls or elevated electrical panels. Resolution doubles cost roughly at each tier, so the right resolution is the lowest that produces usable images for the intended inspection.
Thermal sensitivity (NETD) basics
Thermal sensitivity is reported as noise-equivalent temperature difference (NETD) in millikelvin. Lower NETD means the camera detects smaller temperature differences. Consumer iPhone-paired accessories typically have NETD values between 50 and 100 millikelvin. Professional-tier units run 30 to 50 millikelvin. The practical difference is visible on subtle thermal patterns: a low-NETD camera shows insulation gaps that a high-NETD camera misses. For most homeowner energy-loss surveys, NETD below 100 millikelvin is sufficient. For detailed electrical or moisture work, NETD below 60 millikelvin produces better images.
iPhone field workflow
A typical field session starts with attaching the accessory, opening the manufacturer’s app, and waiting for the camera to complete its non-uniformity correction (a brief automatic calibration cycle, usually one to three seconds). The app then displays a live thermal feed. The operator selects a color palette suited to the inspection (iron, rainbow, grayscale, or specialized palettes), sets emissivity for the surface type being inspected, and begins scanning. Tap-to-capture saves images with embedded radiometric data. Some apps include voice annotation, which speeds up later report writing. Most apps export images to the iOS Photos app or to a manufacturer-specific gallery; the gallery export retains more metadata.
Emissivity matters
Emissivity is a unit-less value between zero and one that describes how efficiently a surface emits thermal radiation. Painted drywall, brick, and most building materials have emissivity values around 0.90 to 0.95. Polished metal, glass, and shiny plastic can have emissivity below 0.20, which means the thermal camera mostly sees reflected ambient temperature rather than the surface’s actual temperature. Apps include an emissivity setting that the operator should adjust based on the material being imaged. Failing to set emissivity correctly produces apparent temperature readings off by twenty degrees or more on low-emissivity surfaces.
Pricing summary
Entry-level iPhone-paired thermal accessories run $200 to $400. Mid-tier accessories run $400 to $800. Professional-tier accessories run $800 to $2,000+. App downloads are free in all cases; the cost lives in the hardware. Compared with dedicated handheld cameras at similar sensor specs, iPhone-paired units typically cost 20 to 40 percent less because the phone provides the display, battery, and processor. Buyers who already own a compatible iPhone benefit most from the accessory category because the marginal cost is just the accessory itself.
References
- ENERGY STAR: Seal and Insulate — U.S. Environmental Protection Agency (ENERGY STAR)
- InterNACHI Infrared Inspection Reference — International Association of Certified Home Inspectors
- ASHRAE Energy Diagnostics Standards — American Society of Heating, Refrigerating and Air-Conditioning Engineers
- ICC Code References for Building Inspection — International Code Council
Thermal imaging cameras
Infrared cameras reveal hidden moisture, missing insulation, and air leaks. Phone-attachment models are the budget entry point; standalone units have higher resolution.
| Product | Why | Buy |
|---|---|---|
 FLIR ONE Pro (phone) FLIR ONE Pro (phone) | Plugs into iPhone/Android; inspector favorite. | Amazon — $349.00 |
 Topdon TC001 Topdon TC001 | High-res phone module at a low price. | Amazon — $249.00 |
 FLIR C5 Compact FLIR C5 Compact | Standalone pocket camera with Wi-Fi. | Amazon — $611.50 |