Mold Killer Cleaner: How to Choose and Use One
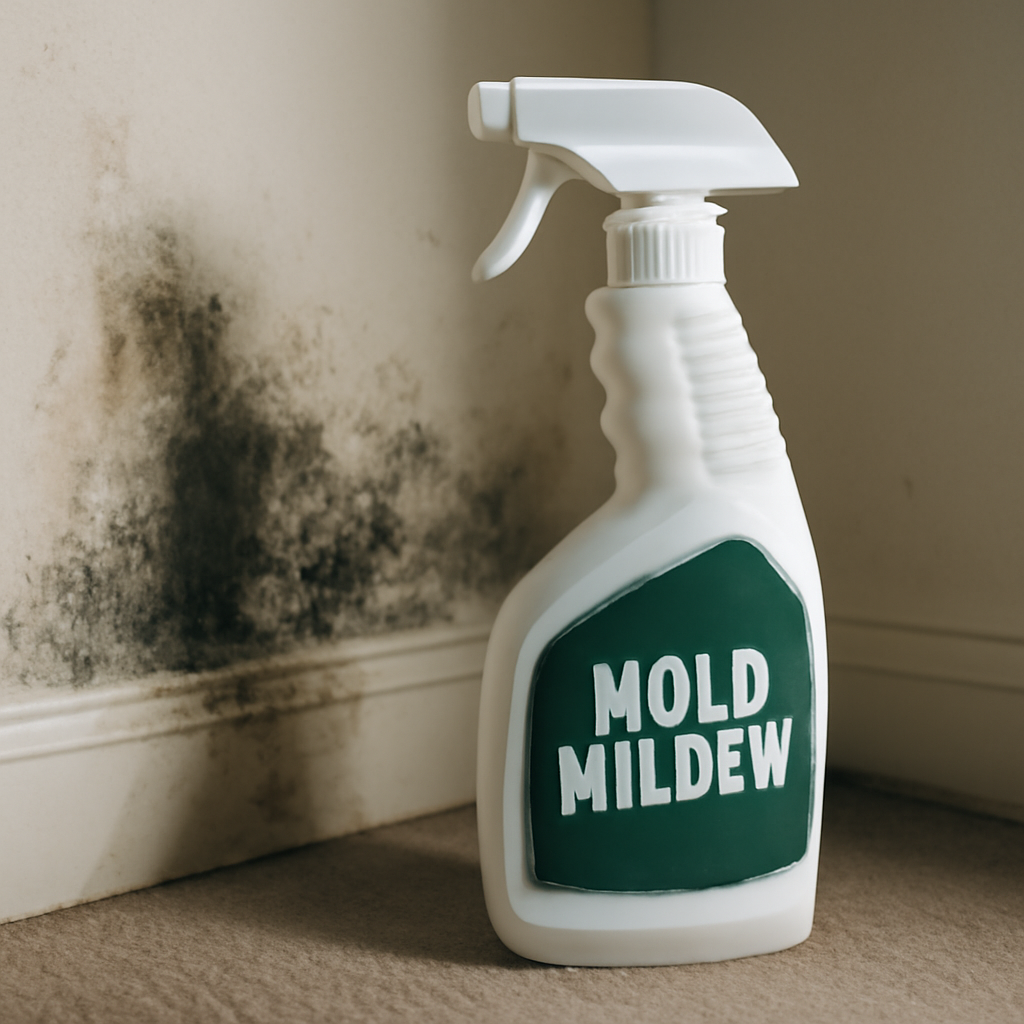
The shelf is crowded with bottles that promise to wipe out household mold, and they are not all the same. Choosing the right mold killer cleaner and using it correctly is the difference between a job that holds and one that returns within the month. This guide focuses on the practical decisions: which product type suits which surface, what protective gear you actually need, and how to ventilate so the cleanup does not put you at risk. This summary reflects EPA and CDC guidance current as of 2026; consult your physician for any health symptoms and a certified professional for larger contamination or testing decisions.
Part of our Mold Removal & Remediation guide — start there for the full picture →
Is this mold, asbestos, or water damage? Get a free instant screen
Upload a clear photo of the suspect area. You'll get an instant AI screening opinion and what to do next. This is screening guidance, not a professional determination.
Screening guidance only. AI can be wrong. Confirm asbestos, mold type, or lead with lab testing or a licensed professional before acting.
How to choose a mold killer cleaner
Start with the surface and the scope, not the brand. The right product depends on what the mold is growing on and how much of it there is.
Match the chemistry to the surface
- Detergent cleaners. Soap and water lift mold and the grime feeding it. The EPA considers this adequate for most hard, non-porous surfaces, and it is the safest place to start.
- Hydrogen peroxide products. A 3 percent solution kills mold on contact and breaks down staining. It is gentler than chlorine and useful on tile, grout, and many sealed surfaces.
- Chlorine bleach solutions. Effective on hard, non-porous surfaces, but mostly water, so they are a poor fit for anything porous. EPA guidance no longer recommends routine bleach use for most residential mold cleanup.
- Quaternary ammonium biocides. Common in commercial sprays, these are designed to kill a range of microorganisms and are typically used on hard surfaces.
- Botanical or acid-based cleaners. Vinegar and plant-derived blends suit light surface growth where harsh chemicals are unwanted.
Match the product to the scope
The single most useful filter is size. The EPA suggests homeowners can generally tackle mold smaller than about 10 square feet on hard surfaces. Above that, or with water-damaged porous materials, no consumer cleaner is the right call, and assessment should come first. Our mold inspection hub covers how scope is judged and when DIY stops being appropriate.
Two more selection factors deserve attention. The first is fumes and household sensitivity. A home with young children, elderly residents, pets, or anyone with respiratory conditions is a poor fit for harsh biocides and bleach, and a detergent or peroxide product is the better default. The second is the finish of the surface itself. Bleach can discolor colored grout, fabric, and some finishes, while peroxide and detergent are gentler. Matching the product to both the surface and the people in the home avoids damage and unnecessary exposure.
Reading product labels critically
Labels are written to sell, so a few habits help. Check what surfaces the product is rated for; a “bathroom” cleaner is not automatically safe on every bathroom material. Note the dwell time, the period the product must sit to work, because skipping it wastes the active ingredient. Look for the EPA registration number on biocidal products, which indicates the product is registered for its stated antimicrobial use. And treat any “prevents mold from returning” claim with skepticism, since recurrence is controlled by moisture, not by a chemical residue.
Why a mold killer cleaner only solves part of the problem
Even the best product addresses the visible colony, not the cause. Mold grows because a surface is damp and has a food source. The cleaner removes growth; the moisture keeps producing it. This is why so many homeowners cycle through stronger and stronger products without lasting results. The EPA’s remediation message puts moisture first: find and fix the water, then remove the contamination.
There is a second limit worth understanding. Killing mold does not make it harmless. Dead spores and fragments can still provoke allergic and irritant reactions, which is why the EPA frames the goal as removal rather than sterilization. A “kills 99.9%” claim still leaves material that must be physically wiped away and disposed of. For more on this distinction, see our guide to killing mold spores and what that actually accomplishes.
The PPE you actually need
Disturbing mold releases spores into the air, and the cleaning products themselves can irritate skin, eyes, and lungs. The Occupational Safety and Health Administration’s mold cleanup guidance lays out protection that scales down to home use. For a small job, the essentials are:
- Respirator. An N95 filtering facepiece is the minimum to limit spore inhalation. For larger or more disturbed areas, a half-face respirator with P100 cartridges offers more protection.
- Gloves. Long nitrile or rubber gloves protect skin from both mold and cleaning chemistry.
- Eye protection. Goggles without vents keep spores and splashed cleaner out of the eyes.
- Clothing. Wear washable clothing or a disposable coverall, and launder or discard it after the job.
Skipping PPE is the most common DIY mistake. The bottle’s warning label is not optional, and the spore exposure during scrubbing is just as real as the chemical exposure.
There is a reason the protection matters even on a job that looks trivial. Scrubbing a small patch of mold can release a large number of spores into the immediate breathing zone, and the act of disturbing the growth is precisely when airborne exposure peaks. A respirator addresses that. The cleaner’s own fumes add a second exposure pathway through the lungs and eyes, which the goggles and ventilation address. For someone with allergies or asthma, the few dollars of protective gear are the difference between a routine cleanup and a flare-up. Fit matters too; an N95 needs a reasonable seal against the face to do its job, so facial hair under the seal undermines it.
Ventilation: the step people skip
Ventilation does two jobs during cleanup. It clears chemical fumes from the product, and it helps carry disturbed spores out of the space rather than letting them settle on clean surfaces. Open windows, run an exhaust fan, and for bigger areas consider a fan in a window blowing outward to create negative pressure.
Two firm rules. Never clean mold with a biocide in a sealed room, because fume buildup can be hazardous. And never mix products, especially bleach with ammonia or acids, which releases toxic gases. If a space cannot be ventilated, that alone is a reason to reconsider DIY.
Negative pressure is a concept worth borrowing from professional remediation, scaled down. Placing a fan in a window so it blows outward draws air, and the spores it carries, out of the work area rather than circulating them through the home. Closing the door to the rest of the house reinforces this by keeping disturbed spores contained to the room being cleaned. These small steps prevent the cleanup from spreading the problem, which is a real risk when scrubbing sends spores airborne. After the job, leaving the ventilation running for a while helps clear any remaining airborne particles before the room returns to normal use.
One more ventilation habit pays off: avoid running the home’s central heating or cooling system during the cleanup if its return is near the work area, since that can pull disturbed spores into the ductwork and distribute them house-wide. Sealing a nearby return vent temporarily, or simply turning the system off while you work, keeps the contamination local. Small precautions like this separate a clean job from one that quietly seeds spores into other rooms.
A step-by-step use method
Once you have chosen a product suited to the surface and confirmed the area is small, the application is straightforward.
- Put on gloves, goggles, and an N95 respirator before disturbing anything.
- Open windows and run an exhaust fan; close the door to the rest of the house.
- Apply the cleaner and let it dwell for the time on the label so the active ingredient can work.
- Scrub with a stiff brush. The mechanical action lifts growth the chemistry has loosened.
- Wipe away residue, rinse if the label calls for it, and dry the surface completely with fans or a dehumidifier.
- Bag used cloths, brushes, and disposable PPE before carrying them through the house.
When to stop and bring in a professional
A mold killer cleaner has a ceiling. Growth larger than roughly 10 square feet, contamination on or behind porous materials like drywall and insulation, a persistent musty smell with no visible source, mold that returns after every cleaning, and any contamination following flooding or sewage all call for professional evaluation. Households with asthma, allergies, or immune concerns should lean toward assessment rather than repeated DIY. On the Front Range, recurring basement and bathroom mold in counties like Denver, Douglas, and El Paso often traces back to a humidity or drainage issue that no bottle resolves. A qualified inspector locates the moisture source and scopes the true extent so the cleanup actually lasts.
After the cleaning: drying and prevention
The cleaning step gets the attention, but what happens afterward determines whether the result lasts. Once the growth is scrubbed away and the residue wiped off, the surface must be dried completely. Fans, a dehumidifier, or both pull moisture out of the area. A surface that looks clean but stays damp is an open invitation for spores to germinate again, often within days. Drying is not an optional finishing touch; it is part of the job.
Prevention then carries the result forward. Keeping indoor humidity below roughly 50 percent, running exhaust fans in bathrooms and kitchens, addressing condensation on cold surfaces, and fixing leaks promptly all deny mold the moisture it needs. On the Colorado Front Range, where seasonal humidity and snowmelt can drive basement dampness in counties like Boulder, Adams, and Jefferson, a dehumidifier and good drainage frequently do more to keep surfaces clear than repeated cleaning. The cleaner clears what is present; these habits keep it from coming back.
How a mold killer cleaner compares to professional remediation
It helps to be clear about where a consumer cleaner ends and professional remediation begins. A cleaner is a tool for small, surface-level growth on hard materials, applied by a homeowner with basic protection. Professional remediation is a structured process for larger or hidden contamination: containment of the work area, correction of the moisture source, removal of contaminated porous materials, HEPA filtration, cleaning, and verification that the problem was resolved. The two are not competing options so much as responses to different scales of problem.
Trying to substitute a cleaner for remediation on a large or hidden problem is the common mistake. A bottle cannot contain an area, cannot remove moldy drywall, and cannot verify that contamination behind a wall is gone. When the situation exceeds a small hard-surface patch, the appropriate response shifts from the cleaning aisle to a qualified professional. Recognizing that boundary, rather than escalating to ever-stronger products, is what protects both the home and the people in it.
Cost sometimes pushes homeowners to attempt a cleaner on a job that needs remediation, but the math rarely favors that choice. A few rounds of product, the time spent, and the exposure during repeated cleaning add up, while the underlying problem keeps growing and gets more expensive to fix the longer it goes uncorrected. Mold spreading inside a wall cavity or insulation can damage building materials and require more extensive removal than if it had been addressed early. Spending on an honest assessment when the signs point past a small surface patch is usually the cheaper path over time, because it catches the true extent before it compounds. The most expensive mold problem is the one that was repeatedly sprayed instead of properly diagnosed.
References
- Mold Cleanup in Your Home — U.S. Environmental Protection Agency
- Mold Hazards and Cleanup Guidance — Occupational Safety and Health Administration
- About Mold and Your Health — Centers for Disease Control and Prevention
Frequently asked questions
What is the best type of mold killer cleaner?
For most small, hard-surface jobs, detergent and water with scrubbing is effective and the safest start, per EPA guidance. Hydrogen peroxide helps on staining. Match the product to the surface and scope rather than reaching for the strongest chemical by default.
Do I really need a respirator to use a mold cleaner?
Yes. Disturbing mold releases spores you should not inhale, and many cleaners give off irritating fumes. An N95 respirator is the minimum, along with gloves and goggles, even for small jobs.
Can I use a mold killer cleaner in a closed bathroom?
No. Biocides and bleach release fumes that can be hazardous in sealed spaces, and poor ventilation lets disturbed spores settle on clean surfaces. Open a window and run an exhaust fan, or reconsider doing the job yourself.
Will a mold killer cleaner stop mold from returning?
Only if you also fix the moisture. Cleaners remove the colony but not the water feeding it. Repair leaks, lower indoor humidity, and dry the area, or the growth comes back regardless of the product.
If you are on the Front Range and the same spot keeps coming back, get in touch through our contact page to connect with a vetted inspector who can trace the moisture source.
Mold removal & cleanup picks
For a small, contained patch (under ~10 sq ft) these EPA-friendly removers handle surface mold. Larger or recurring growth warrants a professional assessment first.
| Product | Why | Buy |
|---|---|---|
 RMR-86 Instant Mold Stain Remover RMR-86 Instant Mold Stain Remover | Fast-acting on stains; ventilate and wear PPE. | Amazon — $29.99 |
 Concrobium Mold Control Concrobium Mold Control | No-bleach formula that also helps prevent regrowth. | Amazon — $11.26 |
 Mold Armor Mold & Mildew Remover Mold Armor Mold & Mildew Remover | Widely stocked bathroom/surface remover. | Amazon — $22.98 |